The first real thing most people forge is a mess, and that is exactly how it should be. I still have the S-hook I made twenty-five years ago on a length of railroad track clamped to a stump. It is lopsided, the scroll on one end is tighter than the other, and the whole thing has a twist I did not put there on purpose. I keep it because it taught me more than a shelf of finished ironwork ever could. That is the honest truth about black smith projects: the point early on is not the object, it is what your hands learn making it. Pick the wrong projects and you spend months frustrated and burning gas with nothing to show. Pick the right ones in the right order and each one hands you a skill you carry into the next.
This is a reference guide to which projects build real skill, in what order, and why. I am not going to sell you a kit or a plan set. I am going to tell you what I hand the weekend beginners who show up at my shop asking what to make first, and why those projects and not the flashy ones.
What makes a beginner project worth forging
A good first project does three things. It uses cheap, forgiving stock so a ruined piece costs you nothing but a heat. It isolates one or two skills instead of demanding all of them at once. And it ends in something you can hold, look at, and honestly judge against the last one you made.
That last part matters more than people think. Forging is a feedback loop. You hit hot steel, it moves, and you learn to predict how it moves. A project that produces a finished object at the end of an hour gives you a hundred of those little corrections in a single session. A project that takes three weekends before you can tell whether you did it right starves you of feedback and teaches slowly.
So the best beginner projects share a shape: mild steel, small stock, a clear finish line, and one dominant skill. The worst beginner projects are the opposite, the knife especially, which I will get to. If you want the fuller argument about choosing projects that teach rather than just impress, I wrote a whole piece on that in how to pick a forging project that actually teaches you something. This guide is the map; that one is the reasoning.
Almost everything below runs on plain mild steel, usually 1/4 inch or 3/8 inch round or square bar. It moves easily, it forgives an overheat, and it costs a few dollars a stick. Do not start on tool steel or mystery scrap. Learn the motions on steel that does not fight you.
The first project: draw a point and make a taper
Before you make anything shaped, learn to draw steel out. Take a piece of 3/8 inch square stock, get it to a bright orange heat, and hammer one end down to a clean point. That is it. That is the whole first project, and it is not a waste of a session.
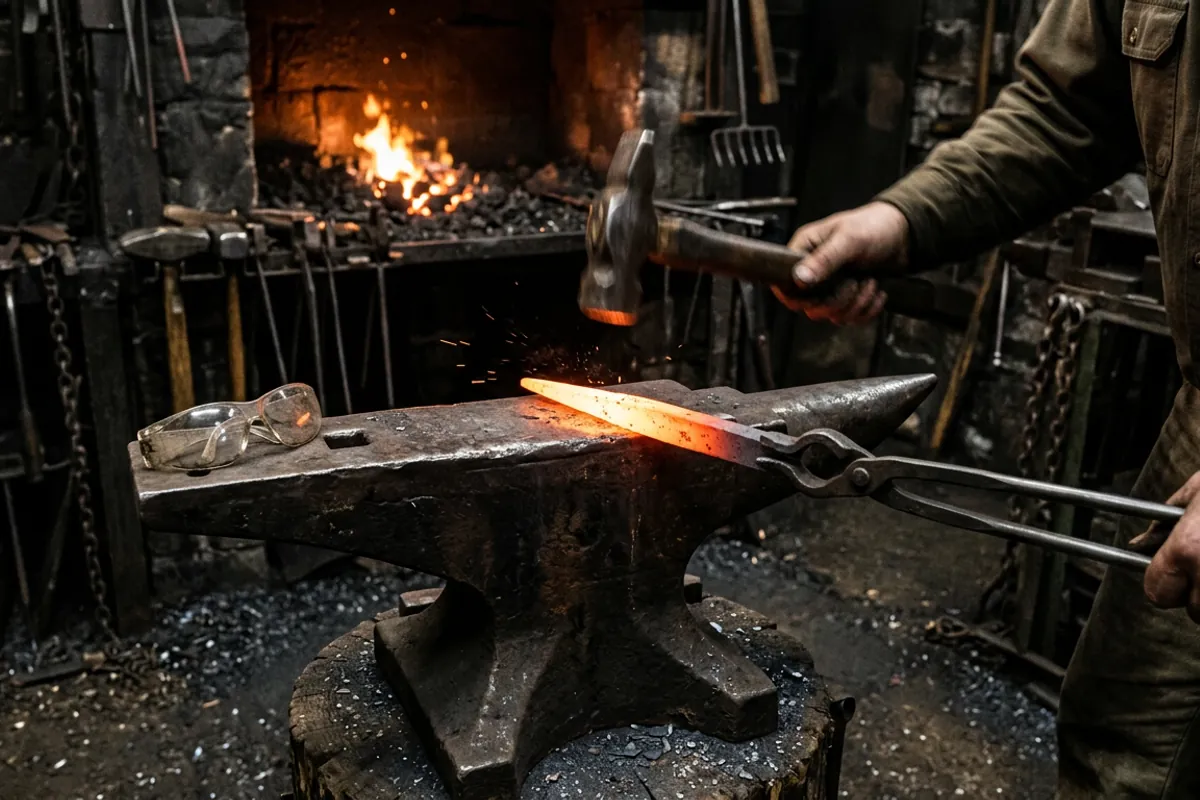
Drawing a taper teaches hammer control better than anything else. You learn to rotate the bar a quarter turn between blows, to work the far edge of the anvil face where the steel draws fastest, and to keep the point centered instead of hooking off to one side. You learn what a working heat looks like and when the color has dropped too far to keep hitting. Every single project after this uses a taper somewhere, so an hour spent making six clean points is an hour that pays back for years.
When your points come out straight and centered without you fighting them, you are ready to make something with the taper instead of just the taper itself.
The projects I actually start beginners on
Here is the order I use, and each one adds exactly one thing to the last.
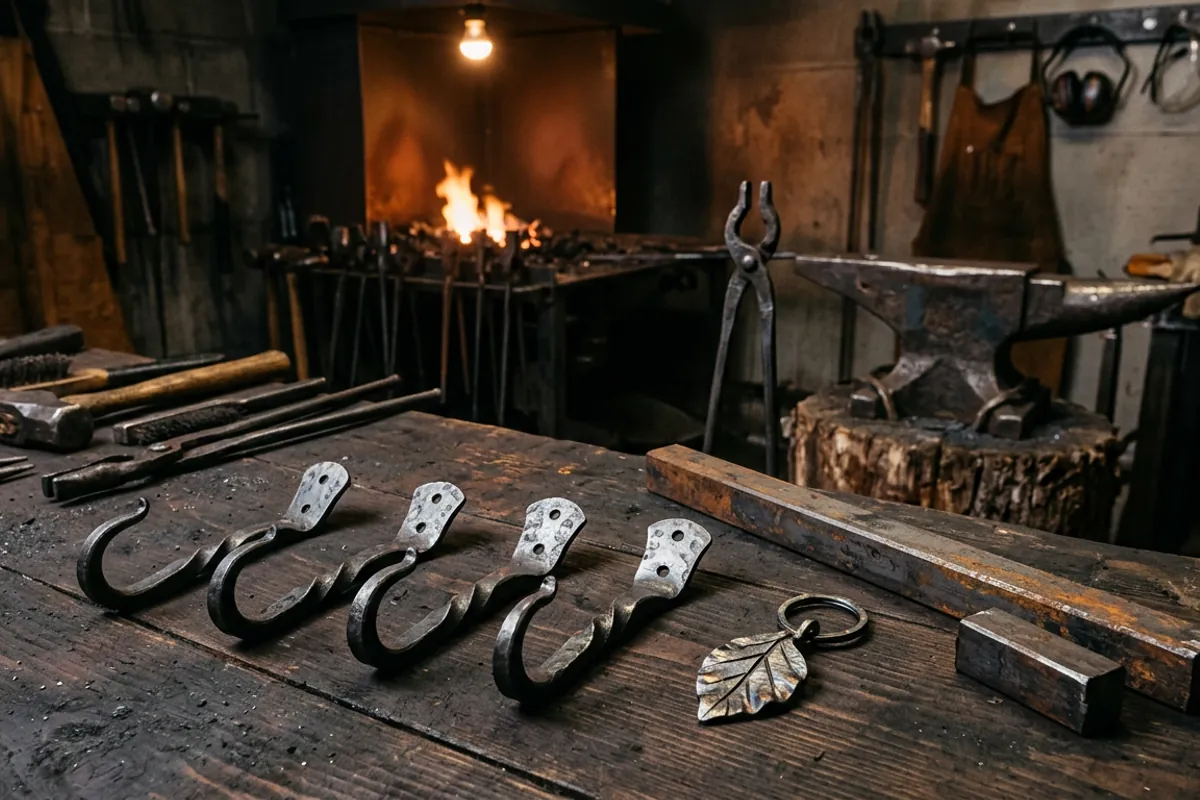
The S-hook. Draw a taper on each end, curl each into a scroll, then bend the bar into an S. It teaches tapering, scrolling on the anvil horn, and symmetry, because both ends have to match and yours will not at first. It is useful the day it comes off the anvil. Every shop needs hooks.
The J-hook or wall hook. One tapered and scrolled end, one flattened and punched end for a screw. This adds punching a hole and flattening a section, and it gives you a bracket you can actually screw to a wall. It is the project I see beginners get genuinely proud of, because it looks like real hardware.
The bottle opener. A short bar, a bent and shaped working end, sometimes a twist in the handle for grip and looks. It teaches you controlled bending and the decorative twist without much risk. I laid out the whole approach in the gear I would use to forge a bottle opener at home because it is one of the most-requested first projects and it earns the attention.
The leaf. Draw a taper, flatten it into a leaf shape, add veins with the edge of the hammer or a chisel, and put a curl in the stem. This is the first project that is purely about shaping and texture, and it is where people start to see that hot steel can look organic instead of blocky. A leaf keyfob or a leaf on the end of a hook is a real morale boost.
The drive hook and the coat rack. Once single hooks are clean, making four or five that match and mounting them on a bar is a lesson in consistency, which is a skill of its own. Matching parts is harder than making one good one.
Notice what is not on this list yet. No knife, no tongs, no anything with a hardened edge or a working joint. Those come later for good reasons.
The blacksmith's hook, and why it earns its place
I hand nearly every beginner a hook of some kind as their first or second real project, and I am not alone in that. The hook is the teaching project of the trade because it packs the core skills into something small and cheap. Tapering, scrolling, bending, and if it is a wall hook, punching and flattening too. It fails cheaply, it finishes fast, and it hangs on your shop wall as a running record of how far you have come.
I made the full case for it in the blacksmith hook, and why I hand it to every beginner. If you read one linked piece off this page, read that one, because the hook is not a beginner project despite being simple, it is a beginner project because it is simple in exactly the ways that build a foundation.
Skill progression: what each stage adds
Think of projects as a ladder where each rung adds one motion your hands did not have before.
Moving steel: drawing tapers, spreading, upsetting. The point, the leaf.
Bending and scrolling: controlled curves over the horn and edge. The S-hook, the J-hook.
Joining and holes: punching, drifting, riveting. The wall hook, then later a simple set of fire tools with riveted joints.
Twisting and texture: decorative twists, veining, hammer texture. Bottle openers, leaves.
Consistency: making matching parts. A rack of hooks, a set of coat pegs.
Edge work and heat treat: and this is the rung most beginners want to jump to first. Making a blade is not just forging a shape, it is forging a specific cross-section in a specific steel and then heat treating it correctly, which is a separate craft layered on top of the forging. That is why I hold it back.
You do not have to climb these in a rigid line, but you should not skip the bottom rungs. A beginner who can draw a clean, centered taper and punch a straight hole will pick up bladesmithing far faster than one who tried to start with a knife and never learned to control the hammer.
Where the knife fits, and why not first
Almost everyone comes to blacksmithing wanting to make a knife. I understand it, I did too. But a knife is a genuinely poor first project, and I will tell you plainly why.
A knife asks you to forge a thin, even, tapered cross-section, keep it straight, then heat treat a steel whose exact behavior you have to know, then grind and finish an edge. Any one of those is a skill. Stacking all of them on your first month means every problem hides three other problems and you cannot tell which mistake caused the bad result.
The railroad spike knife is the honest middle ground, and I wrote it up straight in the railroad spike knife, honestly explained. It forges like a knife and teaches the shaping, but be clear-eyed: most railroad spikes are low carbon and will not hold a real working edge no matter how well you heat treat them. It is a great shaping exercise and a poor working knife, and anyone who tells you different is selling something.
When you are ready for a blade that actually cuts, the whole ballgame becomes steel and heat treat, and that is where you stop guessing and start testing. I do not invent hardness numbers or quench times, and neither should you. For the real metallurgy, send yourself to Knife Steel Nerds, which does the actual testing on actual steels. Forge the shape from the projects above; learn the heat treat from people who measure it.
Safety is part of the project, not an add-on
I lost my eyebrows to a quench-oil flare early on, standing too close in a cotton shirt with no face shield, quenching in oil that was too cold. I kept my eyesight by luck and not by anything I did right. So when I say safety is part of every project, I am not reciting a disclaimer.
Two rules that apply to every project on this page. Eye protection rated ANSI Z87.1, on your face any time steel is hot or a grinder is spinning. Not readers, not shop glasses, Z87.1 impact rated. And natural fibers only near the forge, cotton or wool or leather. Synthetics melt onto skin, and that turns a small burn into a bad one. Bare cotton, closed leather boots, and hair tied back cost you nothing and prevent the injuries that make people quit.
Every project above involves hot steel held in your hand or in tongs, scale flying off under the hammer, and often a grinder for cleanup. None of it is dangerous if you respect it and all of it can hurt you if you do not. I laid out what actually matters and what is marketing in blacksmith safety gear: what matters and what to skip. Read it before your first heat, not after your first burn.
Where to go from here
If you have made a clean taper, an S-hook whose ends match, and a wall hook you would actually screw into a wall, you are past the beginning and into real forging. From there the projects branch toward whatever pulls you: hardware and hooks, tools you make for your own shop, decorative scrollwork, or eventually blades once your hammer control is solid enough to earn it.
The getting started topic hub collects the rest of the beginner path, from the first tools to the first forge. And if you want a tighter, curated shortlist of specific things to build with the reasoning for each, the beginner blacksmith projects that actually teach you to forge is the companion to this map. Pick a project that isolates one skill, forge it on cheap mild steel, judge it honestly against the last one, and make the next. That loop, repeated, is the whole craft. Everything else is just bigger stock and better steel.