All ASINs verified live. Writing the article now.
If you want the short version, the beginner blacksmith kit I would actually put together is a single-burner propane forge, one honest steel anvil in the 66 to 150 pound range, a 2 pound cross pein hammer, a single pair of flat-jaw tongs, and safety glasses rated to ANSI Z87.1 that you put on before you light anything. That is the whole list. Everything else the kits and the catalogs want to sell you on day one is either optional or something you will make yourself once you can move hot steel. I have been at this about twenty-five years, started self-taught on a chunk of railroad track clamped to a stump, and I teach weekend beginners now, so most of this comes straight from watching the same shopping mistakes happen over and over.
One honest note up front, because it is how this site works: I own an anvil (a 148 pound Trenton I call Bessie), I run both a coal forge and a propane forge, and I swing hammers and tongs every week, so I can speak to what those tools are like to own. But I have not bench-tested every specific model below. Where I name a product, the picks lean on published specs and owner reports from the forums, weighed against what my own gear has taught me. I will tell you which is which. If you want the wider map of where to start, the Getting started hub links the rest of it.
What actually belongs in a beginner blacksmith kit
The trap with "kit" is that it makes you think you buy one box and you are set. You are not, and the pre-boxed kits are usually where money goes to die. Half of them pad the price with a dozen chisels and punches you will not touch for a year, and skimp on the two things that matter: the heat source and the mass under your hammer.
Strip it down. To make hot steel move you need four things and one rule. Something to get steel to a working orange heat (the forge). Something hard and heavy to hit against (the anvil). Something to hit with (the hammer). Something to hold the hot end so it stays out of your lap (the tongs). And the rule: eyes covered, natural fibers on your body, before the forge is lit. That is the kit. This is exactly the short list the veterans on the I Forge Iron beginner buyers guide keep repeating to new smiths who show up asking what to buy. The consensus there, for years, has been buy less, buy heavier, and stop trying to collect tools before you can make one thing.
If you want that argument in more depth, I wrote it out in the black smith tools you actually need to start. Here I want to put real gear against it.
The specs at a glance
Published specs only, cited in the sections below. Where a maker does not state a number, it says so.
Scroll horizontally to see all columns.
| Item | Key spec | Material | Notable | Tier |
|---|---|---|---|---|
| VEVOR 66 lb single horn anvil | 66 lb, ~50 HRC face | Cast/forged steel | Horn, hardy and pritchel holes | Budget |
| Simond Store tongs, set of 4 | 16 in long, 2.5 in jaws | Forged steel | Flat, round, wolf, mandrel jaws | Budget |
| Picard cross pein hammer 1000g | 1000 g (about 2.2 lb) | Alloy steel head, ash handle | Swedish pattern, ground face | Mid |
| 3M Virtua safety glasses | ANSI Z87.1 rated | Polycarbonate lens | Absorbs 99.9% UV | Budget |
The forge: your first real decision
The forge is where I tell beginners to spend real thought, because the fuel you pick shapes your whole shop. For most people starting out, a single-burner atmospheric propane forge is the right first forge. It lights in seconds, holds an even heat, needs no fire tending, and you can run it in a suburban garage with the door open without a coal-smoke conversation with your neighbors. A single burner gets a beginner through knives, hooks, tongs, and small tools without trouble.
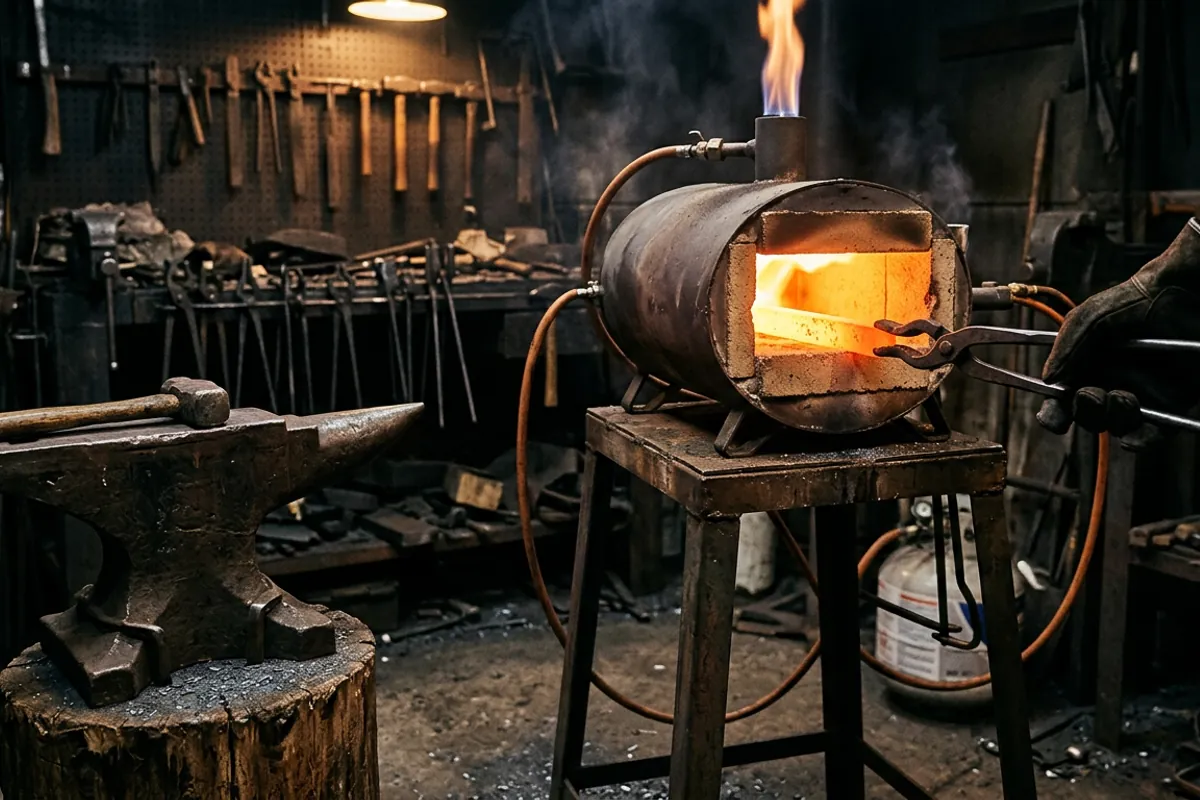
Coal gets hotter in a concentrated spot and is what I reach for when I forge weld heavy stock on my coal forge, but it is a dirtier, fussier fire to learn on, and it needs a chimney and airflow you have to build. There is no wrong answer, only a first answer, and I laid out the real tradeoff in coal or propane: which first forge makes sense. Nine out of ten weekend beginners I meet are better served starting propane and adding coal later if the work pulls them that way. For the buying end of it, the blacksmith forge I'd actually put in a beginner's shop walks the specific units.
I am deliberately not hanging an Amazon link on the forge here, because the name-brand farrier forges drift in and out of stock and price wildly, and a forge is the one item I would rather you buy from a dedicated forge dealer who will answer the phone. Buy the anvil, hammer, tongs, and glasses below; buy the forge from a forge shop.
The anvil: mass under the hammer
An anvil does one job: it throws your hammer energy back into the steel instead of soaking it up. That is what rebound means, and it is why mass and a hard face matter more than shape. A beginner does not need a pristine London-pattern anvil to start hitting hot metal, a point the old hands make constantly, but you do need enough weight that the anvil is not dancing across the floor with every blow.
For a first anvil on a budget, the VEVOR 66 pound single horn is the honest entry. VEVOR publishes it as cast and forged steel with a face hardness around 50 HRC, and it has the parts you need: a horn for curves, a flat face, a hardy hole, and a pritchel hole. Fifty HRC is softer than a top-tier forged anvil, so the face will mark more easily, but it will move steel and it will teach you, and that is the job at this stage.

Sixty-six pounds is the floor. If your budget stretches, the same line runs to 132 pounds, and heavier is genuinely better here because more mass means more of your swing goes into the steel. I would rather see a beginner on a heavier VEVOR than on a light one. For the wider field of first anvils across every budget, including used and antique routes that often beat new cast steel dollar for dollar, read the best anvils for beginners. And do not overlook the used market: a worn old Trenton or Hay-Budden at the right weight will out-rebound a cheap cast anvil, which is the whole argument behind how to buy an anvil without wasting your money.
The hammer: one you can swing all day
Here is where beginners overthink. You do not need a fancy pattern or a big head. You need a hammer light enough that your elbow survives an hour of practice, because control beats mass every time when you are learning to hit where you look. For most adults that lands around 2 pounds. Heavier hammers wreck new smiths' elbows and teach bad form, since you end up muscling the tool instead of letting it fall.
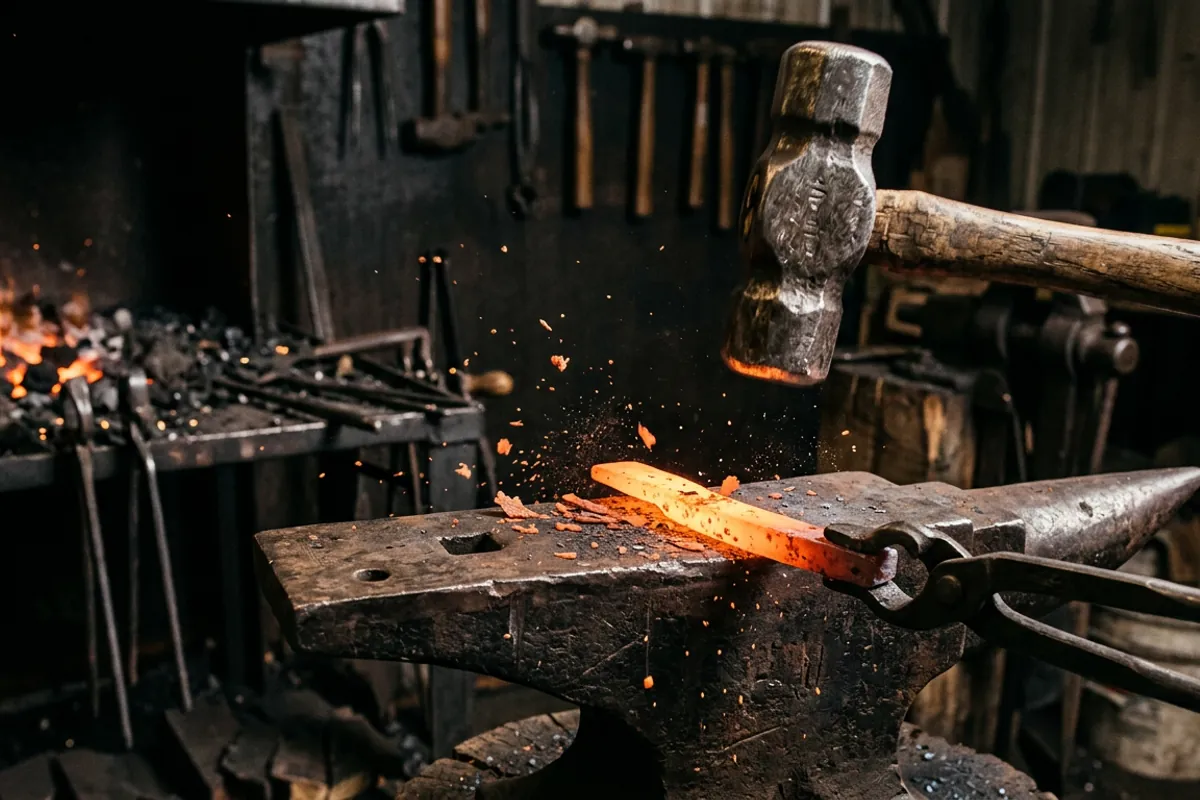
The Picard 1000g Swedish-pattern cross pein is a solid mid-tier pick and a common first hammer among smiths who want a forged head that holds its shape. At 1000 grams it is right around 2.2 pounds, with an alloy steel head and an ash handle, per The Hammer Source's Picard listing. The cross pein, the wedge-shaped end, is what you use to draw steel out in one direction, and learning to move metal with the pein instead of just the flat face is one of the first real skills.
Check price on Amazon (paid link)
Whatever you buy, dress the face. New hammers, cheap and expensive alike, often ship with sharp edges that stamp ugly marks into your work. A few minutes with a file and sandpaper to round and smooth the face pays off on every piece after. I go deeper on picking and dressing a first hammer in the blacksmith hammer I would hand a beginner.
Tongs: the pair that keeps hot steel out of your lap
Tongs are the tool beginners skip and then regret the first time a short workpiece heats up to their fingers. You need at least one pair that actually grips your stock. The single most useful first pair is a flat-jaw or box-jaw tong sized to the stock you are working, because a tong that only touches the steel at two points will let a hot bar pivot and drop, which is exactly the accident you do not want.
The Simond Store four-tong set is a reasonable budget way in, giving you flat, round, wolf, and mandrel jaws in one buy at 16 inches long with 2.5 inch jaws. Owner reports are mixed on cheap import tongs, and I will get to that honestly below, but a beginner set gets you holding steel safely while you learn, and you can adjust the jaws to fit by heating and tweaking them.
Check price on Amazon (paid link)
A tong that fits your stock is worth more than a drawer of tongs that almost fit. If you only make hooks from quarter-inch round, one good pair sized to that beats the whole set. The full breakdown of what grips and what slips is in the blacksmith tongs I would buy first.
Eye protection you put on before anything else
I do not soften this part. Early on I quenched a blade in oil that was too cold, standing too close in a cotton shirt with no face shield. The oil flared and took my eyebrows, and I kept my eyesight by luck alone. That is the entire reason this site treats PPE as non-negotiable, and it is why glasses lead the safety list, not close it.
Scale flies off hot steel every time you hit it. Wire brushes throw bristles. Grinders throw sparks and, worse, sometimes throw the whole abrasive. Your eyes get one warranty. Buy safety glasses rated to ANSI Z87.1, which is the American standard for impact-rated eye protection, and wear them from the moment the forge is lit. The 3M Virtua is a cheap, real Z87.1-rated pair with a polycarbonate lens that absorbs 99.9% UV, and cheap is the point, because glasses you will actually keep on your face beat expensive ones in a drawer.
Check price on Amazon (paid link)
Glasses are the floor, not the ceiling. Add a face shield over them for grinding and quenching, wear cotton, wool, or leather rather than synthetics that melt into skin near heat, and close-toe leather boots. I run the full head-to-toe list in blacksmith safety gear: what matters and what to skip. None of it is optional, and none of it is where you save money.
What owners say
For the gear I have not personally run down in my own shop, here is what the forums report, honestly, complaints included.
On budget cast steel anvils like the VEVOR, owner signal is genuinely mixed and worth reading carefully. The recurring praise on retail listings and forum threads is that a real steel anvil under a couple hundred dollars with decent rebound and a clear ring is a fair deal for a beginner, and the 66 pound version carries a strong average rating across a hundred-plus buyers. The recurring complaint on the I Forge Iron threads, including best anvil for a beginner, is that the soft face marks and that at 66 pounds it is light enough to bounce unless you mount it dead solid to a heavy stand. That squares with what mass does under a hammer, so I would take it seriously and either bolt it down hard or buy heavier.
On cheap import tong sets like the Simond four-pack, the consensus is that they are usable but rarely fit your stock out of the box, and that the jaws often need heating and adjusting to grip properly. Nobody on the forums calls a budget set a lifetime tool, and neither will I. They get you started safely, and plenty of smiths keep a couple of the cheap ones in rotation for odd jobs after they have made or bought better.
On the Picard hammer, owner reports skew positive on head quality and balance for a production hammer, with the usual note that any new hammer benefits from dressing the face before real work. That matches every forged hammer I have owned. Where owner signal is thin, I will say so: I have not found a large, consistent body of forum testing on this exact Picard model, so treat the pick as a reasonable specced choice rather than a forum-proven one.
On the heat-treat side, once you get to making a blade that has to hold an edge, do not trust shop lore or my say-so for hardening numbers. Send those questions to real testing at Knife Steel Nerds, which runs actual metallurgy on steels and heat-treat schedules. That is the honest source for numbers I will not invent.
What I would tell a friend
Buy heavy where it counts and cheap where it does not. Put your money into the forge and as much anvil mass as you can afford, because those two are the ones that hurt to get wrong and are expensive to replace. Go budget on the hammer and tongs to start, since you will dress and adjust them anyway and you will know what you actually want after a month of hitting steel. And never treat the glasses as the optional line item, because that is the one mistake you do not get to walk back.
The one to buy first, if you can only buy one thing this week, is the anvil, because a solid heavy anvil outlasts everything else in the shop and holds its value if you quit. The one to skip is any pre-boxed "complete beginner blacksmith kit" that leads with a pile of punches and chisels, because it is spending your money on tools you cannot use yet instead of the four that matter. Get those four right, put the glasses on, and go make something ugly. The second one will be better.