Most people come to blacksmithing wanting to make something, and that instinct is right, but the projects you pick in the first year decide whether you actually learn to forge or just make a pile of ugly, half-hammered steel. Good blacksmithing projects are not about the finished object on the bench. They are about the skill the object forces into your hands. I have been at this about twenty-five years, I started self-taught on a length of railroad track clamped to a stump, and I teach weekend beginners now, so I have watched a lot of people pick their first projects for the wrong reasons. This is the reference I wish someone had handed me: what a good project is for, the order I would work through them, and why the sequence matters more than any single thing you make.
If you have not settled your forge and anvil yet, that comes first, and I will not pretend otherwise. But the projects below run on the simplest setup there is, and none of them need gear beyond a basic starter shop. Start here at the getting started hub if you are still assembling the shop, then come back.
What a project is actually for
A blacksmithing project is a container for a skill. That is the whole idea. When I hand a beginner a project, I am not really asking for a hook or a leaf. I am asking them to practice a specific motion until it stops being a fight: moving hot metal in a controlled direction, hitting where they are looking, reading the color of the steel, and knowing when to put it back in the fire.
The trap is picking projects for the object instead of the skill. Somebody watches a video of a folded-steel Damascus blade and decides that is project one. Six weeks later they have burned a lot of steel, learned almost nothing transferable, and gotten frustrated enough to quit. Meanwhile the smith who spent those six weeks drawing out and tapering plain mild steel bar can now make that same beginner's fifty different things, because the fundamentals carry across every project there is.
So the honest measure of a good early project is not how it looks on a shelf. It is this: did it force you to repeat a core motion enough times that your hands learned it? A project that teaches one clean skill and produces something a little rough is worth ten projects that produce something pretty by accident.
The skills projects are supposed to teach
Before I list projects, here is the short list of what they are teaching, because once you see the skills you can judge any project on your own.
Drawing out is making stock longer and thinner. It is the single most-used motion in the craft, and almost everything starts with it.
Tapering is drawing out to a point or a controlled thin end. Points on hooks, tips on leaves, the working end of a punch.
Bending and scrolling is controlled curves, over the horn or the edge of the anvil face. Easy to do sloppily, harder to do cleanly and to a plan.
Twisting is putting a spiral in square stock. It looks fancy and it is genuinely simple, which makes it great for confidence early.
Upsetting is the opposite of drawing out: making stock shorter and fatter, usually to bulk up a spot you will work later.
Punching and drifting is making and shaping holes without drilling, which is how you make a real eye on a tool or a hanger.
Splitting and chiseling is cutting hot steel with a chisel or hardy, opening a fork, separating stock.
Every project below is on this list because it drills one or two of these hard. That is the only reason it earned a spot.
The order I put projects in
Sequence matters more than the individual projects, and this is where most self-taught smiths go wrong. I put mine in an order that stacks skills, so each project leans on the one before it. This is the same progression I lay out in more detail in the beginner projects walkthrough, and it is worth reading alongside this if you want the step-by-step.
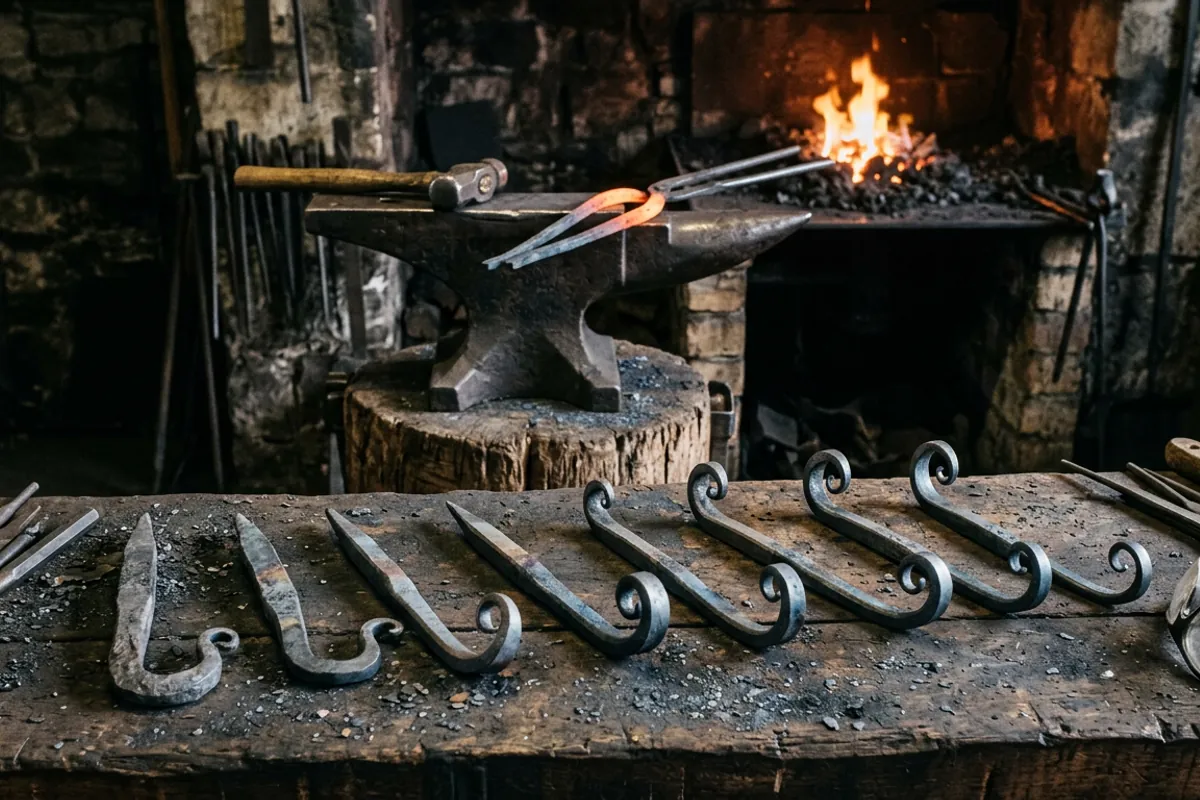
Start with a tapered point on a piece of mild steel. Not even a finished object yet, just a clean taper on the end of a bar. Do it twenty times. This one drill teaches you hammer control, blows on the far side of the anvil, and how to keep four faces even so you get a point and not a chisel. It is boring and it is the most valuable hour you will spend.
Then a hook. A wall hook off the end of a bar is the first real object I hand anyone, and I wrote a whole piece on why in the blacksmith hook explainer. A hook is a taper you already practiced, plus a bend over the horn, plus a scroll on the end. Three skills, one small object, and it is genuinely useful when you are done. Make five. They will get noticeably better across five, and watching that improvement is what keeps beginners at the anvil.
Then a leaf. A leaf keychain or coat hook adds upsetting to bulk the stock, then flattening and shaping the blade of the leaf, then a stem you taper and curl. It is the first project where you are managing several operations in sequence and cannot fix a late mistake by starting over cheaply. That pressure is the point.
Then a twist. Take a length of square stock, heat a section evenly, clamp one end in the vise, and put a wrench on the other. A clean even twist needs even heat, which teaches you to read your fire and your steel color better than almost anything. A bottle opener is a great vehicle for this, and I broke that one down in the bottle opener gear guide.
By the time you have those four down, you own the core motions. Everything after is combination and refinement.
Projects that build real tools
Here is a turn most beginners miss: the best intermediate projects are tools you will actually use. Making your own tools does two things at once. It drills harder skills, and it fills out your shop for the cost of scrap and time.
A hot cut chisel or a hardy tool teaches you upsetting and heavy drawing, plus you learn heat treatment because a cutting tool needs to be hardened and tempered to hold an edge. That is a real jump in skill and a real tool on the rack when you finish.
A pair of tongs is the classic proving project, and it is harder than it looks. Tongs need matched halves, a clean rivet, and jaws that actually meet. Most first tongs are bad. That is fine. You learn more from a rough working pair than from anything you buy, and now you understand why good tongs cost what they do.
A punch and drift set teaches you to make and open holes, which unlocks a whole category of later work: hammers, axes, anything with an eye. Punching a hole hot and drifting it to shape is a skill you cannot fake, and a set of your own punches is worth having.
I want to be straight about one thing here. Making your own tools is satisfying and it teaches a lot, but you do not need to forge everything before you start. A beginner who insists on making every tool before making anything else usually stalls out. Buy the couple of things that are miserable to make early, forge the rest as projects, and keep moving.
The bladesmithing detour, and when to take it
Almost everyone who picks up a hammer eventually wants to make a knife. That is fine, and I am not going to talk you out of it. But I will tell you honestly where it fits.
Knifemaking is not a beginner project, and treating it as one is how people get discouraged. A knife asks you to draw out and taper a blade evenly, keep it straight, forge a bevel, and then heat treat a steel that actually cares about temperature. Heat treat is where the real difficulty lives, and it is not a place to guess. Get the profile of the blade wrong and it is ugly. Get the heat treat wrong and the blade is either too soft to hold an edge or so hard it snaps. That is a metallurgy question, and metallurgy questions go to real testing, not to my opinion or a forum's. For heat-treat and steel science, Knife Steel Nerds is the source I point people to, because they actually test steels instead of repeating shop lore.
If you are set on starting knives early anyway, the honest on-ramp is a railroad spike knife. I wrote that one plainly because the spike is cheap, forgiving, and teaches blade geometry, but the steel in most spikes is low carbon and will never hold a real working edge. Treat it as a shape-and-forge exercise, not as a knife you will actually cut with, and you will get the lesson without the false expectation. Come to steel that hardens properly once your hammer control is real.
Where your fuel and steel come from
Two practical notes that affect every project, because beginners ask me these constantly.
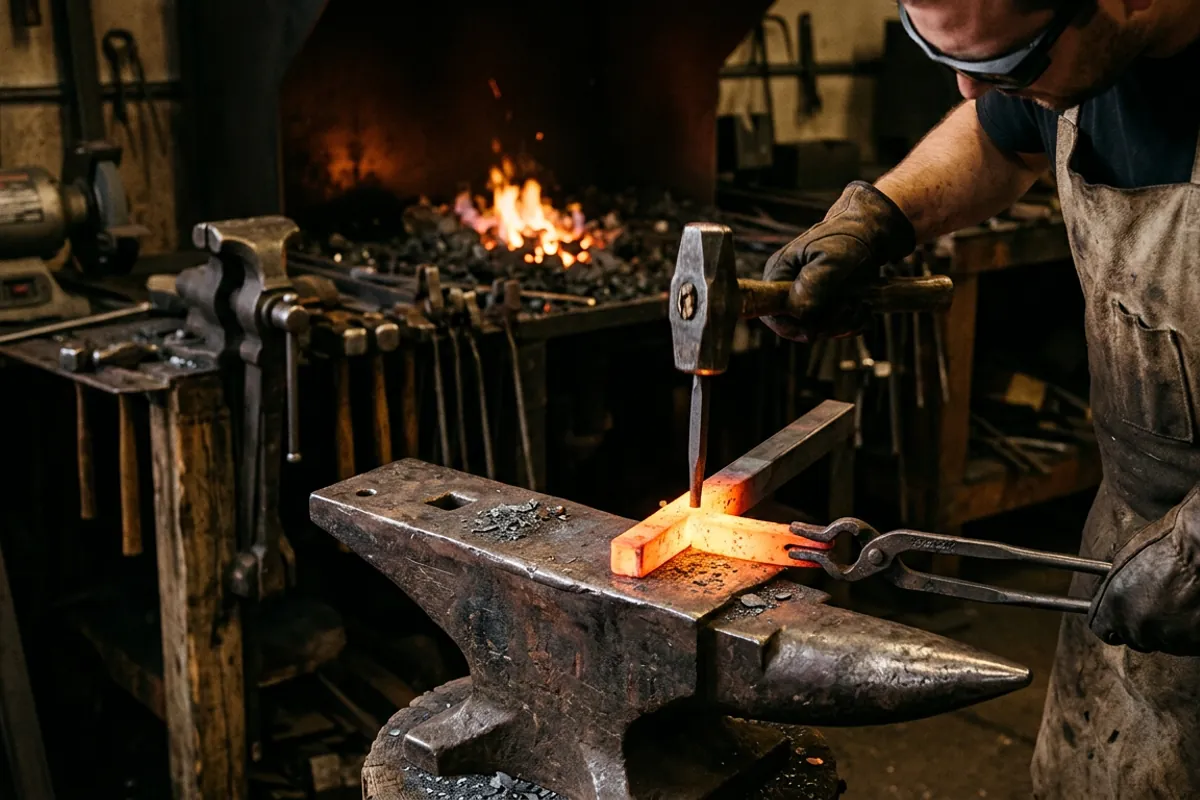
On fuel: it does not much matter whether your first forge burns coal or propane for the projects in this article. All of them run fine on either. Propane is easier to light, cleaner, and gives even heat, which is why most beginners start there, and I broke down the tradeoffs honestly in the coal versus propane comparison. The projects care about your control, not your fuel.
On steel: start with plain mild steel bar, in a few sizes of square and round stock. It is cheap, it forges easily, it is forgiving of beginner mistakes, and none of the projects above need anything better. Save your money and your nerves. Do not start on high-carbon or mystery scrap, because when a project goes wrong on unknown steel you cannot tell whether it was your hammer or the metal, and that ambiguity is poison when you are learning. Known steel means every mistake teaches you something clean.
Safety is part of every project, not a separate step
I take this seriously for a reason. Early on I quenched a blade in oil that was too cold, standing too close in a cotton shirt with no face shield, and the oil flared and took my eyebrows. I kept my eyesight by luck. Luck is not a safety plan.
So every project in this article assumes the same non-negotiable basics. Eye protection rated to ANSI Z87.1, worn from the moment the forge is lit, not just at the grinder. Natural fibers next to the heat, cotton or wool or leather, never synthetics that melt to your skin when a spark lands. Hearing protection when you are hammering for real. Ventilation, especially with coal or if you are near any galvanized coating, which you should simply keep out of your forge entirely because the fumes are genuinely dangerous. I laid out the whole kit and what actually matters in the safety gear rundown, and I would rather you read that before your first heat than after your first burn.
None of this makes you slower once it is habit. It just needs to be habit before the project, not a thing you add when a job looks risky, because the jobs that hurt you rarely look risky going in.
How to actually learn from a project
Two more habits separate the smiths who improve from the ones who plateau, and neither is about talent.
First, repeat before you advance. One hook is a fluke. Five hooks is a skill. When a project comes out well, resist jumping straight to something new and harder. Make the same thing three or four more times and watch it get cleaner and faster. The repetition is where the motion moves from your head into your hands, and hands that know the motion are what let you tackle the next hard thing.
Second, finish what you start, even the rough ones. A drawer full of half-forged projects teaches you nothing. Carrying an ugly hook all the way through the scroll and the finish teaches you the last twenty percent of the work, which is exactly the part beginners skip and exactly where the useful lessons hide. If you want a clear-eyed method for choosing projects that teach instead of just occupy the forge, I laid that out in the forging project guide, and it pairs directly with the sequence above.
That is the whole philosophy. Pick projects for the skill, not the object. Run them in an order that stacks. Use known steel and simple fuel, wear the gear every time, repeat until your hands know it, and finish the rough ones. Do that for a year and you will not be asking what to make anymore. You will look at a bar of steel and already see three things you know how to forge.