Most people come to blacksmithing wanting to make a sword, and I understand the pull, but blacksmithing projects for beginners are not about the finished object at all. They are about teaching your hands a small number of moves so completely that you stop thinking about them. Every skill you will ever use at the anvil, no matter how far you go, is some combination of a handful of basics: drawing steel out longer and thinner, upsetting it shorter and fatter, bending it, tapering it to a point, and putting a controlled twist in it. A good beginner project is just an excuse to drill one or two of those moves until they are yours. This is a reference, not a shopping list, so I am going to explain what each of those moves is, which projects teach them, and the order I would learn them in if I were starting over on the length of railroad track I began with twenty-five years ago.
What a beginner project is actually for
When I teach weekend beginners, the first thing I tell them is to stop caring what the piece looks like. Your first hook is going to be ugly. Your second hook is going to be ugly. Somewhere around your fifth or sixth, the hammer marks even out, the taper flows instead of stepping, and you realize you were not learning to make a hook at all. You were learning to hit hot steel where you meant to, at the angle you meant to, at the temperature it wants to move.
That is the whole game. A beginner project earns its place by isolating a move so you get dozens of clean repetitions in an afternoon instead of two. A sword gives you no repetitions. A hook gives you a taper, a scroll, and a bend in fifteen minutes, and then you do it again. The reps are the point. Pick projects that give you reps on one skill, and forge them in small batches so the muscle memory has a chance to set.
There is a second, quieter reason these projects matter: they tell you honestly where you are. When the steel will not move the way you want, you have not hit a wall of talent. You have hit a specific, nameable gap, hammer control, heat, or steel choice, and each of these projects points at exactly one of those gaps so you can close it.
The core moves every project drills
Before the projects, know what you are drilling. There are only a few fundamental operations, and nearly everything a smith makes is a sequence of them.
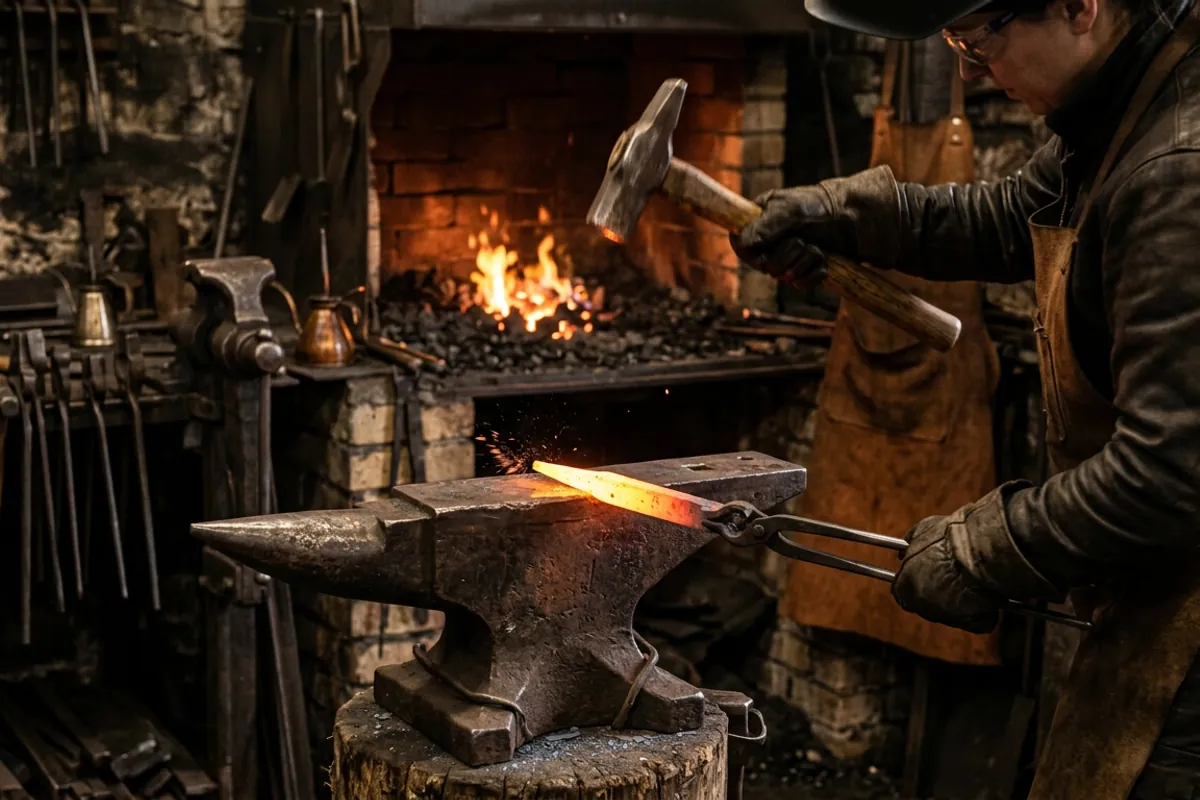
Drawing out is making steel longer and thinner by hammering it. You work over the far edge of the anvil face or the horn, and you learn to move metal in the direction you want instead of just mashing it flat. This is the single most-used move in the craft.
Tapering is drawing out to a point, rotating the stock a quarter turn between hammer blows so you bring all four sides down evenly. A clean, round taper is one of the hardest simple things to do well, and it is the heart of most first projects.
Bending is exactly what it sounds like, but doing it where you intend, with a crisp corner or a smooth curve rather than a lazy sag, takes practice over the horn and the anvil edge.
Upsetting is the opposite of drawing: hammering on the end of a hot bar to make it shorter and fatter, bunching the metal up. Beginners struggle with it because the bar wants to bend instead of upset if any part of it is too cold.
Twisting puts a spiral in square stock. It looks advanced and is genuinely one of the easier moves, which is why it is such a satisfying early win. Even heat is everything: a hot spot twists tighter than a cold spot and the twist walks unevenly.
Every project below is chosen because it hammers on one or two of these and leaves the rest alone. If you want a fuller walk through picking work by the skill it teaches, I go deeper in how to pick a forging project that actually teaches you something.
The J-hook, and why it is always first
If a beginner only ever makes one thing, I want it to be a J-hook, a simple wall hook bent from a short length of mild steel. I hand this project to every single person who walks into a lesson, and I explain why on the blacksmith hook page in more detail, but the short version is that a hook packs the most fundamental skills into the smallest, most forgiving piece of work there is.
You draw a taper on one end. You bend that taper into a small scroll or a leaf. You put a bend in the body of the hook. You may flatten and punch or drill a hole for mounting. That is drawing, tapering, and bending, three of your core moves, in a piece that takes fifteen minutes and costs pennies in steel.
The hook is forgiving because there is no wrong answer for its shape. A blade has to be straight and a specific thickness. A hook just has to hold a coat, so you are free to focus entirely on the quality of your hammer work rather than on hitting a spec. Make ten of them. Line them up on the bench. You will see your own progress in a row, and that visible progress is worth more to a new smith than any single pretty piece.
Tapers, points, and the S-hook
Once the J-hook feels less like a fight, move to work that is nothing but taper practice. Two projects do this well.
A steak turner or fire poker is a long, slow taper on square stock, often with a twist in the handle and a hook or eye on the end. It forces you to draw a clean, even taper over a longer run than a wall hook does, and a long taper punishes sloppy hammer control in a way a short one hides.
An S-hook is two scrolls facing opposite directions on a tapered bar. It doubles your bending practice and teaches you symmetry, because the eye immediately catches when the two curls do not match. S-hooks also teach you to plan your heats: you cannot forge both ends at once, so you learn to work one end, reheat, and work the other without ruining the first.
Both of these live in the same family as the hook, and both are honest reference points. When your tapers stop stepping and start flowing, you have earned the next skill.
The twist, and the beginner's leaf
Twisting is the project new smiths always want to skip ahead to, and I say let them, because it is a genuine early win that keeps people at the anvil. Take a length of square stock, get an even heat over the section you want to twist, clamp one end in the vise, and turn the other with a wrench. The whole trick is even heat. Where the bar is hotter it twists tighter, so a rushed, uneven heat gives you a lopsided spiral. A steady, soaking heat gives you a clean, evenly spaced twist that looks like you knew what you were doing.
The leaf is the other project I push here, usually a leaf on the end of a keychain fob or a small hook. A leaf teaches you to upset slightly, spread the metal with the flat of the hammer or the peen, and then texture and shape it. It is the first project where the peen of a cross pein hammer earns its keep, spreading metal in one direction instead of just flattening it. A leaf key fob combines a taper for the stem, a bit of spreading for the leaf, and a small bend, and it fits in a pocket, so people actually carry the thing and remember they made it.
Bottle openers, drifts, and your first punched hole
After tapers, twists, and bends feel steady, add punching and drifting: making and shaping a hole in hot steel rather than drilling it cold. This is a real skill jump, and it opens up a lot of work.
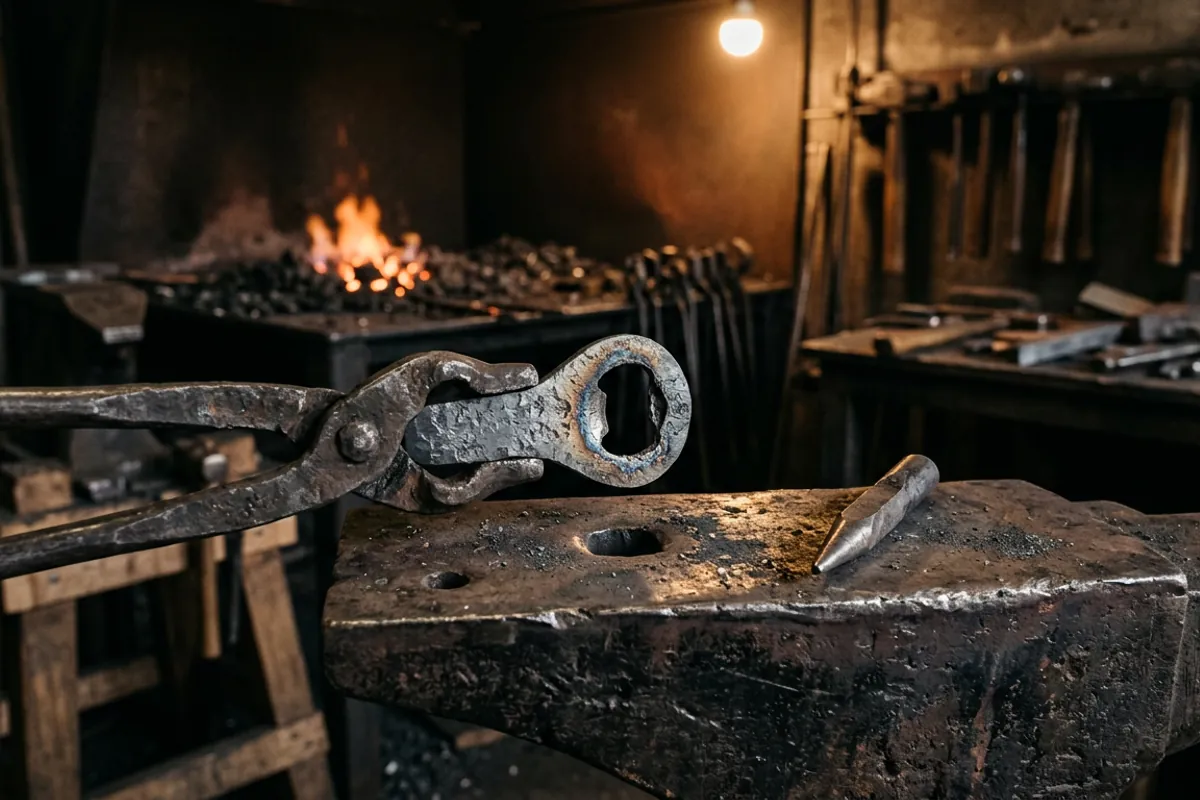
A bottle opener is the classic project here. There are several styles, but the ones that teach the most involve forging a shape and then punching a hole through the working end so the opener actually catches a cap. You learn to punch a hole with the steel at a bright heat, work over the pritchel hole in the anvil so your punch has somewhere to go, and drift the hole to final size and shape. Done from square stock with a twisted handle, a bottle opener rolls up nearly every basic move into one useful object. I laid out the whole approach in the gear I would use to forge a bottle opener at home if you want to follow one all the way through.
Punching also introduces you to keeping your punch cool. A hot punch mushrooms and sticks, so you dip it, you punch in short bursts, and you learn to feel when the steel has given way. These are the same habits you will use later for hardy tools and hammer eyes, so the humble bottle opener is quietly teaching you factory-grade skills.
Safety is part of the project, not an add-on
I will not write a beginner project guide without stopping on this, because I have the story to back it up. Early on I quenched a blade in oil that was too cold, standing too close in a cotton shirt with no face shield, and the oil flared up and took my eyebrows. I kept my eyesight by luck alone. Luck is not a safety plan.
So before any of these projects, get the basics right. Eye protection rated ANSI Z87.1 goes on before the forge is lit and stays on, because scale flies off hot steel under the hammer and it flies without warning. Wear natural fibers, cotton, wool, leather, and keep synthetics away from heat entirely; a polyester shirt does not burn so much as melt onto skin. Tie back anything that dangles, work with good ventilation, and keep a way to put out a fire within reach. None of these beginner projects involve heat treating, which keeps you away from the quench tank and the worst of the burn risk while you are still learning, and that is on purpose. I keep a full rundown on the blacksmith safety gear page; read it before your first heat, not after your first burn.
The reason I steer beginners toward hooks and openers rather than knives is partly this. A knife pulls you into hardening and quenching before your hammer control is ready, and that is where people get hurt and discouraged at the same time. Learn to move steel first. The blades will still be there.
The order I would actually learn them in
If I were handing you a curriculum instead of a menu, here is the sequence. Start with the J-hook and make a dozen. Move to the S-hook and the poker for longer, cleaner tapers and doubled bending. Add a basic twist, then a leaf, to learn spreading and even heat. Then step up to the bottle opener for your first punched and drifted hole. By the time you have made all of these in small batches, you have drilled every fundamental move in the craft, and you did it on cheap mild steel with nothing at stake but your patience.
Notice what is not on this list: swords, damascus, anything that needs precise heat treat, anything with a spec you have to hit. Those are not beginner projects. They are intermediate projects wearing a beginner's ambition, and starting there is how people quit. The whole getting started topic hub is built around this same idea, that you earn the hard work by grinding the easy work first.
Keep your batches small, keep your steel cheap, and judge yourself on the row of hooks getting cleaner rather than on any single piece. That is how the craft actually gets learned, one boring, useful object at a time, and it is exactly how I learned it on a chunk of railroad track clamped to a stump, one ugly hook after another until they stopped being ugly.