I have verified live listings and real forum threads. Writing the article now.
Here is the article:
A smithing kit is one of those phrases that sells a lot of boxes and teaches almost nobody to forge. Search it and you get shrink-wrapped bundles with an undersized hammer, a fistful of tongs, and sometimes a chunk of cast metal called an anvil, all for one tidy price. Some of that is worth owning and some of it is landfill with a shipping label. I have been at this about twenty-five years, started self-taught on a length of railroad track clamped to a stump, and I teach weekend beginners now, so I have watched a lot of people spend a lot of money on the wrong first pile of gear. This guide walks the pieces a real smithing kit actually needs, tells you where the boxed bundles help and where they hurt, and points at specific products worth a look. I want to be straight up front: most of this is gear I have not personally run down model by model in my own shop, so the picks lean on published specs and owner reports from the forums, weighed against what I know from years at the anvil, not a bench test I am dressing up as gospel.
The short version, and how I judged these
If you want the fast answer: do not buy a single all-in-one smithing kit and call it done. Buy the anvil separately, buy the forge separately, and buy a hammer and a starter set of tongs that you will not have to replace in six months. The bundles that cram all of that into one box hit a price point by making every piece a little worse. A four pound "anvil" that is really a doorstop, a hammer with a head so light it teaches you bad habits, tongs that do not close on the stock they claim to hold.
The way I sorted the gear below is simple. I looked at published specs from the makers, I read owner threads on I Forge Iron and BladeForums, and I checked all of that against what I already know about how these tools behave under a hammer. Where the owner signal is thin or mixed, I say so. That honesty is the whole point of the site. My anvil, a 148 lb Trenton I call Bessie, is the yardstick I hold everything else against, and nothing in a fifty dollar kit comes close to that. Knowing the gap is what keeps you from overpaying for the wrong thing.
The smithing kit at a glance
Here is the field I am recommending, with only published figures. Where a maker does not state a number, it says so.
Scroll horizontally to see all columns.
| Piece | What it is | Key published spec | Price tier |
|---|---|---|---|
| Cast single-horn anvil | Budget starter anvil | 66 lb, cast steel | Budget |
| Simond Store single burner forge | Propane forge with stand | 2600 F rated, single burner | Mid |
| Cross pein hammer | 2 lb forging hammer | 2 lb, carbon steel, wood handle | Budget |
| Beginner tongs set | 6 piece tongs set | 6 pieces, steel | Budget |
| 3M Virtua safety glasses | Eye protection | ANSI Z87, polycarbonate lens | Budget |
Those specs come from the makers and retailers, not from a marketplace product page. The Simond forge rating is published by Simond Store on its own site (see the Simond Store product page). Where you see "cast steel" or "carbon steel," that is the maker's own material claim, not a hardness test I ran.
The anvil: the piece everything else serves
Every other tool in a smithing kit exists to move hot steel against the anvil, so the anvil is the piece I would never let a bundle pick for me. The little cast blocks that ship inside all-in-one kits are usually cast iron dressed up to look like an anvil, and cast iron has almost no rebound. You hit hot steel, the energy goes into the anvil instead of the work, and your arm does the job the tool should be doing. For a real breakdown of why weight and rebound matter more than looks, I wrote it up in the anvil weight guide, and it is worth reading before you spend a dime.
If you are on a tight budget and want a real horn, face, hardy hole, and pritchel hole in one piece, a cast steel single-horn anvil in the 66 lb class is the honest floor. It is not Bessie. A 66 lb anvil moves around under heavy blows and you will want it bolted or chained down to a solid stand. But cast steel gives you enough rebound to actually learn on, which cast iron does not. Here is the budget VEVOR version so you can see what that tier looks like:

I would treat that as a starter you outgrow, not a lifetime tool. When you are ready to buy the anvil you keep, spend the time to read the beginner blacksmith kit buying guide and shop used steel anvils by weight and rebound. A heavier used Trenton, Peter Wright, or Hay Budden off the classifieds will beat a new budget casting and often costs about the same. But if new and cheap is where you have to start, the cast steel 66 pounder gets you forging.
The forge: heat you can control
You cannot forge steel you cannot get hot, and the forge is where boxed kits fall down hardest because a real forge costs more than the rest of the kit combined. I run two forges in my own shop, a coal forge for heavy stock and forge welding and a propane forge for fast even heat and most day-to-day work, so I can speak to both fuels honestly. For a first forge, propane wins for most people: it lights fast, holds an even heat, and does not ask you to learn fire management before you learn to forge. I laid out the full tradeoff in coal or propane for your first forge.
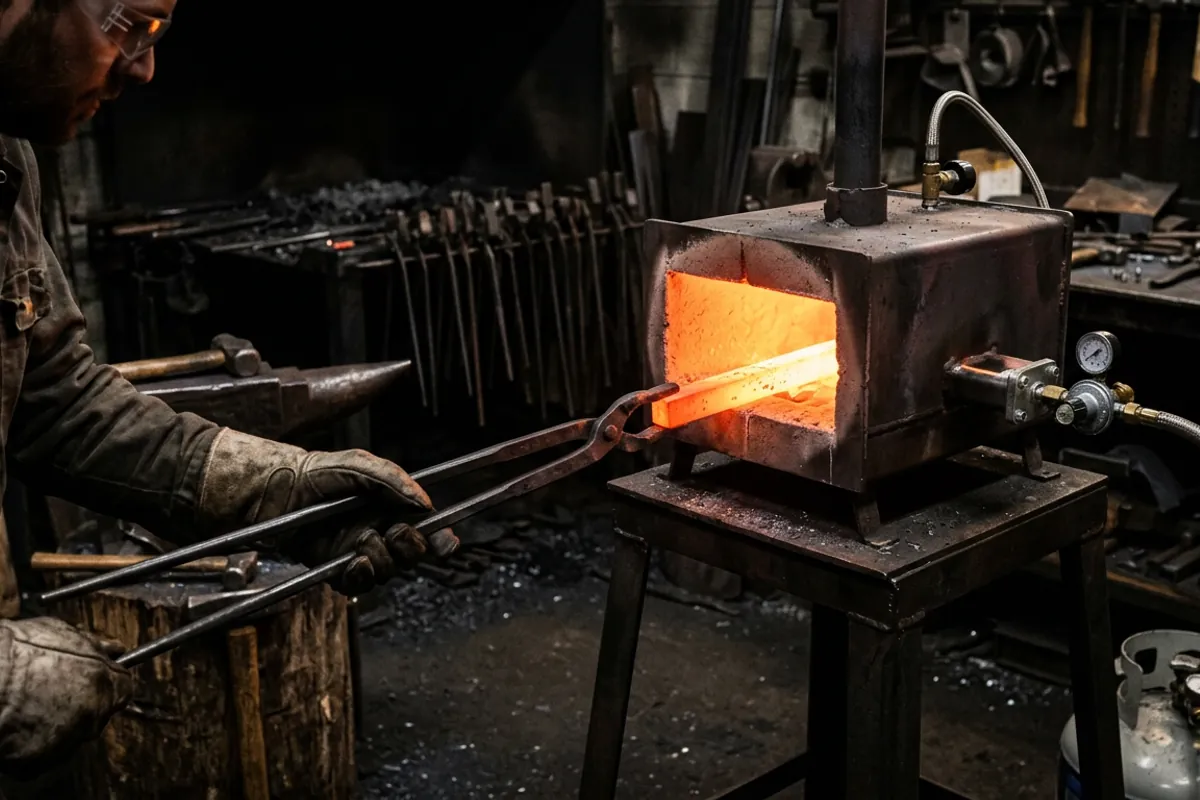
The single burner propane forges from Simond Store are the ones new smiths land on most often, and the version with the stand is a sensible starting point. Simond publishes a 2600 F rating on its own product page, and a single burner unit that size gets a knife or a small bar up to forging heat without trouble. The Simond Store product page lists the specs.
Check price on Amazon (paid link)
I will be honest about what owners report, because the reviews are mixed. Some people say the forge will not quite reach a bright white welding heat despite the 2600 rating, and a few mention leaks at the hose or regulator fitting out of the box. Others say the customer service replaces parts quickly. Two safety notes that are not optional: run any propane forge outdoors or with real cross ventilation, because it produces carbon monoxide, and check every gas fitting with soapy water before you light it. A hissing leak you cannot hear is how people get hurt.
The hammer: one good face beats a boxed set
The hammer is where the bundles cost you the most in the long run, because a light or badly hung hammer teaches your body the wrong motion and you carry that for years. You do not need a fancy hammer to start. You need a 2 lb to 3 lb cross pein with a head that is properly seated on the handle and a face with no sharp edges. A 2 lb cross pein is a good first weight for most adults, heavy enough to move stock and light enough that you can swing it all afternoon while your technique is still rough.
A plain 2 lb carbon steel cross pein like the BOKMAAI does the job, and it ships as a pair so you have a spare or one for a shop partner. The cross pein, that wedge shaped end, is what you use to draw steel out along its length; the flat face is for planishing and general work.
Check price on Amazon (paid link)
One thing I tell every beginner: dress the hammer face before you use it. A brand new hammer often has sharp corners on the face that will leave marks in your work. Knock those edges off with a file and a bit of sanding so the face has a gentle crown, and it will move steel cleaner. Whatever hammer you buy, check that the head is tight on the handle every session. A head that flies off mid-swing is a real hazard, not a maybe.
The tongs: where the boxed kits actually make sense
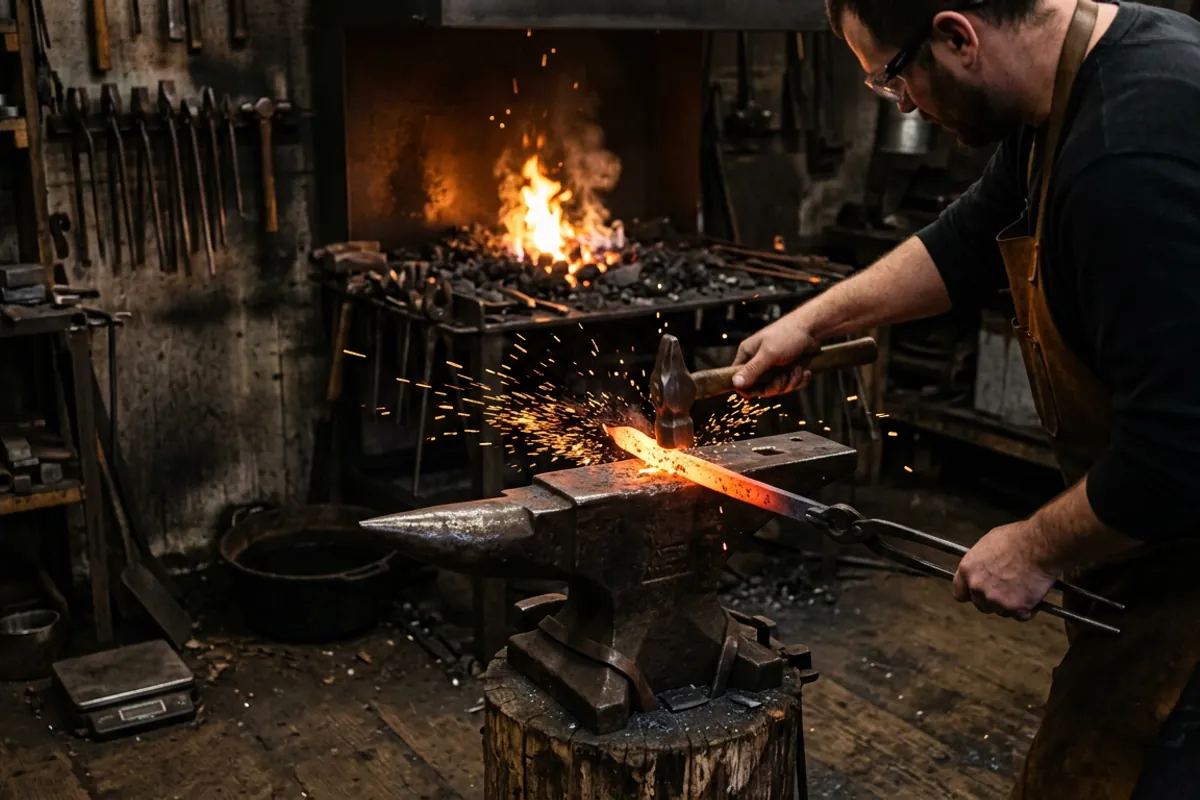
Here is where a smithing kit bundle finally earns its keep. Tongs are the one category where buying a starter set of several pairs makes real sense for a beginner, because you need different jaws for different stock and forging your own tongs is genuinely hard when you are new. A six piece beginner set usually gives you flat jaw tongs, pick-up tongs, scrolling tongs, and a few V-bit tongs in different sizes that hold both round and square stock. That covers most of what a beginner forges.
Check price on Amazon (paid link)
The honest read from the forums is that these imported sets are functional but rough. The common complaint on I Forge Iron and BladeForums is that the jaws often need to be adjusted to actually grip the stock the label claims, which means heating the reins and tweaking them so the jaws close true. That is not a defect so much as the price of a cheap set, and adjusting tongs is a good early lesson anyway. What you get is a working set of tongs for less than the cost of one pair of hand-forged ones, and you will not be dropping hot steel because you tried to hold everything in one wrong-sized pair. When you know which jaws you actually reach for, you upgrade those individually.
Eye protection: the one piece you never skip
This is the part I will not soften, because I have the story to back it up. Early on I quenched a blade in oil that was too cold, standing too close in a cotton shirt with no face shield, and the oil flared and took my eyebrows. I kept my eyesight by luck, not by anything I did right. Every kit you buy should have eye protection in it before it has anything nice.
Get safety glasses that meet the ANSI Z87.1 standard, which is the real impact rating, not fashion sunglasses. A basic pair of 3M Virtua glasses meets Z87 and costs almost nothing, so there is no excuse to skip them. Wear them at the forge, wear them at the grinder, wear them any time steel is moving.
Check price on Amazon (paid link)
Glasses are the floor, not the ceiling. At the grinder I want a face shield over the glasses, and near heat you want natural fibers, cotton or wool or leather, not synthetics that melt to your skin. For the full rundown of what safety gear matters and what is marketing, I wrote blacksmith safety gear. The short version is that eyes and lungs are the two things you cannot replace, so protect them first and always.
What owners say
Since most of this gear is not something I have personally torn down in my shop, here is what the forums actually report, product category by category, so you are not taking my word alone.
On the budget forges, owner signal is genuinely mixed. The Amazon reviews on the Simond single burner units run from people who forge happily with them to people frustrated they cannot hit a clean welding heat, plus scattered reports of hose or regulator leaks out of the box. That tracks with what any single burner atmospheric forge does: plenty of heat for general forging and knife work, marginal for reliable forge welding.
On the imported tongs, the threads are consistent. In the I Forge Iron discussion on beginner hammers and tongs, the recurring advice is that cheap sets work but expect to true up the jaws, and that learning to adjust tongs is part of the deal. The BladeForums thread on where to get tongs echoes it, with several smiths pointing beginners at inexpensive sets to start and hand-forged or upgraded pairs later. Nobody on those threads is pretending a twenty dollar set of tongs is a heirloom. They are saying it works well enough to learn.
On heat treat, which is where a lot of new smiths go wrong once they start making blades, I send people to real testing rather than kit instructions. Knife Steel Nerds publishes actual metallurgy on heat-treating common steels, and it will do more for your edges than any chart printed on the back of a kit box.
What I would tell a friend
If a buddy asked me how to spend his first few hundred dollars on a smithing kit, here is exactly what I would say. Skip the all-in-one box. Buy the pieces separately so each one is worth keeping. Put your money into heat and mass first: a real forge you can control and the heaviest honest anvil you can afford, even if that means a used steel anvil off the classifieds instead of a new casting. Spend the least on tongs, because a rough starter set is genuinely fine to learn on, and dress and true whatever tongs and hammer you get before you rely on them.
The one to skip is any bundle that sells you a light cast "anvil" as the centerpiece. That single choice will hold your forging back more than any other, and you will end up buying a real anvil anyway. The one thing to buy first, before anything fun, is eye protection that meets ANSI Z87.1, and to wear it every single time. I have the missing eyebrows to tell you why. Start there, add the forge, add the anvil, and let the rest of the kit fill in as your hands tell you what they actually reach for. For more of how I think about outfitting a shop from scratch, the rest of the More from the shop guides and the blacksmithing starter kit writeup go deeper than one article can.