If you are standing in an empty garage with a budget and a list, the blacksmithing equipment that actually matters is shorter than the internet wants you to believe. Heat, mass, a hammer, something to hold hot steel, and eye protection. That is a working shop. Everything else is convenience you buy later, once the work tells you what it needs. If I were kitting out a shop from nothing tomorrow, I would put a two burner propane forge on the bench, a 100 lb or heavier anvil on a solid stand, a 2 to 2.5 lb cross pein hammer in my hand, one pair of wolf jaw tongs on the rack, and a pair of ANSI Z87.1 rated glasses on my face before I lit anything.
Two honest notes before the picks. First, I am a hobby smith of about twenty five years, not a dealer and not a test lab. I have run coal and propane for years and I have opinions earned on the floor, but I have not bought and burned down every model below. Where I am reading published specs and owner reports rather than speaking from my own bench, I say so plainly. Second, the picks lean on maker and retailer specs I checked, plus what smiths actually report on the forums, weighed against what I know about how this gear behaves in a home shop.
The short list that actually earns floor space
Every beginner I teach on a weekend shows up with a shopping list twice as long as it needs to be. Here is the list I hand back.
Forge. You cannot forge cold steel. This is the first purchase, and it decides what kind of smith you get to be for the first year.
Anvil. Not a "portable" 15 lb doorstop. Mass under the hammer is the whole trick, and light anvils steal your energy instead of returning it.
Hammer. One. A 2 to 2.5 lb cross pein does ninety percent of beginner work and will not wreck your elbow.
Tongs. One pair that actually fits the stock you are using. A pair that does not fit is worse than no pair, because it drops hot steel.
Eye protection. Rated eye protection, worn every time, not the safety glasses that came free in a drill kit.
A vise, eventually. A post vise is the blacksmith's vise for a reason. It takes hammering that would crack a machinist vise.
That is it. Anvil stand, brush, a slack tub, and a way to cut stock round it out, and none of those need to be bought new. If you want the longer reasoning behind this list, I wrote it out in blacksmithing tools: the short list that actually matters.
How the picks compare on paper
Published specs only. Where a maker does not publish a figure on a page I could actually reach and read, it says not published, because guessing at a number is how bad guides get written.
Scroll horizontally to see all columns.
| Equipment | The one I would look at | Published specs | Price tier |
|---|---|---|---|
| Propane forge, entry | Hell's Forge MAX, double burner | Double burner atmospheric propane forge, ceramic fiber blanket, firebrick floor. Chamber dimensions and steel gauge not published on a maker page I could reach | Mid |
| Propane forge, step up | NC Tool Whisper Momma, open end | Inside firebox 12 in x 3 in x 6.5 in, open end ports 1.5 in x 3 in, 45 lb, heats up to 2350 F, ships with hose, gauge and regulator | Premium |
| Hammer | Vaughan S40 (171-30) blacksmith hammer | 40 oz head, 1 3/8 in face diameter, hickory handle | Budget |
| Tongs | Simond Store 16 in wolf jaw tongs | 16 in overall length, forged steel. Jaw dimensions not published on a page I could verify | Budget |
| Eye protection | 3M SecureFit 200 series | Meets the impact rated protector requirement of the ANSI/ISEA Z87.1-2020 standard | Budget |
| Anvil, entry | VEVOR single horn cast steel, 66 lb class | See the card below, priced live from the feed | Budget |
Sources for those figures: the Whisper Momma firebox and weight come from Centaur Forge's listing, the Vaughan head weight and face diameter from Imperial Supplies, and the eye protection standard from 3M's SecureFit 200 series page.
The forge: the piece that sets your pace
I run two. A coal forge for heavy stock and forge welding, and a propane forge for fast, even heat and most of the day to day work. If you are buying one, buy propane. It lights in a minute, it holds a temperature without you nursing a fire, and it does not fill your neighborhood with smoke. Coal is better for heavy sections and for welding, and it is cheaper to build than to buy, but it asks more of you every single session. I laid the whole argument out in coal or propane: which first forge makes sense.
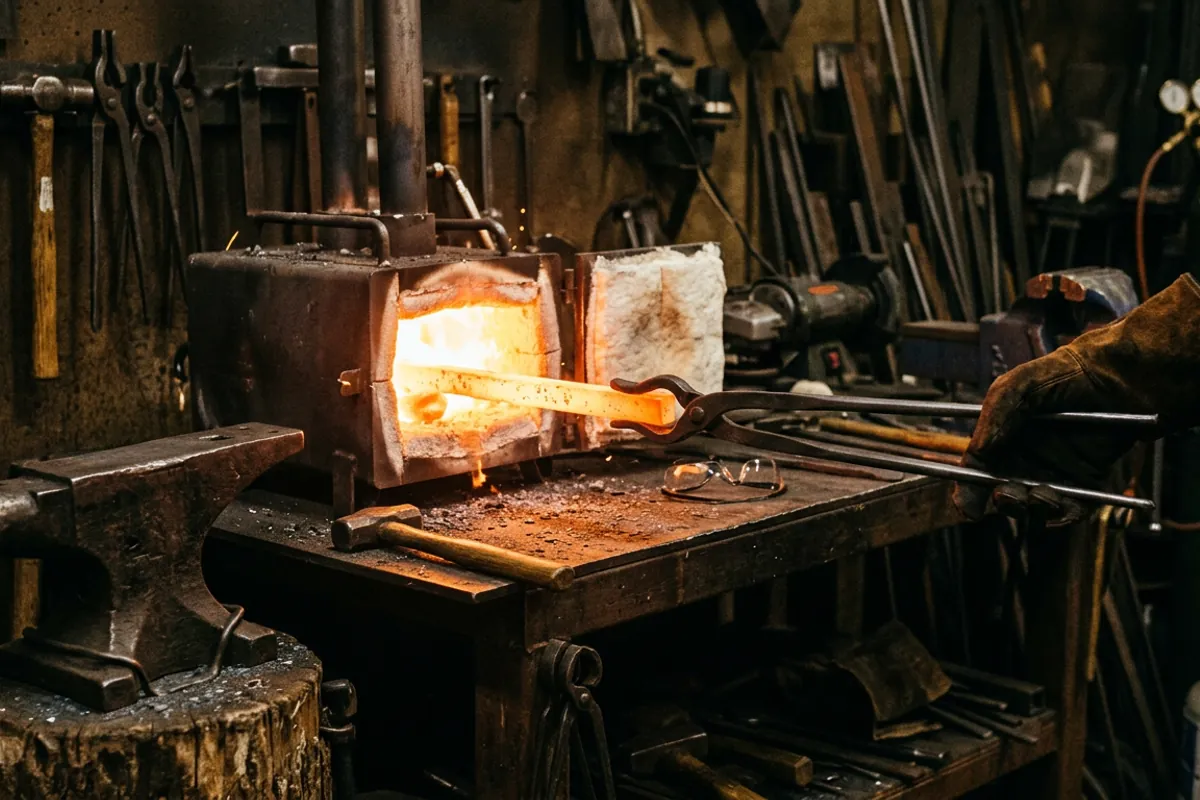
For a first propane forge, the double burner Hell's Forge MAX is the unit most beginners end up with, and it is a defensible choice. It arrives ready to light, it uses a coated ceramic fiber blanket over a firebrick floor, and it gets steel to forging heat in minutes. It is not a precision instrument. Owners on the knife forums are consistent about the weak point, which I will cover below.
Check price on Amazon (paid link)
If you can stretch, the NC Tool Whisper Momma is the one I would actually rather own long term. NC has been building farrier and smith forges for decades, the burners are atmospheric with push button ignition and need no blower, and the open end model lets you pass long stock straight through. Centaur Forge publishes the inside firebox at 12 in x 3 in x 6.5 in, end ports at 1.5 in x 3 in, weight at 45 lb, and heat up to 2350 F, with hose, gauge and regulator in the box. That 3 in firebox height is the honest limit: it is a fast, efficient chamber, not a big one.
Check price on Amazon (paid link)
Two safety points that are not optional. A propane forge makes carbon monoxide. Run it outdoors or in a space with real cross ventilation, never in a closed garage, and put a CO alarm in the shop regardless. And the ceramic fiber blanket in these forges sheds fibers you should not breathe. Keep it rigidized and coated per the maker's instructions, and wear a proper respirator any time you are cutting, patching or handling raw blanket.
The anvil: mass is the whole point
Bessie is a 148 lb Trenton and she is the tool I measure every other anvil against. I started on a cut length of railroad track clamped to a stump, which taught me the single most useful thing about anvils: what you feel is the anvil giving your energy back. A heavy face returns the blow into the steel. A light one swallows it and your shoulder pays.
The number that matters is weight, and the honest floor for general work is around 100 lb. Below that you are fighting the tool. I walked through the weight classes in what size anvil do you actually need, and how to judge a used one in how to buy an anvil without wasting your money.
If new and cheap is the only path open, the budget cast steel single horn anvils are what people buy. They have a horn, a face, a hardy hole and a pritchel hole, and at the 66 lb size they are genuinely usable for small work, tool making and knives, while being underweight for drawing out heavy bar.

Be clear eyed about what a budget cast anvil is. It is not a forged tool steel anvil, and the difference shows up as rebound and as how the face holds up over years. I would rather have a beaten 120 lb old anvil off a farm sale than a shiny 66 lb one, every time. But a 66 lb anvil you own today beats a 200 lb anvil you are still saving for.
The hammer you will swing all day
New smiths overbuy hammer weight worse than any other category. A 4 lb hammer feels serious in the shop and ruins your elbow by month three. Start at 2 to 2.5 lb, learn to let the hammer fall instead of driving it, and add weight only when the work demands it.
The Vaughan S40 is the plain, boring, correct answer. A 40 oz head, a 1 3/8 in face and a hickory handle, from a maker that has been turning out striking tools for a very long time. Out of the box the face and edges are usually too sharp for forging, and every experienced smith I know does the same thing: dress the face slightly convex and break the edges with a file and sandpaper before first use. Sharp corners leave cold shuts and hammer marks you will spend an hour grinding out.
Check price on Amazon (paid link)
Handle length is personal. Shorter gives control, longer gives reach and speed. If a handle does not suit your hand, replace it. A hammer handle is a consumable, not a commitment. More on picking and dressing a first hammer in the blacksmith hammer I would hand a beginner.
The first pair of tongs
Tongs are the piece of blacksmithing equipment beginners get most wrong, because they buy a set of eight and none of them fit. Tongs grip one size and shape of stock properly. A wolf jaw is the compromise that handles flat, square and round in a usable range, which is why it is the pair I tell people to buy first.
The Simond Store 16 in wolf jaw tongs are the common budget answer. Sixteen inches overall, forged rather than cast, and cheap enough that a beginner can have one working pair while learning to forge their own. Simond does not publish jaw dimensions on a page I could verify, so I am not going to invent one for you.
Check price on Amazon (paid link)
Expect to adjust them. Imported budget tongs commonly arrive with jaws that do not line up, and the fix is the same one smiths have used forever: heat the reins and boss, close them on a piece of the stock you actually use, and set the jaws to that. If a pair rocks or twists on the stock, do not use it for anything you would not want landing on your boot. There is more on fit and the styles that matter in the blacksmith tongs I would buy first.
The vise, and the stand you forget to budget for
A post vise, the kind with a leg running to the floor, is built to be hammered on. That leg carries the blow into the ground instead of into the cast body, which is exactly what a machinist vise cannot survive. On BladeForums, smiths discussing leg vises talk about drop forged jaws faced with tool steel and mounting the vise solidly enough for hard work, and they treat the post vise as the default forging vise rather than something that needs defending against a bench vise. That matches everything I have seen at club forges: the bench vise is for filing, the post vise is for bending, twisting and drifting.
Buy used. Old post vises turn up at farm sales and scrap yards constantly. Check that the screw and screwbox threads are not stripped, that the jaws close parallel, and that the mounting bracket and spring are present, because those are the parts people lose. My full take is in the blacksmith vise I would buy first.
And budget for the anvil stand. An anvil on a wobbly stand rings like a bell and moves under the hammer. A hardwood stump or a welded tripod at the right height, which for most people is knuckle height with your arm hanging, does more for your forging than any tool you can buy.
Safety equipment is equipment
Early on I quenched a blade in oil that was too cold, standing too close in a cotton shirt with no face shield. The oil flared. It took my eyebrows and I kept my eyesight by luck alone. Nothing about that story is charming. It is the reason this site does not treat protective gear as an accessory.
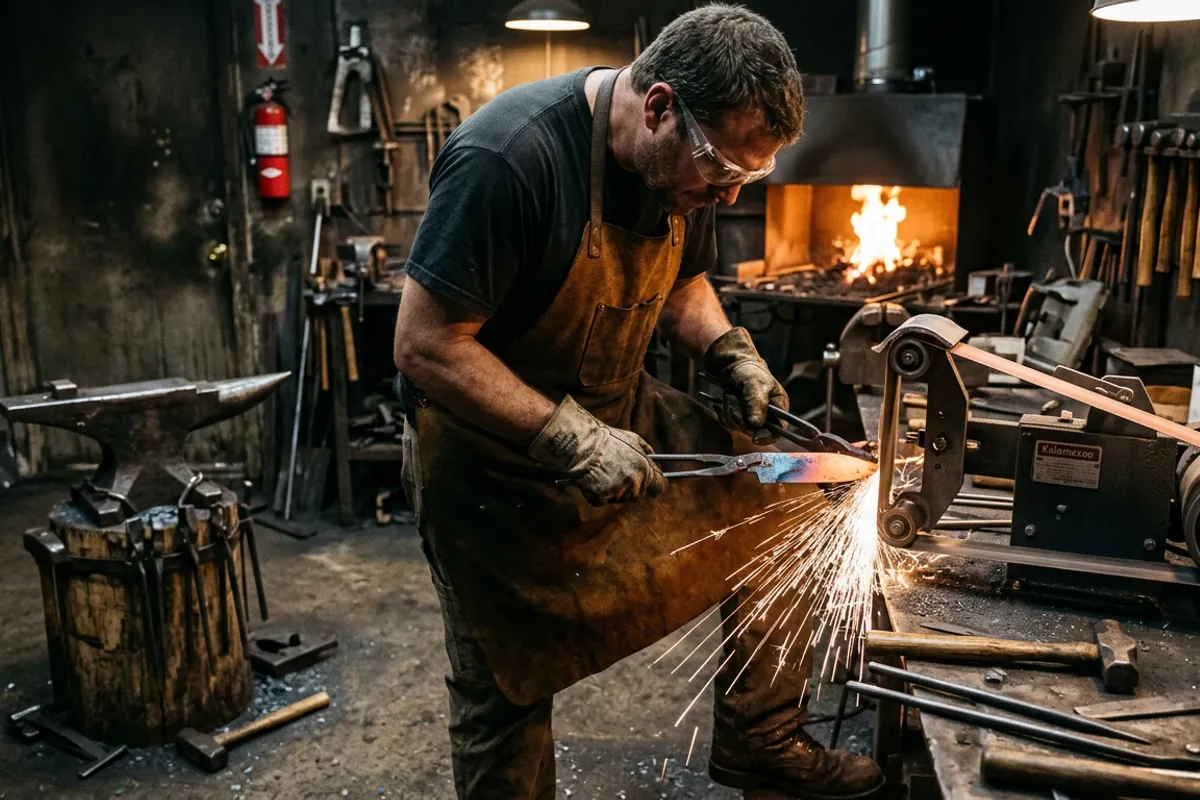
Eyes. Rated protection means ANSI Z87.1. The 3M SecureFit 200 series meets the impact rated protector requirement of the ANSI/ISEA Z87.1-2020 standard, which is the claim you should be checking for on any glasses you buy. Wear them under a face shield at the grinder and when quenching, never instead of one.
Check price on Amazon (paid link)
Clothing. Natural fibers only near the forge. Cotton, wool, leather. Synthetics melt onto skin and turn a scale burn into a graft. No cuffs, no open pockets, no untucked hems for scale to land in. Boots, not sneakers.
Hands and ears. A light leather glove on the tong hand if you like, bare or lightly gloved on the hammer hand so you can feel the tool. Hearing protection whenever the grinder or a power hammer is running.
Quenching. Keep oil warm, keep a lid within reach, keep your face out of the plume, and never quench over your own feet. Steel and heat treat questions belong with people who actually test them, and for that I send everyone to Knife Steel Nerds rather than guessing at numbers.
The full rundown, including what I think is worth skipping, is in blacksmith safety gear: what matters and what to skip.
What owners say
I have not run every unit above, so here is what the people who own them report.
On the Hell's Forge two burner, the KnifeDogs thread on it is the most useful signal I found. One member says flatly it "will do fine for starting out." More experienced members push back on the design: the burners fire straight down from the top, which they describe as producing hot spots and uneven heat, with one calling it "not a very good design" but "not a terrible forge to start with." The practical takeaway from that thread is that it is fine for general blacksmithing and short blades, and a poor choice if your ambition is long even heats for damascus. That matches the physics of a top down burner, and it is worth knowing before you buy.
On the NC Tool forges, owner signal skews positive and long running, mostly from farriers who use them daily, but I want to be honest that I did not find a single definitive forum thread to cite for the Whisper Momma specifically. What I can cite is the maker's published spec sheet through Centaur Forge, linked above. Treat the rest as reputation rather than documented consensus.
On budget cast anvils, the honest answer is that verifiable forum consensus is thin. Most of the feedback lives in retailer review sections rather than in smith forums, and retailer reviews are the weakest evidence there is. Smiths who talk about these anvils on forums generally frame them as workable starter tools with modest rebound compared to a good forged anvil, which is what you would expect from the material and price.
On post vises, the BladeForums discussion is a good window into how smiths actually value them, including the point that older drop forged vises with tool steel faced jaws are worth restoring rather than replacing.
What I would tell a friend
Buy the propane forge, buy the heaviest decent anvil you can actually afford and lift, buy one 2.5 lb hammer, buy one pair of wolf jaw tongs, and buy rated glasses before any of it. That is a shop. If money is tight, the order to cut is: skip the new anvil and hunt a used one, skip the vise until you need it, and never skip the eye protection.
The thing to skip outright is the tool set. Eight pairs of tongs that fit nothing, a hammer too heavy to swing, and a token anvil are how a lot of people spend real money and end up unable to forge a hook. Buy fewer, better pieces, one at a time, and let the work tell you what is missing.
And ventilate. Whatever fuel you burn, the shop needs air moving through it and a CO alarm on the wall. That is the one piece of blacksmithing equipment nobody puts on a shopping list and everybody should.
More guides live on the More from the shop hub, and if you are still deciding on the first big purchase, start with the blacksmith forge I'd actually put in a beginner's shop.