If you want the short version: the best blacksmith vise for most home shops is an old post vise, bought used, for less than you think, and mounted so it cannot move. Nothing made today for a workbench does what a leg vise does, which is take a hammer blow and dump the force straight down a steel leg into the floor instead of into a brittle casting. If a post vise is not available or not in the budget, the modern substitute I would buy is a ductile iron bench vise like the Yost 750-DI, and I would keep the hammering off it as much as I can. I have run a post vise in my own shop for years alongside Bessie, my 148 lb Trenton, so the general advice here comes off my own floor. The specific model picks do not: those lean on published maker specs and on what owners report on the forums, weighed against what I know about how vises get used and abused in a smithy.
Post vise or bench vise: pick the fight first
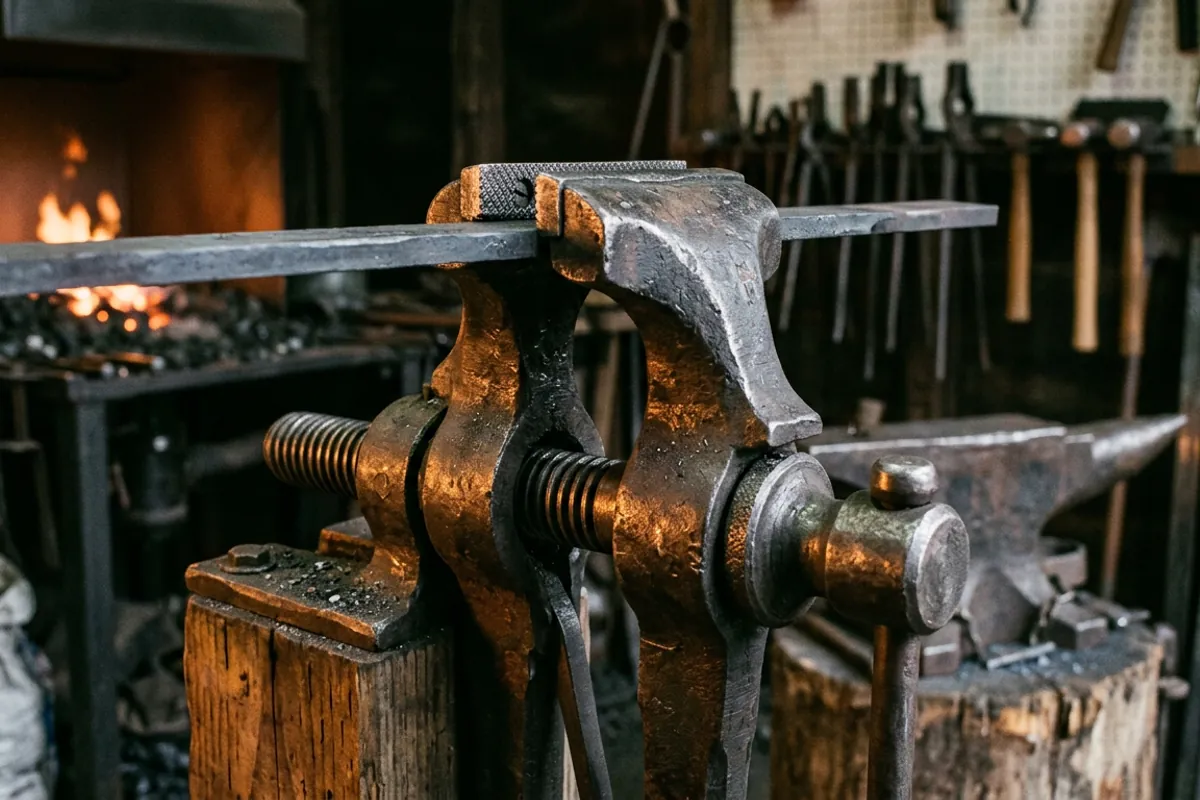
A post vise, also called a leg vise, is the only vise designed for what smiths actually do. The body is traditionally wrought iron with steel jaw faces, the moveable jaw pivots on a pin near the middle, and a leg runs from that pivot down to the floor or to a foot plate. When you clamp a hot bar and beat on it to put in a twist or upset a shoulder, the blow travels down the leg into the ground. That is the entire point. A mechanics bench vise has no leg. The blow goes into the slide, the swivel base, the mounting bolts, and the casting, and eventually something gives.
A bench vise still earns its place. Filing, sawing, holding a tang while you fit a guard, holding pipe, holding a handle while you drill it: that is bench vise work and a post vise is clumsy at it because the jaws only sit parallel at one opening. Plenty of shops run both. If I were setting up from nothing today with a hard budget, the vise money goes to a post vise first, and the bench vise comes later off a garage sale table. That order surprises people who came to smithing from woodworking or auto work, but it matches the order the tools get used. It is the same logic behind the short list in the black smith tools you actually need to start.
The thing to understand about the modern bench vise market is what the castings are. Most budget bench vises are gray cast iron, usually advertised at 30,000 PSI tensile. Gray iron is strong in compression and brittle in tension and shock. It does not bend before it breaks, it just breaks, and it can throw a piece when it does. Ductile iron is a different animal, it will deform before it fractures, and that is why the ductile models cost more. For a vise in a smithy, where somebody is going to put a cheater bar on the handle or lean on a hot bend, that difference is worth paying for.
How the four stack up
Published specs only. Where a maker does not publish a figure, it says so.
Scroll horizontally to see all columns.
| Vise | Type | Jaw width | Max jaw opening | Throat depth | Body material | Weight |
|---|---|---|---|---|---|---|
| Kanca 5 in leg vise | Post (leg) vise | 5 in | 5.5 in | not published | Cast body, SAE 1323 induction hardened serrated jaws | 52.9 lb |
| Yost 750-DI | Bench, multi jaw rotating | 5 in | 5 in | 4 in | Ductile iron | 63 lb (shipping weight) |
| Wilton 744 | Bench mechanics | 4 in | 4-1/2 in | 3-7/16 in | 30,000 PSI iron casting | 37 lb |
| Yost 465 | Bench utility, combination | 6-1/2 in | 5-1/2 in | 3-3/4 in | 30,000 PSI cast gray iron with steel U channel bar | not published |
Sources: Centaur Forge on the Kanca 5 inch leg vise, Yost on the 750-DI with dimensions from Penn Tool, Wilton on the 744, and Yost on the 465 with opening and throat figures from Penn Tool.
One note on reading that table. Jaw width sells vises, but throat depth and how the vise is mounted decide what you can actually do with it. A 6-1/2 inch jaw on a shallow throat still will not let you drop a long bar down past the jaws to put a bend right at the clamp line, and that is a move you make constantly.
Kanca 5 inch leg vise: the new post vise
If you want a post vise and you do not want to spend six months trawling farm auctions, new ones are still made. Kanca in Turkey makes leg vises that the North American blacksmith suppliers carry. Centaur Forge lists the 5 inch (125 mm) model at 52.9 lb with a 5.5 inch maximum opening, jaws of SAE 1323 induction hardened steel, and a total leg tip to jaw measurement of 41.5 inches designed around a 30 inch mount height. Blacksmiths Depot carries the same Kanca leg vise and a 6 inch version.
At the price Centaur listed when I checked, 409 dollars for the 5 inch, this is not the cheap route. It is the certain route. You get a spring that is there, a screwbox that is not worn oval, jaws that meet, and a mount bracket in the box. Every one of those is a thing that is missing or shot on half the used vises you will look at.
Who should buy new: anybody who values a working shop over a treasure hunt, anybody who has already lost two auctions to a decorator who wanted a vise for a porch, and anybody whose local used market is picked clean. Who should not: anybody within driving range of a real farm auction circuit, where a serviceable old 5 inch vise still turns up for a fraction of that.
The honest tradeoff is that the old wrought iron bodies have a reputation the new castings have not had time to earn. That is not me claiming the new ones fail, I have not run one. It is me saying the sample size on a 120 year old Columbian is a century of hard use and the sample size on a current production vise is not.
Yost 750-DI: the bench vise I would buy if a post vise is out of reach
This is the modern bench vise I would put in a smithy. Yost publishes the 750-DI as heavy duty ductile iron with three sets of replaceable hardened steel jaws, parallel serrated jaws plus pipe jaws plus V jaws, a head that rotates 360 degrees and locks every 30 degrees, and a body that rotates on an interlocking V grooved swivel base with two lockdowns. Penn Tool lists it at 5 inch jaw width, 5 inch opening, 4 inch throat, 63 lb shipping weight.
Ductile iron is the whole reason it is on this list. In a shop where a vise gets asked to hold a bar while you correct a bend with a wrench, brittleness is the failure mode that matters, and ductile iron gives you deformation and a warning instead of a bang and shrapnel. The V jaws are genuinely useful to a smith too, because round stock in flat serrated jaws rolls and round stock in a V does not.
It is still a bench vise. It has no leg, and no amount of ductile iron changes the load path. I would use it for holding, filing, twisting with a wrench, and light persuasion, and I would not use it as an anvil. The cast pad on the back of any bench vise, including this one, is a place to set a hot bar down, not a striking surface.
Check price on Amazon (paid link)
Wilton 744: the small ductile bench vise that lasts
The Wilton 740 series is the vise that shows up in shops that have been running for thirty years and is still there. Wilton publishes the 744 at 4 inch jaw width, 3-7/16 inch throat, 37 lb net weight, built from a heavy duty 30,000 PSI iron casting with hardened steel main and pipe jaws, a 360 degree swivel base with double lockdowns and four mounting posts, and lifetime sealed lubrication. Retailers list the maximum opening at 4-1/2 inches, which Wilton's own page does not state.
Four inches of jaw is small for a smithy and I will not pretend otherwise. What you are buying is the rest of it: the fit of the slide, the way the screw runs, the fact that the jaws come back parallel after years of use, and a warranty behind it. If your bench vise work is knife handles, tangs, hardware and fitting rather than heavy bar, this size is enough and the quality is a step up from anything at the same price.
Worth being precise about the material, because listings are sloppy: Wilton's own page for the 744 calls it a 30,000 PSI iron casting. Some retailer copy calls the body ductile iron. When maker and reseller disagree, believe the maker, and treat it as a very good gray iron vise rather than assuming ductile.
Check price on Amazon (paid link)
Yost 465: big jaws, cheap, and cast gray iron
The Yost 465 is the budget end done about as well as the budget end gets done. Yost publishes it as 30,000 PSI cast gray iron with a steel U channel bar, 6-1/2 inch jaw width, replaceable hardened steel serrated top jaws with a permanent serrated pipe jaw underneath, a 360 degree swivel base with two lockdowns, and a large anvil work surface. Penn Tool lists 5-1/2 inch opening and 3-3/4 inch throat.
For a hobby shop that needs a wide jaw to hold flat stock while you file, saw, or fit, that is a lot of vise for the money, and the replaceable jaws matter more than people expect because serrations round off.
The tradeoff is not subtle and I will state it flat: this is a gray iron casting with a steel channel, not a forging and not ductile iron. Do not hammer on it, do not slip a pipe over the handle, and do not use the swivel base as a hinge to lever a bend. Gray iron fails suddenly. If the way you work is going to involve leaning on things, buy the ductile vise instead and be done.
Check price on Amazon (paid link)
Buying a used post vise without getting burned
This is where most smiths actually get their vise, so it is worth spelling out what to check. It is the same skeptical shopping I describe in how to buy an anvil without wasting your money, and the failure modes are just as specific.
The screw and screwbox. This is the part that kills a vise. Run the screw all the way in and all the way out. It should turn with even resistance the whole travel. Slop, grinding, or a screw that binds at one point means worn threads, and a worn screwbox is the one repair most people cannot make at home.
The jaws. Close them empty. On a post vise they will only touch flat at one opening, because the moveable jaw swings on the pivot, and that is normal and by design. What you do not want is a jaw with a chunk broken out, a face that has been welded up badly, or serrations worn perfectly smooth.
The pivot and the mount. Check the pivot pin and the wedge or key that holds the pivot bracket. Check whether the U bracket and mounting hardware are present. They are commonly missing and commonly the reason a cheap vise is cheap.
The spring. The leaf spring that opens the jaws is often gone or broken. This is the one defect I would not walk away over, because a spring is a piece of leaf stock and a couple hours at the forge, which is a fair beginner project anyway.
Cracks and old welds. Look hard where the leg meets the body and around the screwbox. A repaired break on a wrought iron vise can be sound, but you want to see it and price it accordingly.
On price, the recurring thread on the forums is that the used market has stiffened. Smiths on I Forge Iron comparing the two options report bench vises in the 60 to 100 dollar range locally against 300 dollars and up for leg vises in the same market, in the thread Bench Vise Vs Blacksmith (leg) Vise?. Deals still happen. Another member posting in Found cheap leg vise. Worth buying? turned one up around 80 dollars. Rusty is fine. Worn threads are not.
Mounting, and why it matters more than the vise
A vise that moves is a vise that hurts you. This is the part beginners skip and it is the part with the actual hazard in it.
A post vise wants its leg carrying load to the floor, and it wants the body bolted to something that does not walk: a heavy post set in the ground, a timber bolted to the wall framing, or a welded stand with a wide base you can bolt or weight down. Get the jaws around 30 inches high, or lower if you plan to bend heavy stock with your body weight over it. Standard advice from the smiths answering mounting questions on I Forge Iron, such as the thread Absolute beginner starting out need advice on my vise, runs the same way: solid mount first, everything else after.
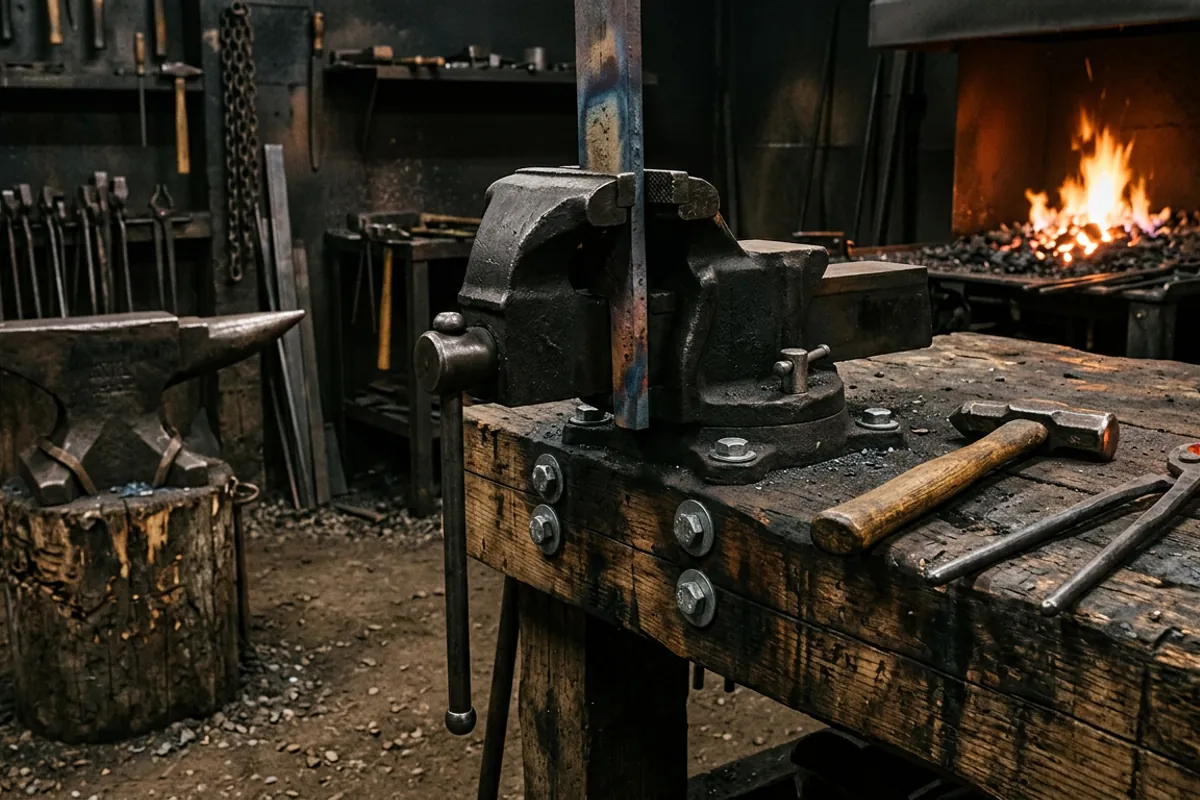
A bench vise wants every mounting hole used, with bolts and washers through a bench top thick enough not to crush, and the vise sitting near a leg rather than in the middle of an unsupported span. Four bolts, not two. Positioning the vise so the jaw faces overhang the front edge of the bench is what lets you drop a long bar down past the jaws.
Safety, and I am not going to soften this. Wear eye protection rated to ANSI Z87.1 any time you are hammering, filing, or wire brushing at the vise, because chips off hardened serrated jaws and scale off hot stock both come off fast and at eye height. Never put a cheater bar on a vise handle: you can overload the screw and you can crack a gray iron casting, and a cracked casting can throw metal. Wear natural fibers around hot steel, cotton or wool or leather, never synthetics, because synthetics melt onto skin. I learned the general lesson about standing too close to something that can flare when I quenched a blade in oil that was too cold, in a cotton shirt, with no face shield, and it cost me my eyebrows and very nearly more than that. The rest of what belongs on you is in blacksmith safety gear: what matters and what to skip.
One more that gets asked constantly: yes, you can put hot steel in a post vise, that is what it is for. Bright orange stock will not hurt hardened jaws in the time it takes to make a bend. What you should not do is clamp a hot bar in a bench vise and leave it there, because heat soaking into the slide and screw cooks the grease and can draw temper in the jaws. Quick work, then out.
What owners say
I have not run these specific modern vises down in my own shop, so this section is other people's reporting, attributed.
On the budget bench vises, the consensus is consistent and it is not flattering, but it is fair. In Anyone tried the Tekton vises? on The Garage Journal, owners describe the budget Tekton and Yost vises as near identical in construction and likely from the same source, note that they are copies of comparable Wilton patterns, and report multi year service on light to moderate bench work. The same thread is blunt about the ceiling: these are 30,000 PSI castings against 60,000 PSI on better grades, and one poster's summary of a cheap cast iron vise was that you get just what you pay for. That squares with the material story: fine for holding, not for abuse.
On post vises generally, the signal on I Forge Iron is strong and old. The standing questions in the Vises section are not whether a leg vise is better for forging, which nobody argues, but what to do when you cannot find one, as in Best Forging Vise When You Can't Get A Leg/Post Vise. The advice that comes back is to buy the heaviest, most solidly mounted bench vise you can and to keep hammering off it, which is exactly the recommendation I would make.
On the new Kanca leg vises, owner signal is thinner than I would like. They are sold by the established blacksmith suppliers and the published spec sheet is complete, but I did not find the volume of long term owner reports that exists for the old American makers. That is not a mark against them, it is a statement about how much evidence there is. If you want a vise with a century of proven service behind it, that vise is a used one.
What I would tell a friend
Buy a used post vise if you can find one with a good screw and screwbox, and do not let rust or a missing spring scare you off. That is the blacksmith vise, and everything else on this page is a substitute for it. If the used market where you live is dead, a new Kanca from a blacksmith supplier is the certain path and the specs are honest.
If you need a bench vise, buy ductile iron. The Yost 750-DI is the one I would put in a shop, with the Wilton 744 as the pick when 4 inch jaws are enough and you want the fit and the warranty. The Yost 465 is real value if you understand you are buying gray iron and you treat it accordingly.
And whichever you buy, spend the afternoon mounting it properly. A 50 lb vise on a bench that racks is worse than a 30 lb vise bolted to something solid. More shop setup thinking lives in More from the shop and in blacksmith shops, explained from the floor of one, and if the vise is going next to your first anvil, read what size anvil do you actually need? before you spend on either.