Verified enough live listings and sources. Writing the article now.
If you are ever unsure whether a beginner needs to buy an axe eye drift at all, here is the short version before the detail: for most people cutting their first hawk or hatchet, the Blacksmith Drift Kit 3PCS is the one I would start with, because it gets you a usable tomahawk drift, a hammer drift, and a small axe drift for less than the price of one made-to-order tool. An axe eye drift is the tapered steel bar you drive through a punched slot to open and shape the eye that the handle rides in, and the shape of that drift decides the shape of every eye you make, so it is worth understanding before you spend a dollar. I am a hobby smith, not a dealer, and I have shaped eyes over the hardy hole on Bessie for years, but I want to be straight with you up front: the picks below lean on published specs and owner reports from the forums weighed against my own shop experience, not on a bench test of every one of these imports.
That distinction matters here more than on most gear, because a drift is a simple lump of steel and the cheap ones are close enough to the expensive ones that the difference is mostly finish and heat treat, not magic. Let me walk you through what the tool does, what the field looks like, and where I would actually put my money.
What an axe eye drift actually does
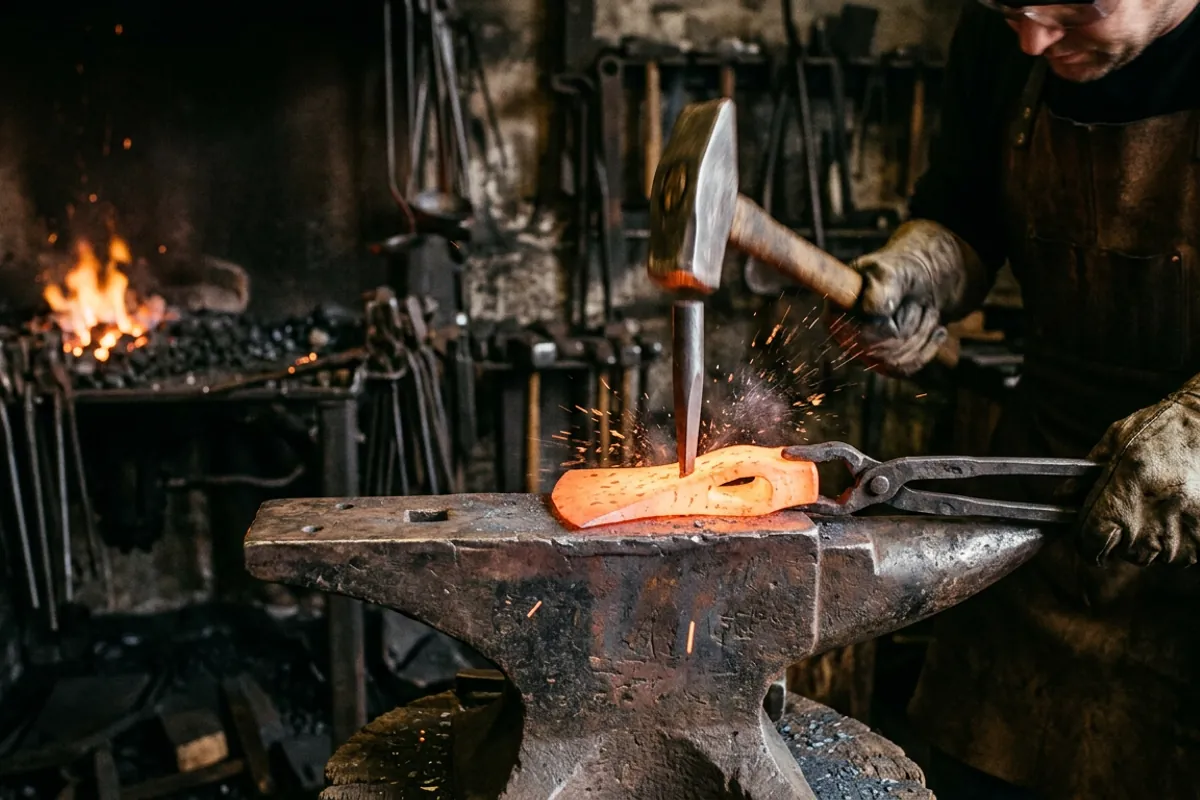
The eye of an axe or hammer is the tapered hole the wooden handle wedges into. You do not drill it and you do not grind it. You forge it: you punch or slit a slot through the hot head, then drive a tapered drift through that slot to stretch the metal outward into the finished eye shape. The drift is the male form; the eye is the female. Whatever the drift looks like in cross section, oval, teardrop, or the flat lens shape a felling axe wants, that is the shape your eye comes out.
Two things follow from that. First, you make or buy the drift before you start the axe, because the drift sets the size and the taper, and the taper is what lets the wedged handle lock in and never spin. A common figure smiths quote is a taper of about 7 to 10 degrees, with the widest point roughly two thirds of the way from the small end, so the drift can seat and then be driven back out. Second, the drift takes a beating. You are hammering hot steel down onto a cold tool, so a drift needs to be tough enough not to mushroom or crack. That is the whole reason people pay for a hardened, tempered drift instead of a random bar.
If you want the broader context of hot punching and drifting tools, I go deeper in the anvil hardy tools guide, since you drift over the hardy hole or pritchel hole most of the time. And because drifting is a hot, forceful operation, read the blacksmith safety gear guide before you start: eye protection to ANSI Z87.1 is not optional when you are driving a tool and scale is flying.
The field at a glance
Here is the shape of what you can actually buy, with only the figures the makers or retailers publish. Where a spec is not stated, I have said so rather than guess.
Scroll horizontally to see all columns.
| Drift or kit | Type | Length | Material | Price tier |
|---|---|---|---|---|
| Blacksmith Drift Kit 3PCS | Tomahawk, hammer, and mouse axe drifts | About 11 in | Steel, grade not published | Budget |
| Tomahawk eye drift / mandrel (single) | Tomahawk / hawk | Not published | Steel, grade not published | Budget |
| AncientSmithy axe eye drift | Axe / hammer | Not published (head weight 4.41 lb) | Hardened and tempered steel | Mid |
| Front Step Forge axe drift (maker direct, not Amazon) | Axe | 16 in | 4140 alloy steel | Premium |
The kit dimensions come from the listing detail: the tomahawk drift runs from about 3/8 by 3/4 at the small end up to 7/8 by 1 1/4 at the large end, the hammer drift from 5/8 by 7/8 up to 3/4 by 1 1/8, and the mouse axe drift from 5/16 by 7/16 up to 5/8 by 7/8, all roughly 11 inches long and oval. The Front Step Forge figures come from their product page, which lists 4140 alloy steel at about 2.25 by 3/4 inches at the widest point by 16 inches overall.
The Blacksmith Drift Kit 3PCS, the one I would start with
This is the import three piece set you see under a dozen different seller names, and it is the honest first buy for most beginners. You get a tomahawk drift, a hammer drift, and a small mouse axe drift, which covers the three projects a new smith is most likely to try in the first year. The tapers are usable, the oval cross section is right for most eyes, and the price is low enough that if you mangle one learning to punch straight, you are not out much.
Be clear eyed about what it is. The listings say heavy duty steel built for high temperatures, but they do not publish the alloy or a hardness, so I treat the heat treat as unknown. In practice that means keep the drift out of the fire, work it into cool or barely warm steel and quench it now and then so it does not soften, and do not expect a mirror finish. For a tool you drive through hot metal, none of that is a dealbreaker. If you are shaping tomahawk and hatchet eyes on weekends, this kit does the job.
Check price on Amazon (paid link)
If a power hammer ever enters the picture for drifting larger eyes, the drift is only half the equation, and I would point you at the forge hammer guide for the striking side of it before you scale up.
The single tomahawk eye drift and mandrel
If tomahawks are the only thing you care about, a single tomahawk eye drift or mandrel is the leaner buy. These are sold as one tapered bar shaped for the classic hawk eye, and the pitch is the same across sellers: forged steel, made to punch, heat, split, and drive to a consistent hawk eye. The best feature smiths point to on drifts like these is a knife-like leading edge at the small end, which helps the drift find and open the slot cleanly instead of tearing it.
The catch with the single tools is that most listings do not publish the dimensions or the steel, so you are buying on the photos and the seller description. If your only project is a hawk, and you want one dedicated form rather than a kit, it is a reasonable pick. If you think you will ever forge a hammer or a hatchet too, the kit above is better value because you are not buying three separate tools.
Check price on Amazon (paid link)
The AncientSmithy hand forged drift
Step up from the plain imports and you get into hand forged drifts from small makers, listed as hardened and tempered rather than mystery steel. The AncientSmithy axe eye drift is one of those: sold as a heavier, forged and heat treated tool, with the head weight published at 4.41 lb. That extra mass and a stated heat treat are the two things you are paying for, and for a tool that lives its whole life absorbing hammer blows, both are worth something.
Where I would be careful is matching the drift to the eye you actually want. A heavier axe drift makes a bigger eye, which is right for a full size hatchet or camp axe and overkill for a small hawk. Buy the drift that matches your project, not the biggest one in the listing. If the maker publishes a hardness or an alloy in the current listing, take that at face value; where they only say hardened and tempered, that is a real claim but not a number you can check, so treat it as owner-grade information, not lab data.
Check price on Amazon (paid link)
The made-to-order drift, and making your own
The honest top of this market is not on Amazon at all. It is a smith who forges you a drift to the exact eye you want. Front Step Forge, for example, lists an axe drift in 4140 alloy steel at about 2.25 by 3/4 inches at the widest by 16 inches long, offered finished or as-forged. You pay a lot more than the imports, and what you get is a known steel, a known shape, and a tool sized to a real axe pattern. If you are going to forge axes seriously and want repeatable eyes, that is money well spent.
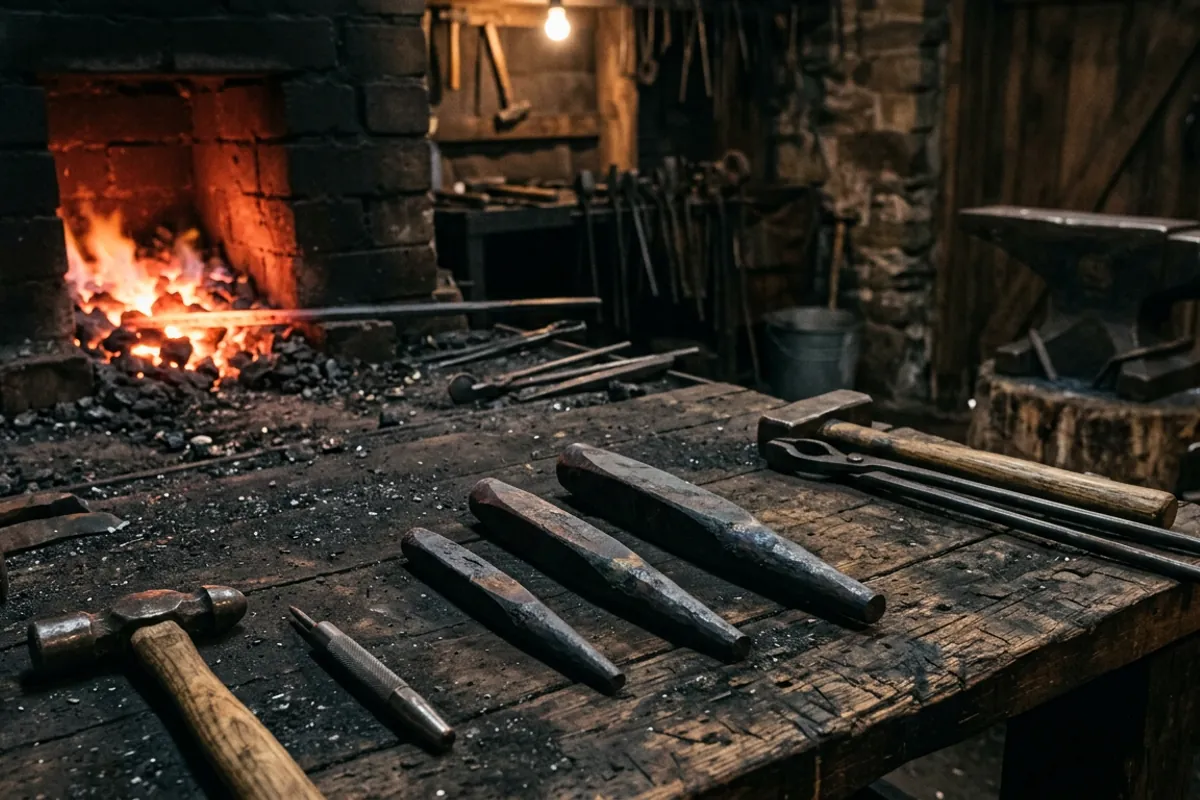
The other honest answer is to make your own. A drift is one of the first tools worth forging yourself, because it teaches you the exact taper you will spend the rest of your axe making relying on. You start with a tough bar, forge the taper and the oval, dress the leading edge, and normalize or heat treat it. If you want to understand what that heat treat is doing and why a drift should be tough rather than glass hard, my tempering of metal guide covers the reasoning. Making your own also means you are not stuck with whatever oval an import seller decided on.
What owners say
Because I have not run down every one of these imports in my own shop, here is what the forums actually report, attributed so you can read the threads yourself.
On drifts in general, the Axe eye drift thread on I Forge Iron has a smith showing a bought drift and singling out the knife-like front edge as the best feature, which lines up with why the leading edge matters for opening a slot cleanly. That is a genuinely useful detail to check for on any drift you buy.
The recurring beginner problem is not the drift, it is keeping the eye straight. The Keeping an axe eye straight thread is smiths working alone and fighting to keep the punch and drift going in square, and the consensus is that this is a technique issue you drift out gradually, checking alignment as you go, not something a fancier drift fixes.
The failure mode to respect is splitting. In the Axe eye splitting thread, a smith making a wrapped axe reports welds near the eye letting go during the final drift, because the drift puts a lot of outward force on the metal exactly where a weld is weakest. The lesson is not to buy a different drift, it is to keep good heat and not force a cold eye. Owner signal on the specific import kits is thin on brand names, which is normal for white label tools, so I would not oversell any single seller. What owners agree on is the technique, and that is the part that actually decides whether your eye comes out clean.
How to drift an eye without splitting it or getting hurt
The tool is simple. The operation is where people get into trouble, so a few things I would tell any beginner. Keep the work at a good forging heat when you drive the drift, because a drift forces metal outward and cold or badly welded steel splits under that force, exactly the failure the forum thread above describes. Drift from both sides, working the eye open gradually and checking that it is going in square rather than trying to open it in one pass. And keep the drift itself out of the fire so it does not soften; quench it now and then between drives.
On safety, this is a hot, forceful job and I do not soften that. Wear eye protection rated to ANSI Z87.1, because you are driving a hard tool into hot steel and scale flies. Wear natural fibers, cotton or wool or leather, never synthetics near the forge, since a melted synthetic sticks to skin. I learned the fire lesson the hard way years ago with a quench oil flare that took my eyebrows, and the only reason I kept my eyesight was luck I would not wish on anyone. Keep your hands and your face out of the line the drift will travel if it kicks. None of this is dramatic; it is just the price of working hot steel, and the blacksmith safety gear guide lays out the rest. If axes lead you toward blade work, the same hot-work discipline carries straight into knife blacksmithing.
What I would tell a friend
Buy the Blacksmith Drift Kit 3PCS. For a beginner it covers tomahawk, hammer, and small axe eyes in one cheap purchase, and it is good enough to learn on without babying it. If tomahawks are your only interest, a single tomahawk eye drift saves a little, but the kit is better value the moment you want a second eye shape. Step up to a hand forged drift like the AncientSmithy tool when you want stated heat treat and more mass for full size axes, and go to a maker like Front Step Forge, or forge your own, when you want a known steel in a shape sized to a real axe pattern.
The one thing I would not do is spend the premium first. A drift is a lump of tapered steel, and the imports are close enough that your eyes will come out clean or split based on your heat and your technique, not on which drift you bought. Get a usable drift, keep good heat, drift from both sides, wear your Z87.1 glasses, and put the saved money toward stock to practice on. For more on the tools around this one, the More from the shop hub collects the rest of the odd but useful gear, and the anvil hardy tools guide covers the punching side that comes right before the drift.