I have everything I need: verified Amazon listings (matched in search), cited specialty-retailer specs (Centaur Forge, Wikipedia), and real I Forge Iron threads for owner consensus. Writing the article now.
If you are shopping for your first blacksmith swage, buy the one shape you keep reaching for and skip the wall of tooling you have seen in other people's shops. For most home smiths that means a spring swage in a ball or rope pattern, not a sixty pound cast block that sits in a corner and earns its keep once a month. I have run a home shop for about twenty-five years, and the swages that hold a spot on the bench are the ones matched to work I actually do, not the ones that look impressive sitting next to Bessie, my 148 lb Trenton. What follows leans on published maker specs and what owners report on the forums, weighed against shop experience. It is not a bench test of every model, and where a figure comes from a generic import seller rather than a real maker, I say so.
What a blacksmith swage actually is
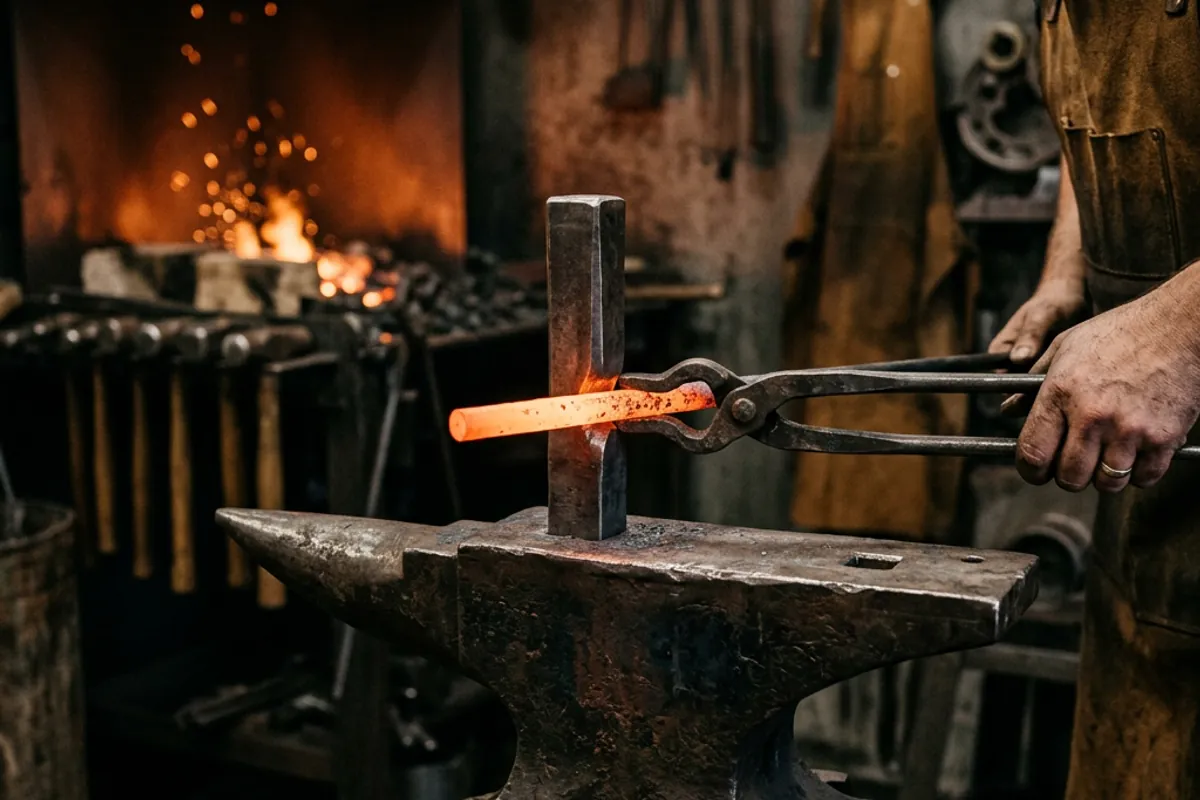
A swage is a forming tool. You lay hot steel into a shaped cavity and drive it home, and the steel takes the shape of the cavity instead of the shape of your flat anvil face. The classic job is turning square or rough round stock into clean round, which is why the old references say a swage is used to make metal a specific cross section, usually round, for final use as nails, bolts, rods, or rivets (Wikipedia, Hardy tool). Round is the common one, but swages also cut beads, balls, ropes, half-rounds, and hexes.
The word covers a family of tools, not one object. A bottom swage is a hardy tool: it has a square shank that drops into your anvil's hardy hole, and that square shank is what keeps it from spinning under the hammer (Wikipedia, Hardy tool). A top swage has a handle and gets struck. A spring swage joins a matched top and bottom die with a steel spring so one person can do what used to take a smith and a striker. And a swage block is the big one: a heavy block of cast iron or steel with variously sized holes in its face and forms cast into the sides (Wikipedia, Swage block). Do not confuse a swage with a fuller. A fuller spreads and necks metal down; a swage wraps steel to a finished cross section. They are cousins, and I keep them straight in the fuller tool guide.
The swage family, and which one you actually need
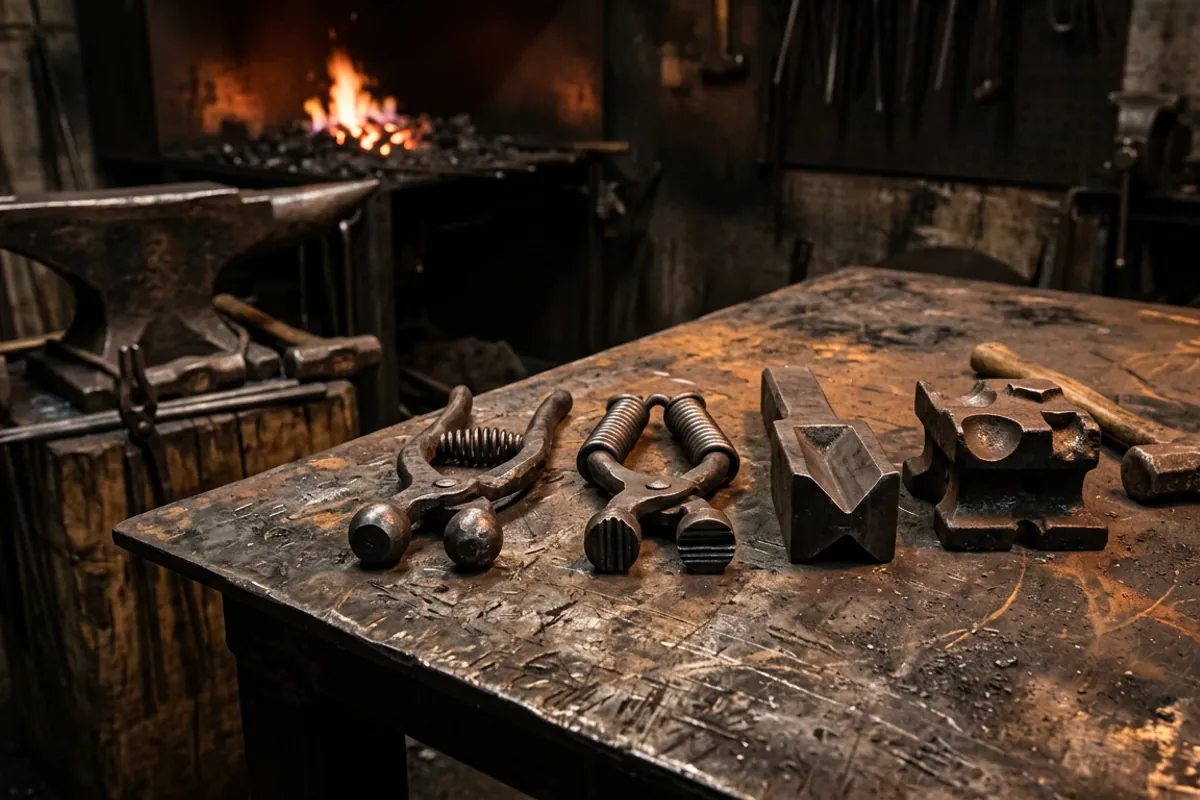
Bottom swage
A single bottom swage is the cheapest way into swaging. It seats in the hardy hole, you hold the bar in it with tongs, and you either strike the bar directly or drop a matching top swage on it. If you make a lot of one round size, a dedicated bottom swage in that size pays for itself fast.
Top swage
A top swage is the mate to the bottom swage. It has a handle, you set it over the bar, and someone strikes it while you steer. On your own it is awkward, which is exactly the problem the spring swage solves.
Spring swage
A spring swage is a top and bottom die welded to a mild steel spring, so the two halves stay aligned and open back up on their own between blows. That is the whole trick: one person, hot bar in the tongs, hammer in the other hand, and the swage does not wander. For a solo home smith this is the version I would own first. Suppliers sell them in balls, mid-balls, acorns, ropes, and dozens of texture patterns.
Swage block
The swage block is the museum piece everyone wants and few beginners need. It is genuinely useful for sinking bowls, backing up large rounds, and forms an anvil cannot give you, but it is heavy, it is expensive in real steel, and it does nothing until the day the job calls for it. I cover it in depth in the swage block buying guide; here it is one option among several.
How the common swages compare
Only published or advertised figures below. The two spring swages link to the maker's spec page. The import rows are the seller's advertised numbers, not a maker's spec sheet, and I have marked them so.
Scroll horizontally to see all columns.
| Swage | Size or form | Material | Heat treat | Mount | Source |
|---|---|---|---|---|---|
| Ball spring swage, 3/4 in | 3/4 in ball | 4140 or H13 dies, mild steel spring | dies heat treated after forging | struck by hand hammer | maker page |
| Rope spring swage, 1/2 in | 1/2 in rope | S7 tool steel dies, mild steel spring | dies heat treated after forging, drop forged in USA | struck by hand hammer | maker page |
| Hardy V swage and fuller, import | V crease, size not published | steel, grade not published | not published | 1 in hardy shank | advertised |
| Swage block, 66 lb import | rounds, squares, hex, half-rounds, V-grooves | cast ductile iron (advertised) | as cast | freestanding block | advertised |
| Swage block, 50 lb import | body 9 x 9 x 3 in (advertised) | ductile iron 65-45-12 (advertised) | as cast | freestanding block | advertised |
The pattern in that table is the whole buying decision. The spring swages are real forged tool steel from a named maker with a published heat treat. The import blocks and hardy tools are cast or fabricated abroad, sold under generic names, with specs you take on the seller's word. Both have a place. Just know which one you are buying.
The spring swage I would buy first
If I were adding one swage to a home shop today, it would be a spring swage in the exact shape I keep needing, and I would buy it from a real maker rather than a marketplace. Centaur Forge, Blacksmiths Depot, and Pieh Tool all forge these. The reason I steer to a named maker here is the material. Centaur's ball spring swage runs 4140 or H13 dies on a mild steel spring, heat treated after forging (Centaur Forge); their rope version uses S7 tool steel dies, drop forged in the USA (Centaur Forge). Those are the grades you want taking repeated blows against hot steel.
There is one honest limitation, and the maker states it plainly: the weld where the dies meet the spring is a stress point, and it can fracture from uneven blows (Centaur Forge). That is not a defect, it is physics. Strike the swage square, do not hammer it half-open and cocked to one side, and it will last for years. Hammer it crooked and you will crack the weld. Buy the size that matches your stock, because a spring swage made for 3/4 inch round does not do clean work on 1/2 inch.
The bottom swage and hardy-hole tools
Before the spring swage, plenty of smiths start with a plain bottom swage in the hardy hole, and there are budget hardy-mounted forming tools out there. One example that shows up on the marketplace is an import hardy tool sold as a drawing and V swage fuller on a 1 inch shank: Check price on Amazon (paid link). Be clear-eyed about what it is. It is a handmade V and crease tool, the steel grade is not published, and it is really a fuller-style former sold under the swage name. For light decorative work and learning the motion it is fine. For production round stock, a dedicated round swage does a cleaner job.
The thing new smiths miss is that a bottom swage is only as good as the hole it sits in. It is a hardy tool, so the square shank has to match your anvil's hardy hole, and a swage that rocks in a sloppy hole will never form clean steel. If you are still shopping for the anvil the swage seats in, a small beginner anvil like this VEVOR has a modest hardy hole that most 1 inch hardy tools fit:

Measure your hardy hole before you buy any bottom tool, and if you are choosing hardy tooling more broadly, I walk through the whole set in the anvil hardy tools guide. The shank fit matters more than the brand on any of these.
The swage block, and when it earns its bench space
If your work genuinely calls for a block, the marketplace sells cast blocks in the 50 to 66 pound range that will do the job for a home shop. A common one is a 66 lb cast ductile iron block with rounds, squares, hexes, half-rounds, and V-grooves: Check price on Amazon (paid link). There is also a smaller 50 lb version, advertised as 65-45-12 ductile iron at 9 by 9 by 3 inches, which is easier to move and cheaper: Check price on Amazon (paid link).
Here is the honest read. These are cast iron, not forged steel. Cast iron is fine for backing up and forming, but it is more brittle than a steel block, so you do not beat on it like an anvil and you keep heavy struck work reasonable. The specs are the seller's advertised figures, since these are generic imports without a maker's spec sheet, so treat the material and dimensions as approximate. For an occasional-use forming block in a hobby shop, that tradeoff is usually acceptable. If you want to understand the block itself, which forms matter, cast versus steel, and how big to go, read the dedicated swage block buying guide before you spend real money. A block is the most situational tool in this whole article, and the wrong one is a very heavy mistake.
Making your own swage
A lot of smiths never buy a swage at all, and the forums are full of the reason why. The recurring theme across I Forge Iron threads like Making my own swages and Making a spring swage is that a bottom swage is one of the easier tools to forge yourself once you can move steel. You sink a round groove into a block of mild steel or a chunk of leaf-spring stock with a ball bearing or a piece of round bar, add a shank to fit your hardy hole, and you have a swage in exactly the size you need for the cost of scrap.
A spring swage is a step harder because of the spring weld, but it is still within reach of a smith who can forge weld or who has a wire feed welder. Given that a bought spring swage can crack at that same weld, making your own is not a downgrade, it is just labor you trade for money. If you are early in this and want a first project that teaches your hands, a simple bottom swage is a good one, right alongside the beginner work in the projects that teach you to forge.
What owners say
Owner signal on the specific import blocks and hardy tools above is thin, and I will not dress it up. These are generic listings that turn over under different seller names, so there is no deep, model-specific track record the way there is for a Peddinghaus hammer. What there is a strong, repeated forum consensus on is the category.
First, most experienced smiths treat a full swage block as situational rather than essential, and steer beginners to the individual swage they actually need first. That comes through across the I Forge Iron swage block discussions. Second, the DIY route is genuinely common, not a fringe move, judging by how many "making my own" threads exist on I Forge Iron and how detailed they are. Third, the failure mode on a spring swage is the weld, which the maker confirms in its own product notes (Centaur Forge); the forum advice to strike square and not abuse the spring lines up with that. Where owner talk is about a specific import block, it is mostly "it is cast, it works for light forming, do not treat it like an anvil," which matches what the material tells you.
Safety at the swage
Swaging throws scale. You are driving a hammer onto hot steel sitting in a cavity, and every blow flings hot flakes sideways at your face. Wear eye protection rated to ANSI Z87.1, and wear it every time, not just for the big jobs. I lost my eyebrows early in this trade to a quench-oil flare because I stood too close with no face protection, and it taught me not to treat PPE as optional. Keep natural fibers on near the forge, cotton or wool, because synthetics melt to skin.
Two swage-specific hazards. One, inspect a spring swage's weld before every session, because that weld is the known failure point and a die that lets go under the hammer is a projectile. Two, if you are striking a top swage with a striker rather than working solo, agree on your signals before the first blow and keep the bottom swage seated so nothing walks out of the hardy hole. Hold the work with tongs that actually fit the stock, never with your fingers anywhere near the dies.
What I would tell a friend
Buy the swage that matches the work you already do. For a solo home smith that is almost always a spring swage in one ball or rope size, bought from a real maker so you get forged tool steel and a published heat treat, and struck square so the weld lives a long life. If you just want to learn the motion and mount a bottom tool in your hardy hole, an import hardy swage is a cheap start as long as its shank fits your anvil, so measure first. Skip the big cast swage block until a job actually demands it, and when that day comes, size it deliberately with the dedicated block guides rather than grabbing the heaviest thing you can afford. And whatever you swage, put the glasses on before the hammer comes down. For more shop-tool breakdowns like this one, the rest are gathered under More from the shop.