A blacksmith ruler is not some special tool with a trade name on it. It is a plain steel rule, the same kind a machinist keeps in a shirt pocket, put to work next to a hot forge where a wooden yardstick would char and a cheap tape measure would cook its printed markings off in a season. When a new smith asks me what ruler to buy, they are usually picturing something forged and heavy. The honest answer is that the best measuring tool in my shop is a stiff piece of graduated steel that cost less than a tank of propane, and the skill is not in the tool at all. It is in knowing what to measure, when to measure it, and why the number you read off hot steel is going to lie to you.
I have been at this about twenty-five years, most of it on hobby time in a home shop, and I still reach for the same 12 inch steel rule I bought early on. It has scale on it worn thin from soapstone and scale, and it has taught me more about layout than any jig ever did. This is a reference piece, owner to owner, on what a blacksmith ruler really is, how to read one, and the handful of measuring habits that keep a project square instead of close-enough.
What a blacksmith ruler really is
Strip away the search-term and a blacksmith ruler is a rigid or semi-rigid steel rule, graduated in fractions of an inch or in millimeters, meant to survive a dirty, hot, abrasive environment. Stainless is the common choice because it shrugs off the light rust that eats a carbon-steel rule in a humid shop, and because the etched or stamped graduations stay readable under scale and soapstone dust. You will see the same tool sold as a machinist rule, a shop rule, or a steel scale. It is all the same idea.
Most home shops end up with a few lengths. A 6 inch rule fits an apron pocket and handles small work, tang lengths, bolster thickness, the width of a bottle opener. A 12 inch rule is the workhorse for stock layout and cut lists. An 18 inch or 24 inch rule earns its keep the day you start laying out longer pieces, fireplace tools, a set of matched hooks, anything where you want repeatable spacing over distance. I would not buy the long one first. Start with the 12 inch and add length when a project actually asks for it.
There is a second family of tool that lives in the same drawer and gets lumped in with the ruler: dividers, calipers, and a combination square. Those are for stepping off equal spaces and transferring measurements rather than reading a raw number, and I lean on them constantly. I wrote up the transfer tools separately in the blacksmith double calipers buying guide, because measuring and transferring are two different jobs and it helps to see them apart.
Why a steel rule beats a tape measure at the forge
A tape measure is a fine tool ten feet from the fire. Up close it has three problems. The printed markings scorch and rub off, the case is plastic that does not enjoy sparks or radiant heat, and the hook on the end is loose by design, so it flops and lies to you on short measurements right when you want to be dead-on. I keep a tape in the shop for rough stock and bench layout, but it never comes near the anvil for a real dimension.
A rigid steel rule solves all three. The graduations are etched into metal, so heat and grit wear them slowly instead of erasing them. The rule sits flat against the work and reads true from a clean end. And it doubles as a straightedge for checking whether a bar you just drew out is actually straight, which a floppy tape can never do. If you own one measuring tool that touches hot-adjacent work, make it a steel rule.
Folding rules and story sticks have a place too. A story stick is just a piece of scrap, wood or steel, that you mark once and use to lay out the same spacing over and over without re-measuring. For a run of identical parts that beats reading a ruler ten times and making ten small errors. I use a marked bending fork or a scrap bar as a story stick more often than people expect.
Reading the graduations without guessing
Inch rules are graduated in fractions, and the finer the graduation the more careful the reading. A common machinist layout, sometimes marked as a 4R rule, gives you eighths and sixteenths along one edge and thirty-seconds and sixty-fourths along the other. That sounds like overkill for hot work, and for drawing out a taper it is. But when you are fitting a tenon into a drifted hole, or setting a shoulder so two parts meet clean, sixty-fourths is the difference between a joint that closes and one that gaps.
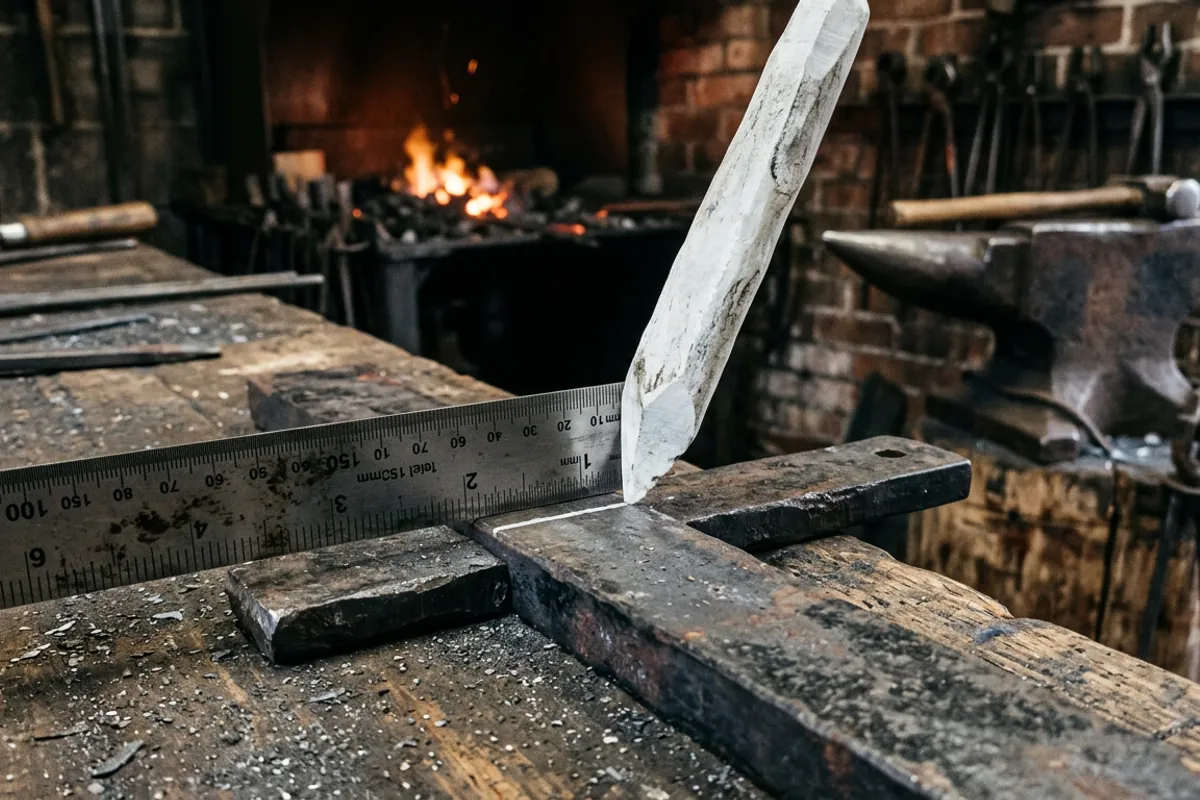
The habit that matters most is reading from a graduation line rather than from the very end of the rule. The end of any rule takes dings and wear, so a smart layout starts from the 1 inch line and subtracts, or uses a hook rule that registers positively off the edge of the stock. A hook rule has a small lip on the end that catches the end of the bar, so you get a repeatable zero without squinting at whether the rule end is flush. On round stock, a center-finding rule with an offset scale lets you drop a line straight down the middle without math. Neither is essential, but both remove a class of mistake, and removing whole classes of mistake is how layout gets faster.
Metric rules read the same way, in millimeters and half-millimeters. Pick one system and mostly stay in it. Mixing fractional inches and millimeters mid-project is how you end up off by the width of a saw kerf and unable to explain where it went.
Measuring hot steel is measuring a lie
This is the part beginners miss, and it is the whole reason a reference on blacksmith measuring exists. Steel expands when it gets hot. A bar at bright forging heat is measurably longer than the same bar cold, and the effect is not trivial at forging temperatures. The linear expansion of carbon steel is on the order of six and a half millionths of an inch per inch per degree Fahrenheit near room temperature, and it climbs as the steel gets hotter. Run the arithmetic at forging heat and a foot of steel can be something like an eighth of an inch longer hot than it will be once it cools. Lay a rule on a glowing bar, cut to that number, and your finished cold part comes up short and you will not know why.
So the rule I teach is simple. Measure cold, mark cold, and cut cold whenever the finished dimension matters. Do your layout on the bar before it ever sees the fire, or let a hot bar cool enough to read honestly. When you must work off a hot dimension, treat it as a rough target, not a final number, and confirm cold before anything is permanent. This is also why you do not lay a good steel rule flat on a hot bar to read it. You are heating your rule, and repeated heat can relieve the temper in a hardened rule and warp a cheap one. Measure the cold stock, transfer marks, and keep the rule off the fire.
The other length trap is the process itself. Drawing out makes steel longer and thinner, upsetting makes it shorter and fatter, and bending eats length into the curve. If a project needs a finished leg 6 inches long after a right-angle bend, you cannot measure 6 inches of straight bar and bend it. You have to account for the material the bend consumes. On simple work I figure it, on fussy work I make a test bend in scrap and measure what actually happened. The ruler tells you the truth about cold, straight steel. It cannot predict what your hammer is about to do to the length.
Marking the steel: soapstone, scribe, and center punch
A measurement you cannot see is useless, so marking is half the job. On hot or warm steel, soapstone is the standard. A flat soapstone in a holder leaves a pale line that survives heat and does not vanish the way a marker does. Keep it sharpened to a chisel edge on a piece of sandpaper and it lays down a crisp line you can actually cut to. On cold steel for fine layout, a sharp scribe scratches a permanent line, and a fine-tip paint marker shows up well on dark scale when you need to see it across the shop.
For anything that gets drilled, punched, or drifted, the mark that counts is a center punch dimple. You lay out your lines with the rule, find the intersection, and set a punch mark so a drill bit or a drift starts where you intend instead of wandering. A little dead-blow tap seats the punch; you are marking a start point, not trying to move metal. Wear your eye protection for this. A hardened punch struck by a hammer can throw a chip, and I have watched a punch mushroom and spit steel. Rated safety glasses to ANSI Z87.1 are not optional at the punch any more than they are at the grinder.
While I am on it: measuring and marking near a hot forge is still forge work. Natural-fiber clothing over synthetics, because synthetics melt to skin, and the same face and eye protection you would wear for the rest of the session. The tape measure will not hurt you, but the environment around it can, and a measuring task is not a reason to drop your guard.
The layout tools that live near my anvil
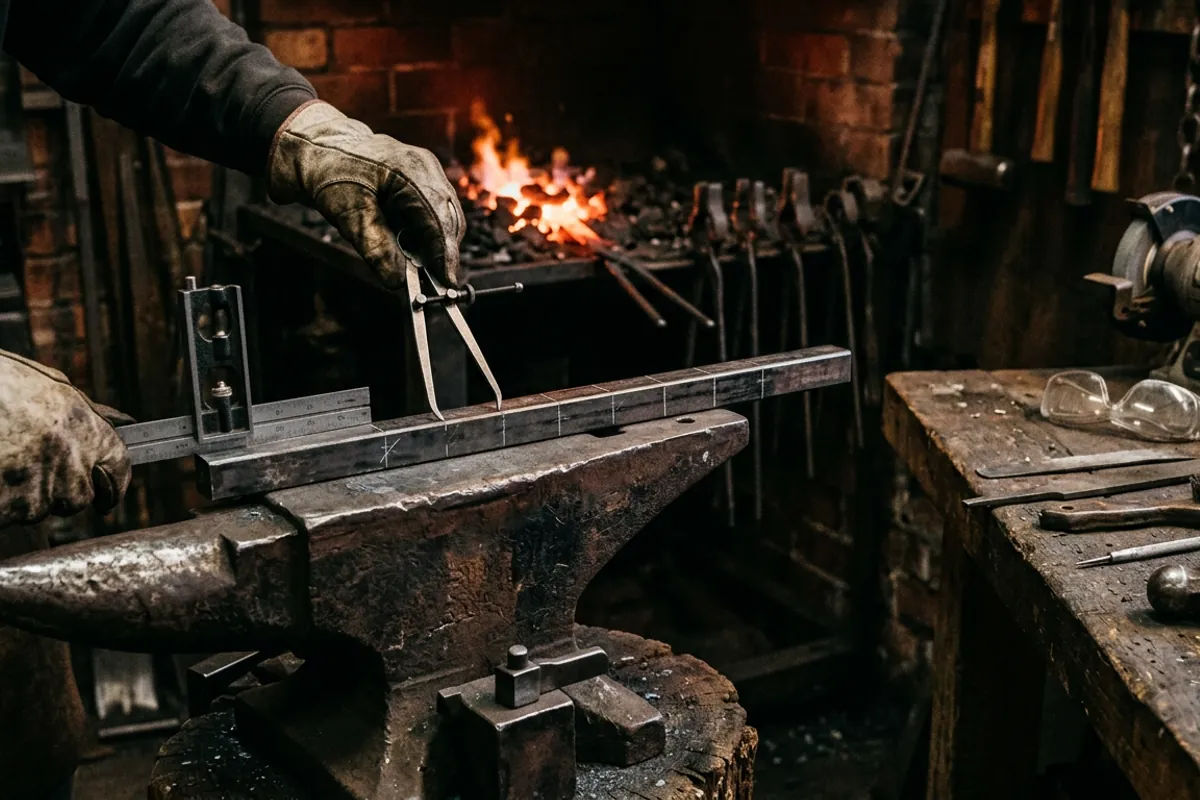
A steel rule rarely works alone. The tool I reach for right after it is a pair of spring dividers, for stepping off equal spaces. Set them once against the rule and you can walk five identical gaps down a bar faster and more accurately than reading five separate marks. Dividers also scribe arcs and find rough centers, and they hold their setting while you transfer it to part after part. For matched sets, hooks, hangers, a rack of the same thing, this is the tool that makes the parts look like they belong together.
A combination square earns its spot for anything that needs to be square or a repeatable angle, and its sliding rule doubles as a depth and height gauge. Calipers, whether the simple spring kind or a caliper you read against a rule, handle stock thickness and the diameter of round bar where a flat rule is clumsy. None of these replace the ruler. They extend it, turning a single read into a repeatable operation. When people ask how a shop turns out consistent work, the answer is usually transfer tools, not a better ruler.
If you are still assembling a first kit and wondering where measuring falls in the order of things, it slots in early but cheap. You need a rule and a soapstone from day one, and you can add dividers and a square as projects demand them. I put measuring in context with the rest of the starter tools in the beginner blacksmith getting started guide, and I lean on layout constantly in the forging project guide, because a project that is laid out well is half finished before the fire is lit.
Care: keeping a steel rule readable and rust-free
A rule you cannot read is worse than no rule, because you will trust a bad number. In a forge shop the enemies are scale, soapstone dust, and light surface rust from the humidity a coal fire and a quench bucket throw off. A stainless rule resists the rust, which is most of why I favor it, but even stainless collects grime that fills the graduations and makes fine lines hard to read.
The maintenance is nothing fancy. Wipe the rule clean at the end of a session so scale does not sit on it overnight. If the etched lines fill with grime, a little solvent and a rag brings them back, and for stubborn cases a light pass with fine abrasive along the length, never across the graduations, clears them without eating the marks. A carbon-steel rule wants a wipe of oil before it goes in the drawer, same as any bare steel tool in a damp shop. Keep the rule out of the fire, keep it from getting bent, and a decent steel rule outlasts most of the other tools on the bench. Mine has.
Store it flat or hung, not loose in a drawer where a hammer can land on it and put a bow in it. A bowed rule reads long on the inside of the curve and you will chase phantom errors for an afternoon. If you ever do bend one, retire it to rough duty and buy a new one for layout. A ruler is the cheapest precision tool you own, and precision is the entire reason you bought it.
If you want the wider context of how measuring fits the rest of the shop, the reference hub at more from the shop collects the odd-but-essential tools that do not fit the anvil-and-forge headline, and the ruler is squarely one of them. It is not glamorous. It is just the thing that decides whether the two halves of your project meet.