Verified three live ASINs and two real forum threads. Writing the guide now.
Ask ten smiths what a fuller does and you will get ten hand gestures before anyone says a word, because a blacksmith fuller tool is one of those things that is easier to show than to explain. A fuller is a rounded working edge that you drive into hot steel to move metal sideways, isolate a section, or start a shoulder without cutting through. It is the tool you reach for when you want to neck down a bar, draw stock out faster than a flat hammer face will, or set a clean transition before you spread a leaf or a spatula. For most one person shops, the fuller I would start with is a guillotine like the Forge Wizard, because it turns a two person job into a one person job. But an honest answer is that a twenty five dollar hardy spring fuller does most of the same work, and I want to walk you through the whole field before you spend a dime.
Before I go further: these are not bench tests of every model. I run fullers in my own shop, mostly shop made ones and a hardy bottom fuller that lives in Bessie, my 148 lb Trenton. The specific commercial models below lean on published specs and on what owners report on the forums, weighed against what I know from using the tool type for years. Where I am passing along owner consensus rather than my own hours on a given model, I say so.
What a fuller actually does on hot steel
A fuller works by concentrating your hammer blow into a narrow, rounded line instead of spreading it across a flat face. Steel under that rounded nose has nowhere to go but out along the length of the bar, which is why fullering is the fastest way to draw out stock by hand. Blacksmiths have used them forever for the same reason a chef uses a rolling pin instead of a flat board: the shape does the work.
The rounded nose matters. A sharp edge cuts and cold shuts the steel; a fuller with a smooth radius pushes metal and leaves a clean valley you can then planish flat. That is the whole trick. You are not trying to gouge, you are trying to displace. Get the radius wrong and you fold cold shuts into your work that show up later as cracks, which is a real problem on a knife tang or an axe cheek. Get it right and you cut your forging time in half.
Fullering is also how you set shoulders. Want a clean square section for a tenon, or a defined neck on a bottle opener or a hook? You isolate it with a fuller first, then reduce the isolated section. If you have read my take on the gear I would use to forge a bottle opener at home, the neck on that opener is a fullered shoulder. It is one of the first places a beginner feels a fuller earn its keep.
The four kinds of fuller tool
There are really four things people mean when they say fuller, and picking the wrong one for your shop is how you waste money.
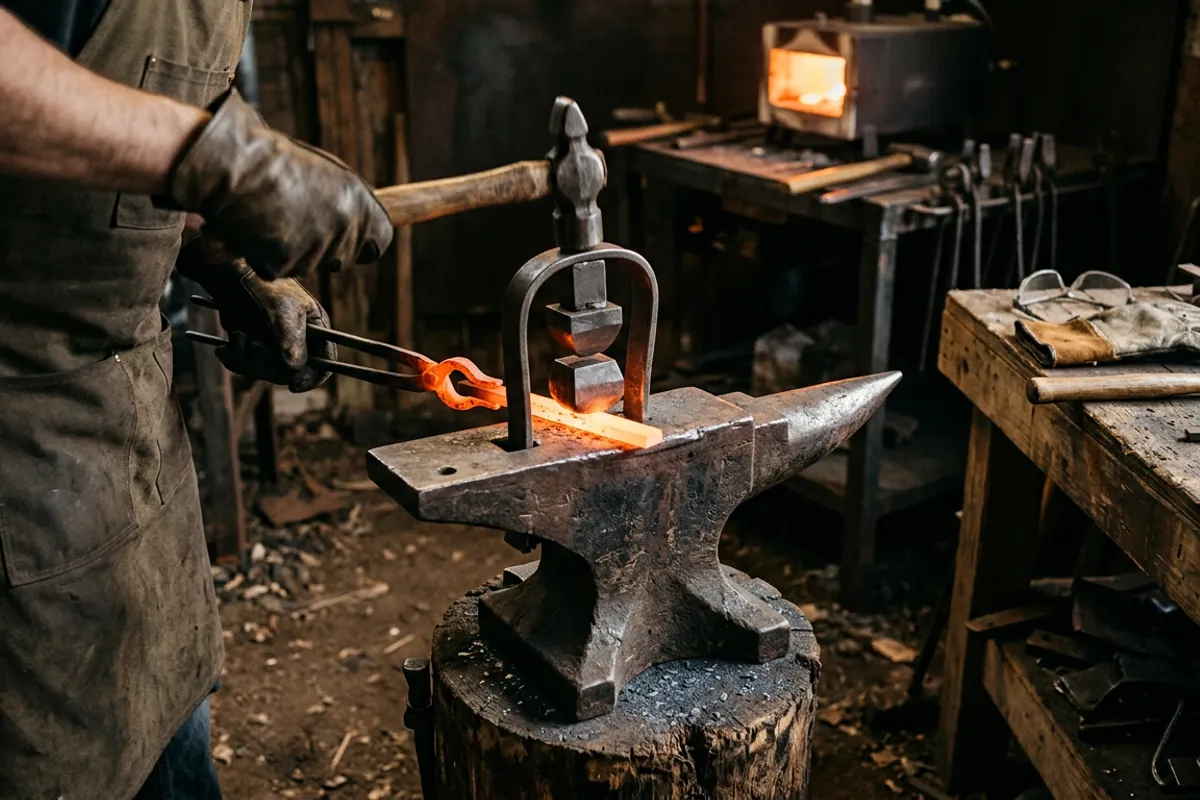
A bottom fuller is a hardy tool: a rounded nose on a square shank that drops into your anvil's hardy hole. You lay hot steel over it and strike from the top with a hammer. It is the cheapest, simplest fuller there is, and it lives in the same family as the rest of your anvil hardy tools.
A top fuller is the mirror image: a rounded nose on a handle that you hold on top of the work while a striker hits it with a sledge. On its own it needs two people. Paired with a bottom fuller, you sandwich the bar between them for a clean fuller on both faces at once.
A spring fuller joins a top and bottom fuller with a U shaped spring so one person can use both at once. The bottom shank sits in the hardy hole, the spring holds the top fuller in the air, and you just position the steel and hammer. It is the cheapest way to get a matched pair working solo.
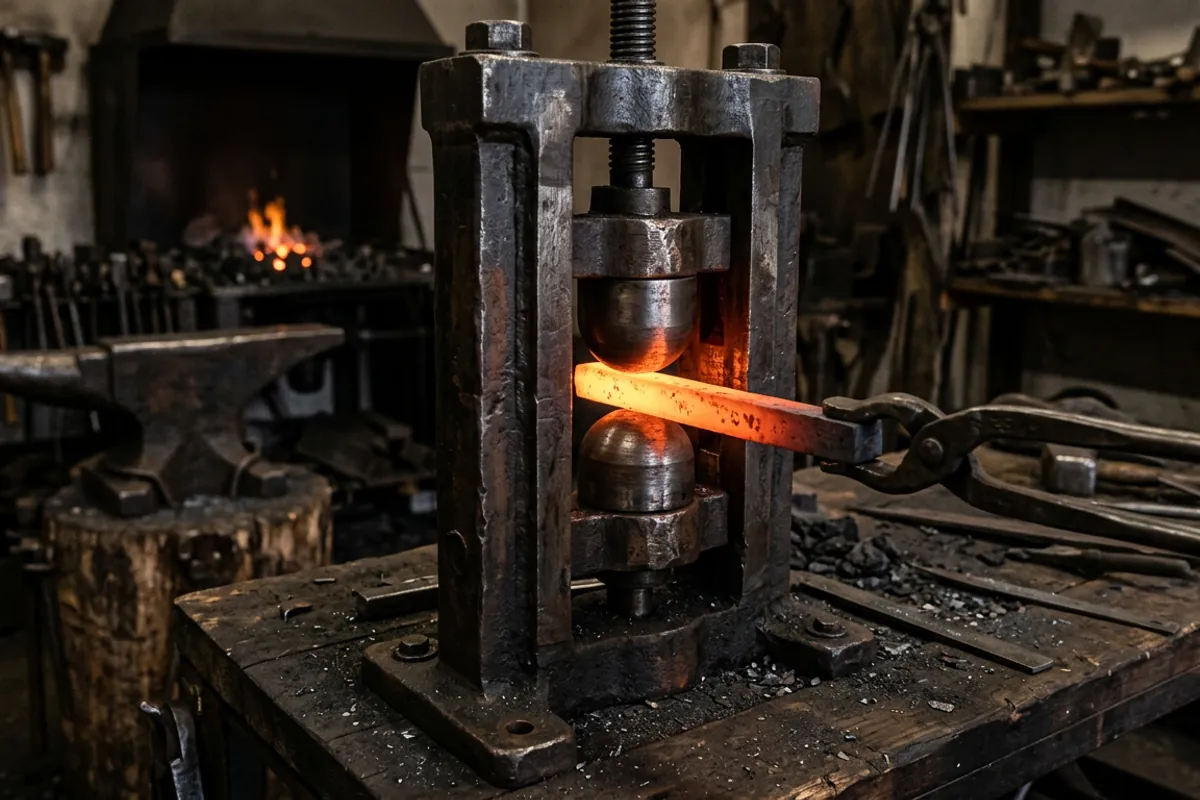
A guillotine fuller is a heavy steel frame that holds two dies in vertical guides. You slide hot steel through the throat, hammer the top die, and the frame keeps everything aligned. Swap the dies and the same frame does flat drawing, veining, and tenon shoulders. It is the most versatile and the most expensive of the four, and it is the one most solo smiths eventually want. The I Forge Iron crowd is nearly unanimous that a beginner should build or buy one early (I Forge Iron guillotine thread).
How the picks stack up
Only published figures below. Where a maker does not state a number, it says not published. Do not read the price tiers as dollar figures; they are budget, mid, and premium relative to each other.
Scroll horizontally to see all columns.
| Tool | Type | Shank / frame | Dies | Material | Price tier |
|---|---|---|---|---|---|
| 3/4 in hardy hot cut, creasing, spring fuller set (3 pc) | Spring fuller set | 3/4 in square shank | Fixed | Not published | Budget |
| Forge Wizard guillotine | Guillotine | 12 x 9.5 x 6 in frame, 3/8 in steel, 6 x 4 in throat | 1/2 x 2 in and 3/4 x 2 in | 4140 annealed dies | Premium |
| G2 guillotine (5 pc) | Guillotine | Frame with front/rear stop | 1/2 in thick x 2.5 in wide, radius set + flat set | Steel, not further specified | Mid |
The hardy and spring fuller set for a starter shop
If you are outfitting a first shop and want to feel what fullering does without a big spend, a three piece hardy set with a spring fuller in it is the honest starting point. The set I keep pointing beginners at includes a hot cut, a creasing stake, and a spring fuller on a 3/4 inch square shank, which fits the hardy hole on a lot of smaller anvils and clamps in a vise otherwise.
Here is the thing to check before you buy: measure your hardy hole. A 3/4 inch shank rattles in a 1 inch hole and will not seat square, and a 1 inch shank does not fit a 3/4 inch hole at all. The listing sells both sizes, so get the one that matches your anvil. If you are still shopping for the anvil itself, the hole size is one of the specs I cover in the hot cut hardy tool guide, and it matters here for the same reason.
The tradeoff with a budget imported set is exactly what you would expect. The steel and the heat treat are not stated, the radius on the fuller is whatever the factory ground, and you may want to dress the nose with a file and a flap disc to smooth it before it touches good steel. But for learning the motion, and for drawing tangs, a spring fuller is hard to beat. As one BladeForums smith put it in a thread on forging fullers, a spring fuller is easy to build and easy to use and good to draw out tangs (BladeForums fuller thread).
Check price on Amazon (paid link)
The Forge Wizard guillotine for a one person shop
When you outgrow the spring fuller, the guillotine is where most solo smiths land, and the Forge Wizard is the one I see recommended most for a home shop. The published frame runs 12 inches long, 9.5 inches tall, and 6 inches wide, built from 3/8 inch steel, with a 6 by 4 inch throat that will pass most hobby stock. It ships with two die sets sized 1/2 by 2 inches and 3/4 by 2 inches, and the maker states the dies are 4140 annealed steel.
That 4140 detail is worth pausing on. 4140 is a good tough die steel, and annealed dies mean you can grind them to a new profile if you want a tighter or wider radius. If you decide to harden a set after grinding, the process is the same one I lay out in how I heat treat 4140 from the forge floor. For most fullering you do not even need to harden them, since you are working hot steel against them, but tenon and cutoff dies last longer with a proper heat treat.
The reason a guillotine beats a spring fuller is alignment and versatility. The frame holds the top and bottom dies dead in line, so your fuller lands square every time, and swapping dies turns the same frame into a drawing tool, a veining tool, or a shoulder tool. That die swapping is the same logic behind buying versus making forge dies for a press. The honest downside is cost and bulk: a guillotine is a premium purchase and a heavy thing to store, and the forums are full of smiths who built one for a fraction of the price out of scrap. If you have the welder and the time, build it. If you do not, this is a reasonable buy.
Check price on Amazon (paid link)
The G2 guillotine and its ambidextrous stop
The G2 style guillotine is the other common import, and it sells as a five piece kit with a radius die set and a flat die set. The published die size is 1/2 inch thick by 2.5 inch wide. Its selling point over the basic frame is the stop: it can be set from the front or the rear on either side, so a left handed or right handed smith can index the work the same way every strike. For repeat work, hitting the same depth every time is the whole game, and a stop that does not force you to work off your weak side is a genuine convenience.
Owner signal on the G2 is thinner than on the Forge Wizard, so I will not oversell it. What owners report is consistent with any imported guillotine: the frame is solid enough for hobby stock, the dies are usable but benefit from dressing, and you are buying the frame and the die guide system as much as the dies themselves. If the ambidextrous stop matters to how you work, it is a real reason to pick this one. If it does not, the choice between the two comes down to price and throat size on the day you buy.
Check price on Amazon (paid link)
The top fuller you should probably forge yourself
Here is where I will save you some money. A top fuller, the handled kind you hold while a striker swings, is one of the easiest tools in the shop to make, and I would forge one before buying one. Take a chunk of medium carbon bar or a worn out ball peen, forge or grind a smooth radius on the working end, and weld or wrap a handle. You control the exact radius, which is more than you can say for most factory tools, and you learn something making it.
The reason this is worth doing yourself is that a top fuller only earns its keep if you have a striker, and most home smiths do not have a second set of hands standing by. If you are working alone, the spring fuller and the guillotine already solve the one person problem better than a lone top fuller does. So unless you regularly forge with a partner, put your money toward the guillotine and make the top fuller from scrap. The same reasoning applies to a lot of struck tools, which is part of why I tell beginners to spend on the hammer and the anvil first and make the rest as they go.
One safety note on any struck top tool: never hold it with your hand square over the strike line, and dress the struck end before mushrooming starts. A mushroomed head throws steel splinters, and that is exactly the kind of thing that put me in a cotton shirt with no eyebrows early on. ANSI Z87.1 rated eye protection is not optional at the anvil, and it is doubly not optional when steel is hitting steel over hot work.
What owners say
For the commercial guillotines, I am synthesizing forum consensus rather than reporting my own hours on these specific frames, so take it as that.
On the guillotine question in general, the I Forge Iron thread titled around building one for under thirty dollars is blunt: a beginner should have one as soon as possible because it makes accurate, consistent fullering a solo job, and many smiths there built rather than bought (I Forge Iron). The recurring complaint about the imported frames is not that they fail, it is that the dies come rough and want dressing, and that a shop made frame is cheaper if you can weld.
On spring fullers, the BladeForums crowd is positive for the price. The common line is that a spring fuller is easy to use, cheap to make or buy, and especially handy for drawing tangs, with the caveat that the guillotine is easier and more accurate once you can justify the cost (BladeForums). Nobody there treats a cheap hardy fuller as a lifetime tool. They treat it as the thing that teaches you the motion and covers you until you upgrade, which matches my read exactly.
Where owner signal is thin, I said so: the G2 kit has fewer detailed long term reports than the Forge Wizard, so I would weight the published stop feature and the die material over any claim of consensus on durability.
What I would tell a friend
Buy the fuller that matches how you actually work. If you are new and working alone, start with a 3/4 inch or 1 inch hardy spring fuller set sized to your anvil's hole, learn the motion, and dress the nose before it touches a blade. When you outgrow it, a guillotine like the Forge Wizard is the upgrade that pays off, and the 4140 annealed dies mean you can regrind them to your own radius. Skip the standalone top fuller unless you forge with a striker; make that one from scrap. And whatever you swing, keep the Z87.1 glasses on and dress your struck tools before they mushroom. A fuller is a lever for moving metal fast, not a reason to stand closer to flying steel.
For more from the bench, the rest of my shop guides live under More from the shop, and if you are still building out the anvil that all these tools drop into, start with the anvil hardy tools I would buy first.