Ask ten people to picture a blacksmith shop and you get ten versions of the same postcard: a dim room, a glowing fire, an anvil, sparks. That picture is not wrong, but it leaves out everything that matters. Real blacksmith shops are organized around one stubborn fact, which is that hot steel cools down fast and you only get a few seconds of useful working time per heat. Every layout decision, every tool placement, every argument about ventilation comes back to that. I have been at this about twenty-five years, started on a length of railroad track clamped to a stump, and I still rearrange my shop about once a year because I found a step I was wasting. This is a plain walkthrough of what these places are, how they are put together, and what it takes to run one without hurting yourself.
What a blacksmith shop actually is
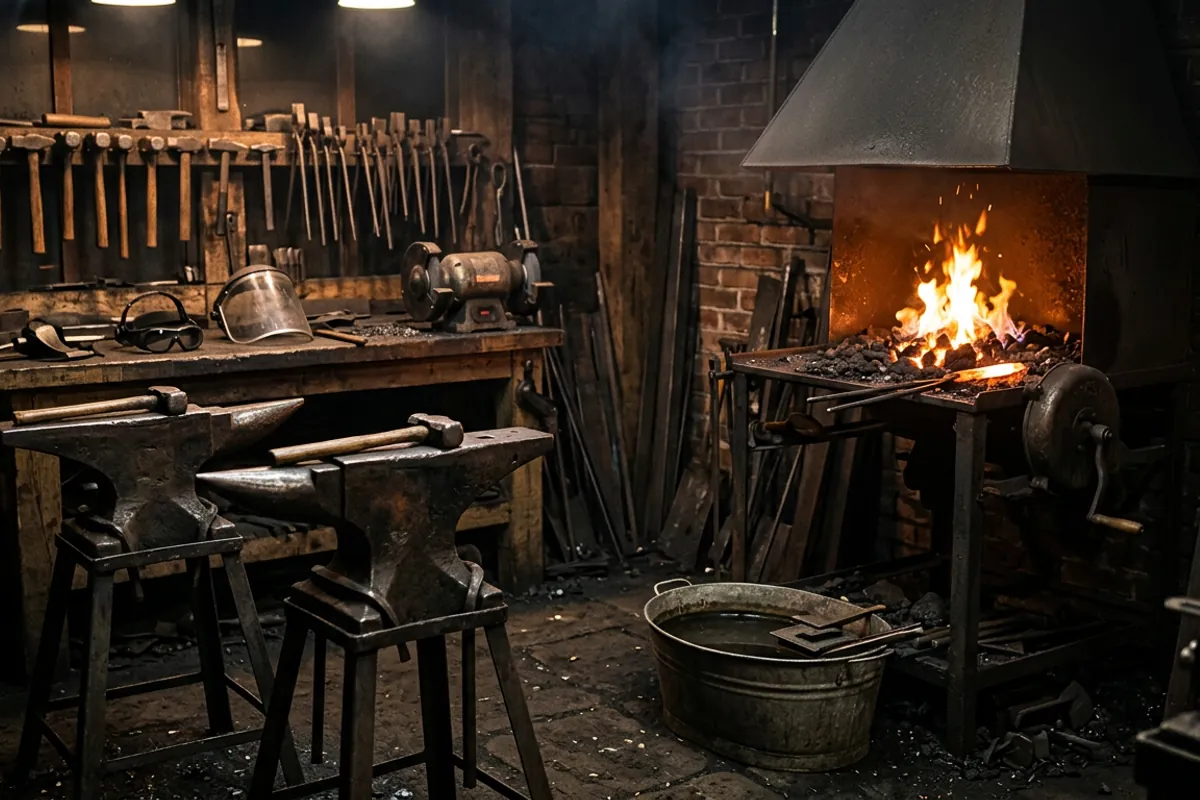
A blacksmith shop is a workspace built around a controlled fire, a heavy struck surface, and a way to hold hot metal. Strip away everything else and that is the definition. The fire heats steel until it is soft enough to move, the anvil gives you a mass that does not move when you hit it, and tongs or a vise hold the work while you shape it. Everything else in the room, and there is usually a lot of else, is refinement on those three things.
That is why a shop can be a corner of a gravel driveway or a 2,000 square foot commercial building and both are legitimately blacksmith shops. I have made good work standing outside in a coat with a firepot on cinder blocks. I have also seen beautifully appointed shops where the owner has not lit the forge in two years. The building does not make the smith. What the building does is either help you work or fight you every day, and a shop that fights you is a shop you stop going into.
The other thing worth saying up front: a blacksmith shop is not a machine shop and it is not a welding bay, even though the three overlap and most working smiths end up with pieces of all three. Machining removes material to a tolerance. Forging moves material while it is hot and holds tolerance loosely by comparison. If you walk into a shop expecting the tidy precision of a lathe room, the piles of scale, the black dust on every surface, and the general grime will surprise you. Scale is the flaky gray-black oxide that pops off hot steel, and it gets everywhere. That is normal.
The working triangle: forge, anvil, vise
The single most useful concept in shop layout is the triangle between the forge, the anvil, and the vise. Steel comes out of the fire at a workable heat and starts losing that heat immediately. Every step you take with tongs in your hand is working time you are spending on walking. In my shop the anvil sits close enough to the forge that I pivot rather than walk, and the post vise is one step off to the side. I know smiths who set the anvil closer still, close enough to be a little crowded, and they are not wrong.
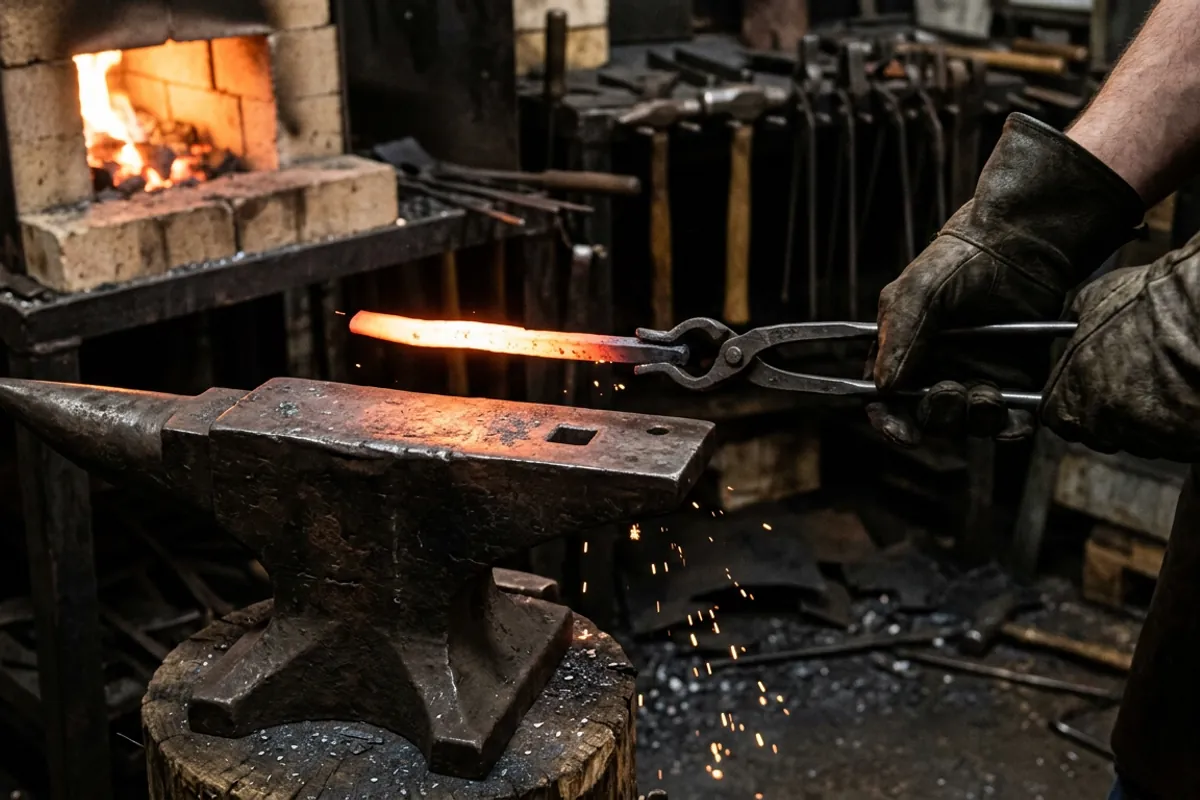
There is a limit in the other direction. Too close and you are standing in the heat radiating off the forge all day, or you are swinging a hammer where the fuel and the fire are. You want a step, not three steps and not zero. Set it up, work a real project for an afternoon, and pay attention to your feet. Your feet will tell you where the tools go better than any diagram.
Orientation matters too. Most right-handed smiths set the anvil with the horn to the left, so the fire is at their right hand and the horn is available without turning the anvil. Plenty of people do the opposite and are perfectly happy. The rule that actually holds is this: you should be able to bring work from fire to anvil without changing your grip on the tongs and without turning your back on the fire.
What lives in a shop, station by station
The forge
Two common fuels, and they lead to different shops. A coal or coke forge is a firepot with an air blast under it, and it wants a chimney and a real ventilation plan because coal smoke is unpleasant and coal fires produce carbon monoxide. A propane forge is a lined chamber with one or more burners, it comes up to heat fast, it holds an even temperature across the whole chamber, and it also produces carbon monoxide. Neither fuel is safe indoors without ventilation. If you are still deciding, I wrote up the tradeoffs at length in coal or propane: which first forge makes sense?, and the shorter version is that propane is easier to live with in a small space while coal gives you a localized, adjustable fire that is better for heavy stock and for forge welding.
I run both. The propane forge does most of my day-to-day work because I can light it and be forging in a few minutes. The coal forge comes out for long stock where I only want to heat the middle, and for welding, where I like the control.
The anvil
The anvil has a horn at one end for drawing curves, a flat face where most work happens, a hardy hole that takes square-shanked tools, and a smaller round pritchel hole used for punching. Mine is a 148 pound Trenton I call Bessie, and she is the tool I measure every other anvil against. Weight matters because mass under the hammer is what returns energy to your blow instead of absorbing it. For a general home shop, something in the 100 to 150 pound range covers nearly everything a hobby smith does, and I laid out the reasoning in what size anvil do you actually need?.
Height is the part beginners get wrong. The traditional starting point is to set the face at knuckle height when you stand relaxed with your arm hanging. Go lower if you do heavy drawing work and want to get your body over the hammer, higher if you do fine detail and want to see. Adjust it once you have hammered on it, not before.
The stand matters more than people expect. The anvil wants solid, continuous contact with something heavy, either a hardwood stump or a fabricated steel stand with mass in it. A rocking anvil eats your blows and rings like a bell. Chains, magnets, or silicone under the feet are common tricks to kill the ring, and you will want something, because that ring is loud enough that I wear hearing protection every session.
The vise
The classic shop vise is a post vise, sometimes called a leg vise, with a leg running down to the floor so hammer blows go into the ground instead of into the screw box. That is the whole point of it. A bench vise is built for holding, not for being struck, and it will crack if you treat it like an anvil. If you plan to hit things while they are clamped, and you will, get a post vise.
Everything else
Tongs in a rack near the fire, one pair per common stock size. A hammer or three, because different jobs want different weights and faces. A slack tub of water for cooling tools and quenching mild steel. A wire brush for scale. Punches, drifts, chisels, hardy tools. A grinder or two. Somewhere to put steel that is out of the walking path. I keep the list of what genuinely earns its floor space in the black smith tools you actually need to start, and the honest answer is that it is shorter than the catalogs suggest.
Fire, fumes, and the parts that hurt people
This is the section I will not soften. Early on I quenched a blade in oil that was too cold, standing too close, in a cotton shirt with no face shield. The oil flared up and took my eyebrows. I kept my eyesight by luck, and luck is not a safety system.
Eye protection first. Safety glasses rated to ANSI Z87.1, worn from the moment you walk in, not put on when you think something might happen. Scale flies off hot steel in random directions, and a grinder throws far worse. A face shield goes over the glasses for grinding and for quenching, and the shield does not replace the glasses.
Clothing is natural fibers only near the forge. Cotton, wool, leather. Synthetics melt and stick to skin, and a polyester shirt in a shower of sparks is a burn injury waiting to happen. Sleeves down, no cuffs that catch scale, closed leather boots, no synthetic laces if you can help it.
Ventilation is not optional with either fuel. Coal produces carbon monoxide and coal smoke; propane burners produce carbon monoxide too. Carbon monoxide has no smell and no warning, so a CO alarm in the shop is cheap insurance and a working exhaust plan is the actual control. A side draft hood at the level of the fire pulls coal smoke better than an overhead hood does, which is owner consensus more than my own testing since I run a side draft and have not compared them head to head. For propane in a garage, the door goes up and you want real cross ventilation, not a cracked window.
Never heat galvanized steel. The zinc coating vaporizes and causes metal fume fever, which is a genuine illness, and it happens in a home shop just as easily as anywhere else. If you cannot identify a piece of scrap, do not put it in the fire.
Fire control means a clear floor, no sawdust, no oily rags, an extinguisher you can reach without crossing the forge, and a lid for the quench tank that can smother it if oil flares. Water goes in the slack tub. Oil quenching gets its own container with a lid and its own respect.
Hot steel looks identical to cold steel once the color falls out of it. Everything on the anvil is hot until you have personally cooled it. I have burned myself on pieces I set down five minutes earlier and forgot about. So has every smith I know. For the full walkthrough of what protective gear is worth buying and what is theater, see blacksmith safety gear: what matters and what to skip.
The building itself: floor, walls, light, and power
Floors want to be non-combustible and forgiving. Dirt, gravel, and concrete are all common. Concrete is easy to sweep and hard on dropped tools; a steel plate or a patch of sand where hot drops land saves your floor and your nerves. Wood floors exist in older shops but they are a fire load you have to actively manage, and I would not build one on purpose.
Walls and ceiling need clearance from the forge, and the clearance requirement is a real code question in most places, not a matter of taste. If you are building in a garage or a shed, find out what your local fire code and your insurance actually say before the forge goes in. Renters have an extra problem here, since a landlord who discovers a coal forge in the garage after the fact is not going to be reasonable about it.
Lighting is the one that surprises people. You want the forge area on the dim side, because you read steel temperature by color and bright overhead light washes that out. Bright task lighting belongs at the bench, the vise, and the grinder. A shop lit like an operating room makes it genuinely hard to tell a welding heat from a forging heat.
Power depends on what you add later. A hand crank blower needs nothing. An electric blower, a grinder, a drill press, and a bandsaw add up on a single circuit fast, and a power hammer is a different conversation entirely. Run more outlets than you think you need while the walls are open.
Space is more flexible than beginners assume. A single-car garage is plenty for a full hobby shop. What a small shop punishes is storage, so steel stock, fuel, and half-finished projects need designated homes or they end up in your walking path.
The kinds of blacksmith shops you will run into
Historic and museum shops. Living history sites, colonial villages, and heritage museums run demonstration shops with period-correct tooling and a smith who talks while working. These are worth visiting. The tooling is often gorgeous and the technique is real, but understand that the pace is set for the audience.
Farrier shops and mobile rigs. Horseshoeing is its own trade with its own tooling, and most farriers work out of a truck with a small propane forge and a lightweight anvil rather than a fixed building. There is real overlap in skill and almost none in shop layout.
Production and artist shops. Full-time smiths making architectural work, gates, railings, hardware, or knives. These have power hammers, presses, welding equipment, and material handling, and they look more like a fabrication shop than a postcard.
Club and community shops. Regional blacksmithing associations and ABANA affiliate groups often have a shared shop or run hammer-ins at a member's place. This is the single best resource for a beginner and the one most people do not know exists.
Home hobby shops. Mine, and probably yours eventually. One forge or two, an anvil, a vise, a bench, and whatever tooling has accumulated. This is where most blacksmithing in this country actually happens.
How to get inside one before you build your own
Do not buy a forge first. Go find the fire somewhere else and see whether you like the work. Start with your state or regional blacksmithing association, since almost every state has one and most of them list meetings publicly. Hammer-ins are casual gatherings where members forge together, and in my experience nobody there minds a newcomer standing and watching for a couple of hours.
Community colleges and craft schools run weekend intro classes. Living history sites will often let you talk to the demonstrator after the crowd thins. And if you find a working smith locally, ask politely, expect a no sometimes, and never show up unannounced and start touching things.
I teach weekend beginners, and the ones who arrive having watched a real shop for a day arrive with better questions. They already know that the fire needs tending, that the tongs matter more than they look, and that the work is louder and dirtier than video makes it seem.
Setting up your own shop in the order that works
The order I would recommend, and roughly the order I stumbled into myself:
- Solve ventilation and location first. Where the fire goes and how the fumes leave determine everything downstream. Do this before you spend a dollar on tooling.
- Get a heat source and an anvil. Not the perfect ones. Adequate ones. A modest forge and something in the 100 to 150 pound class will teach you more in six months than research will in two years. If you are shopping, how to buy an anvil without wasting your money covers what actually matters and what is cosmetic.
- Add a post vise and a hammer you like. Hammer fit is personal and you will not know what you like until you have swung a few.
- Make your own tongs and hardy tools. This is real, and it is the traditional path. Making tooling teaches technique and saves money at the same time.
- Add power tools as specific jobs demand them. A grinder early, a bandsaw when you get tired of cutting by hand, a drill press eventually. Buying them up front just fills the floor.
Skip the shopping-list approach entirely. The shop that grows out of the work you are actually doing ends up better arranged than the one assembled from a list.
What nobody tells you about working in a shop
It is dirty in a way that does not wash out. Scale gets into everything, coal dust more so, and shop clothes stay shop clothes forever.
It is loud. Hammer on anvil, all day, is genuinely hearing-damaging over years, and the damage is cumulative and permanent. Plugs or muffs, every session.
It is hotter than you expect in summer and surprisingly workable in winter, since the forge heats you and the cold air is a relief. Most of the smiths I know do their best work between October and April.
And it is slower than the videos. A three minute clip is often a four hour project. The forge takes time to come up, the fire needs tending, and most heats produce one or two useful moves before the steel goes back in.
If your interest runs toward blades and heat treatment specifically, understand that steel science is a genuinely technical field and shop lore is full of confidently repeated nonsense about it. Send those questions to real testing rather than to forum consensus. Knife Steel Nerds publishes actual metallurgical work on hardening, tempering, and steel selection, and it will serve you far better than anything I could improvise. For picking a starting steel by what you are making, the steel selector tool here narrows it down without the guesswork.
More reference pieces like this one live on the More from the shop hub, and if you are earlier in the process than shop layout, blacksmithing, explained plainly by a smith who still lights the forge is the place to start.
A shop is not a collection of tools. It is a set of decisions about where the heat goes, where you stand, and how fast you can get steel from fire to face. Get those right in a bare garage and you will out-work someone with a beautiful building and a bad triangle.