All specs and sources verified. Writing the article.
Here is the article:
When a new smith asks me about a black smith kit, they are usually picturing one sealed box with everything in it, ordered on a Friday and forging by Sunday. I understand the appeal, and there are bundles that promise exactly that. My honest answer is that the best kit is not a box at all. It is five pieces bought on their own merits: a forge, an anvil, a hammer, tongs, and eye protection. If you made me hand a beginner one shortlist tomorrow, it would be a single burner propane forge, a 66 lb cast steel anvil or a used anvil if one turns up local, a 2 lb cross pein hammer, one honest pair of wolf jaw tongs, and a set of ANSI Z87.1 safety glasses. Before you spend a dime, here is the framing you deserve: I have run coal and propane forges and beat on my Trenton, Bessie, for about twenty-five years, but I have not bench tested every model named below. What follows leans on published specs and what owners actually report on the forums, weighed against what I know from my own shop floor.
Why the bundle is usually the wrong buy
The all in one kits look like a bargain because they put five line items under one price. What they hide is that a bundle is only as good as its weakest piece, and in these kits the weak pieces are the tongs and the hammer. You end up paying for a forge you might have wanted anyway, plus a set of stamped tongs that barely close on your stock and a hammer with a rough, poorly hung head. Then you buy the tongs and hammer again, correctly, and the "kit" saved you nothing.
Buying piece by piece also teaches you the thing that matters most: what each tool is for, and why the good version costs what it costs. A forge is an insulation and burner problem. An anvil is a mass and hardness problem. A hammer is a balance and finish problem. When you shop them separately you learn to see those tradeoffs, and you stop being the person a slick product page can talk into anything. If you want the longer version of this same argument aimed squarely at newcomers, I wrote it up in my beginner blacksmith kit guide and in the blacksmithing starter kit piece. The short version: assemble it yourself.
The kit at a glance
Here is the whole kit in one view. Every figure below is a published spec from the maker or a spec-carrying retailer page, cited in the sections that follow. Where a maker does not publish a number, I say so rather than guess.
Scroll horizontally to see all columns.
| Piece | Pick | Published specs | Price tier |
|---|---|---|---|
| Forge | Simond Store single burner | 2600 F rated, ceramic fiber blanket plus firebrick, single burner | Budget to mid |
| Anvil | VEVOR 66 lb single horn | 66 lb, cast steel, about 50 HRC, 10.35 x 3.46 in face | Budget |
| Hammer | Vaughan 2 lb cross pein | 2 lb head, American hickory handle, high carbon steel | Budget |
| Tongs | Wolf jaw for roughly 3/8 in stock | about 17 in, forged steel, jaw range not published | Budget |
| Eye protection | 3M SecureFit | ANSI Z87.1-2020 rated, polycarbonate lens | Budget |
The forge: your heat source comes first
Nothing else in the kit does anything until you can get steel to a working orange, so the forge is where the first real money goes. For a beginner I would start on propane, not coal. Propane gives you fast, even heat, a clean shop, and one fewer skill to learn on day one, which is why it is what I reach for on most of my own days. If you are still weighing fuels, I laid out the whole decision in coal or propane for a first forge; for a starter kit, propane wins on simplicity almost every time.
The Simond Store single burner is the honest budget-to-mid entry here. Simond publishes it as 2600 F rated, with a heating chamber lined in a ceramic fiber blanket plus firebrick, built from steel sheet with a stainless burner nozzle, per their single burner forge listing. That rating matters: forge welding steel wants roughly 2300 F, so a 2600 F ceiling gives you the headroom to weld, not just bend. A single burner and a single chamber is exactly right for a beginner. You are making hooks, drive hooks, small tools, maybe a knife, and one burner heats that stock plenty fast without eating a tank an hour.
The honest tradeoff is that any bare ceramic fiber forge needs a rigidizer and ideally a coat of refractory to knock down the loose fibers before you breathe near it, and you will want to run it outdoors or under real ventilation. That is true of every forge in this price class, not a knock on this one.
Check price on Amazon (paid link)
The anvil: the surface everything else works against
Your anvil is the tool you will measure every hammer blow against for years, so buy more anvil than you think you need. The rule I give every beginner is simple: mass and a hard face. A light anvil moves under the hammer and steals your energy; a soft face dents and telegraphs every ding into your work. I go deeper on sizing in my anvil weight guide, but for a starter kit, somewhere from 66 to 150 pounds is the honest range: enough mass to work against, light enough to move and afford.
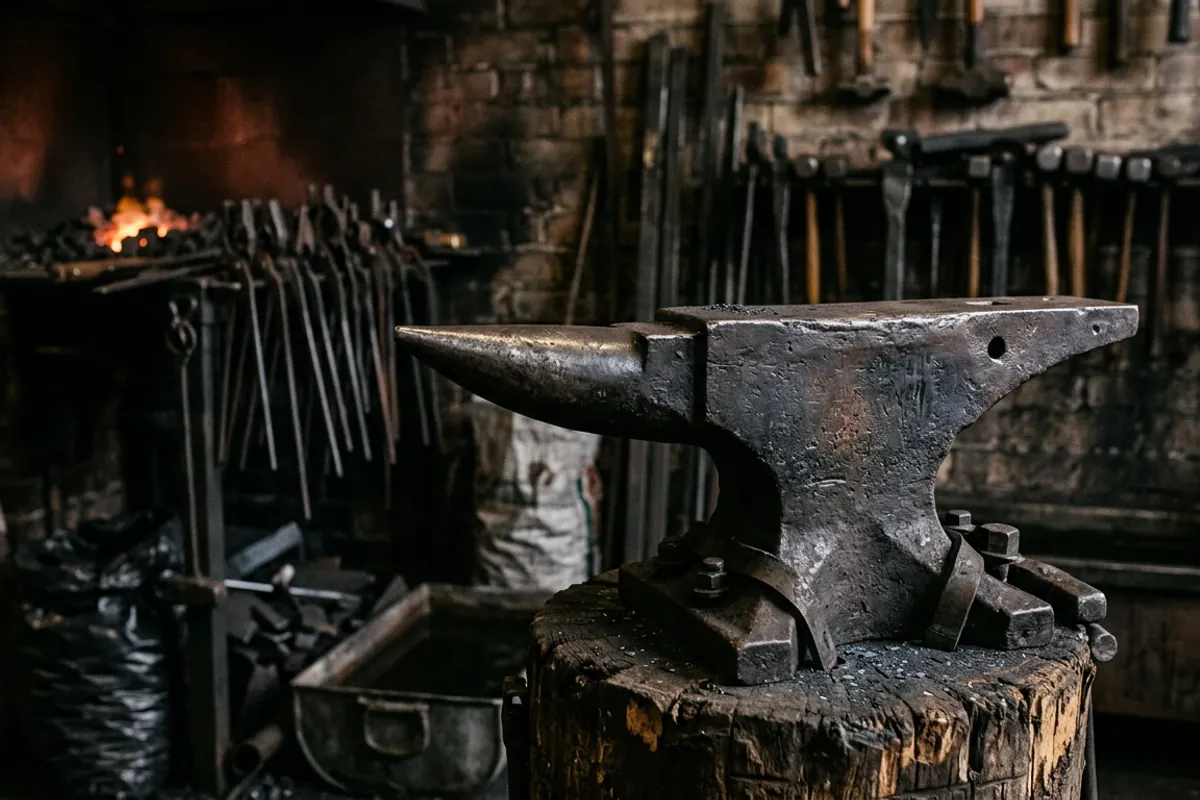
The VEVOR 66 lb single horn is the budget anchor for this kit. VEVOR publishes it as cast steel with a surface hardness of about 50 HRC, a 10.35 x 3.46 inch face, a round pritchel and a square hardy hole, on their 66 lb anvil page. A published 50 HRC is the number that separates this from the true junk; the doorstop cast iron "anvils" are dead soft and worthless for forging, and this is a real cast steel tool with a usable face.

Here is the honest part, because the brand is honesty. A budget cast anvil is a budget cast anvil. The rebound and ring will not match a hundred year old Trenton, and the edges are softer than a top-shelf modern anvil. If a decent used anvil comes up local for a fair price, that is often the better buy, and I walk through how to shop those without getting a paperweight in my VEVOR anvil guide. But if nothing turns up and you want to start this month, a 66 lb cast steel anvil with a published hard face is a real starting point, not a mistake.
The hammer: one good two pounder
You need exactly one hammer to start, and it should be a cross pein in the neighborhood of 2 pounds. New smiths reach for something heavy because it looks serious, then wreck their elbow in a month. A 2 lb head moves plenty of steel for the work a beginner does, and it lets you build technique instead of muscling through with bad form. The forums say the same thing over and over; the long-running I Forge Iron thread on beginner hammers and tongs keeps landing on a light cross pein as the first hammer.
The Vaughan blacksmith hammer is the pick I would hand across the bench. It is a drop forged high carbon steel head on an American hickory handle, assembled in the USA, in a 2 pound size. The face comes reasonably finished, and a hickory handle you can shape or replace beats the fiberglass sticks that come in the cheap kits. Spend twenty minutes dressing the face and easing the pein with a file and a bit of sandpaper before you ever strike hot steel; a sharp factory edge on a hammer stamps ugly marks into your work. For the wider field of first hammers, good and bad, see my blacksmith hammer guide.
Check price on Amazon (paid link)
The tongs: where the cheap kits fall apart
Tongs are the single reason I tell people to skip bundles. The stamped tongs in a boxed kit tend to have jaws that do not actually meet, so hot stock slips and pivots right when you least want it to, and a spinning bar of orange steel is how people get burned. Good tongs grip the stock along the whole jaw and hold it without a death grip on the reins.
For one first pair, buy a wolf jaw pattern sized for roughly 3/8 inch square and round stock. The wolf jaw is the most forgiving general purpose pattern; it holds flat, square, and round in the same tool, which is exactly what a beginner wants before they know what they will make. The Camoo wolf jaw tongs are a common budget starting point, listed at about 17 inches of forged steel. Camoo does not publish a precise jaw capacity, so treat that as roughly 3/8 inch work and check the fit when it arrives; if the jaws do not meet cleanly, they take five minutes to true up in the vise with a little heat. Whatever you buy, plan to make your own next pair. Forging tongs from bar or rebar is a rite of passage, and my full breakdown of patterns and fit lives in the blacksmith tongs guide.
Check price on Amazon (paid link)
Eye protection: the piece nobody should skip
This is the one piece of the kit I will not soften a word about. Early on I quenched a blade in oil that was too cold, standing too close in a cotton shirt with no face shield. The oil flared and took my eyebrows, and I kept my eyesight by luck alone. Luck is not a plan. Scale pops off hot steel, wire wheels throw wire, and the grinder throws everything, so eye protection goes on before the forge is even lit.
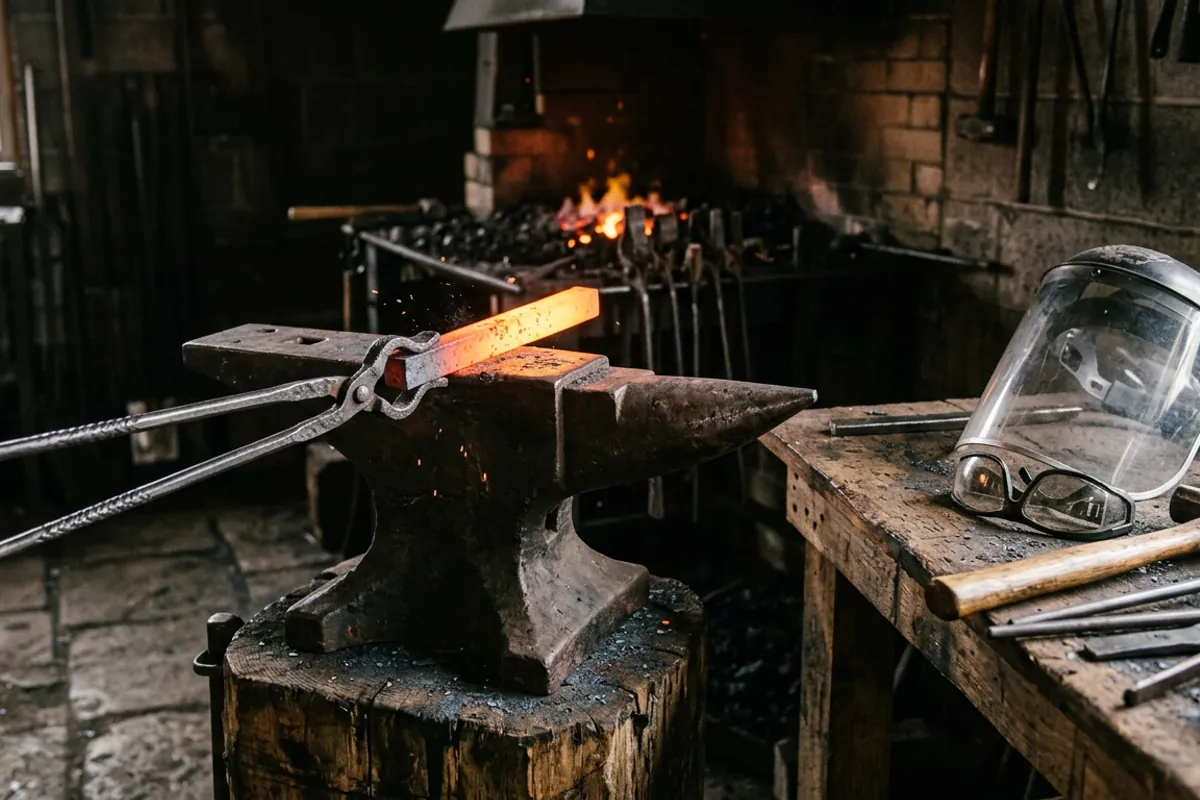
The real standard to look for is ANSI Z87.1. That marking means the lens passed a defined impact test; hardware store fashion sunglasses have not, and they will shatter into your eye instead of stopping the hit. The 3M SecureFit safety glasses are a cheap, honest pick here: 3M rates them to the high impact requirement of ANSI Z87.1-2020 with a polycarbonate lens. Buy the wraparound style so scale cannot come in from the side, and add a full face shield rated to the same standard over the glasses for grinding and any quench. Natural fibers over synthetics near the forge, too; a cotton or wool shirt scorches, but polyester melts onto skin. I put the whole layered kit together in blacksmith safety gear, and none of it is optional.
Check price on Amazon (paid link)
What owners say
Since most of the specific bundle gear here is not something I have run down in my own shop, it is only fair to tell you what the wider community reports, and where the signal is thin.
On the shape of the kit itself, the forum consensus is remarkably steady. The long I Forge Iron thread on the 25 most important tools for a beginning blacksmith and the classic what tools are needed discussion both land on the same five categories I listed: a heat source, an anvil or a hard heavy face to work on, a hammer, tongs, and safety gear, with everything else acquired as you go. That is the strongest owner signal in this whole piece, and it is why I trust the piece by piece approach over any boxed bundle.
On the budget forges and anvils, the reports are more mixed and worth reading with clear eyes. Owners of the import single burner forges generally say they light and hold heat fine for their size, with the common caveats: check every propane fitting with soapy water for leaks before first light, and rigidize the ceramic fiber before you run it hard. On import cast anvils, owner opinion is genuinely split; some are happy with a hard usable face for the money, others report soft edges and dull rebound, which is exactly why I frame the VEVOR as a starting point and not an heirloom. Where owner signal on a specific budget model is thin, I would rather tell you it is thin than dress up a handful of reviews as a verdict.
What I would tell a friend
If a friend called me tonight wanting to start, here is the whole thing in three lines. Buy the forge and the anvil first and well, because those are the pieces you cannot cheat: a single burner propane forge and 50 or more pounds of hard cast steel or a good used anvil. Buy one honest 2 pound cross pein and one wolf jaw pair, and plan to forge your second set of tongs yourself. Put the safety glasses on before anything else, every single time, because I have the story that explains why.
The one thing to skip is the sealed all in one bundle. Assemble the kit yourself, learn what each tool is for as you buy it, and you will end up with a shop you understand instead of a box you have to replace piece by piece anyway. For more starter guides in this same owner to owner voice, the whole more from the shop shelf is there to dig through.