Being a black smith is one of those trades that people think they understand until they actually stand in front of a hot forge with a hammer in their hand. Most of what folks picture comes from movies: a bearded man in a leather apron, sparks flying, a sword taking shape in three dramatic blows. The real work is slower, quieter, and a lot more about heat control and patience than it is about spectacle. I have been at this for about twenty-five years, self-taught off a length of railroad track clamped to a stump, and I still learn something most weekends. This is a plain explainer of what the work actually is, what it takes to start, and where the romance ends and the craft begins.
What a black smith actually does
Strip away the mythology and a blacksmith is someone who shapes metal, usually steel or wrought iron, while it is hot enough to move under a hammer. Heat is the whole game. Steel at room temperature fights you; steel heated to a bright orange or yellow moves like stiff clay. The smith takes stock, meaning raw bar, rod, or plate, brings a section of it up to forging temperature in the forge, and then works it against the anvil with a hammer and various tools until it becomes something useful.
That "something useful" covers a huge range. Historically it was hardware: hinges, nails, latches, chain, tools, wagon parts, horseshoes. A village smith made and fixed the metal that kept a community running. Today, when almost every functional object is stamped out in a factory, most of us forge because we want to, not because the world needs another hand-forged hook. Hobby smiths make knives, hooks, bottle openers, fire pokers, decorative scrollwork, small tools, and the occasional blade. Some go professional as bladesmiths or architectural ironworkers, but that is a minority. If you want the fuller picture of the trade and its history, I wrote a longer piece on what the black smith actually is and a companion on blacksmithing explained owner to owner.
The core loop never changes: heat the steel, move it while it is hot, put it back in the fire when it stops cooperating, repeat. A single small project might see the same piece of steel go into the fire a dozen times. Learning to read the color of the steel, to know when it is ready and when it has cooled too far to work safely, is most of the skill in the first year.
The forge: how a smith makes heat
You cannot forge without a forge, and the forge is where new smiths make their first real decision. There are two common fuels for a home shop, and I have run both for years.
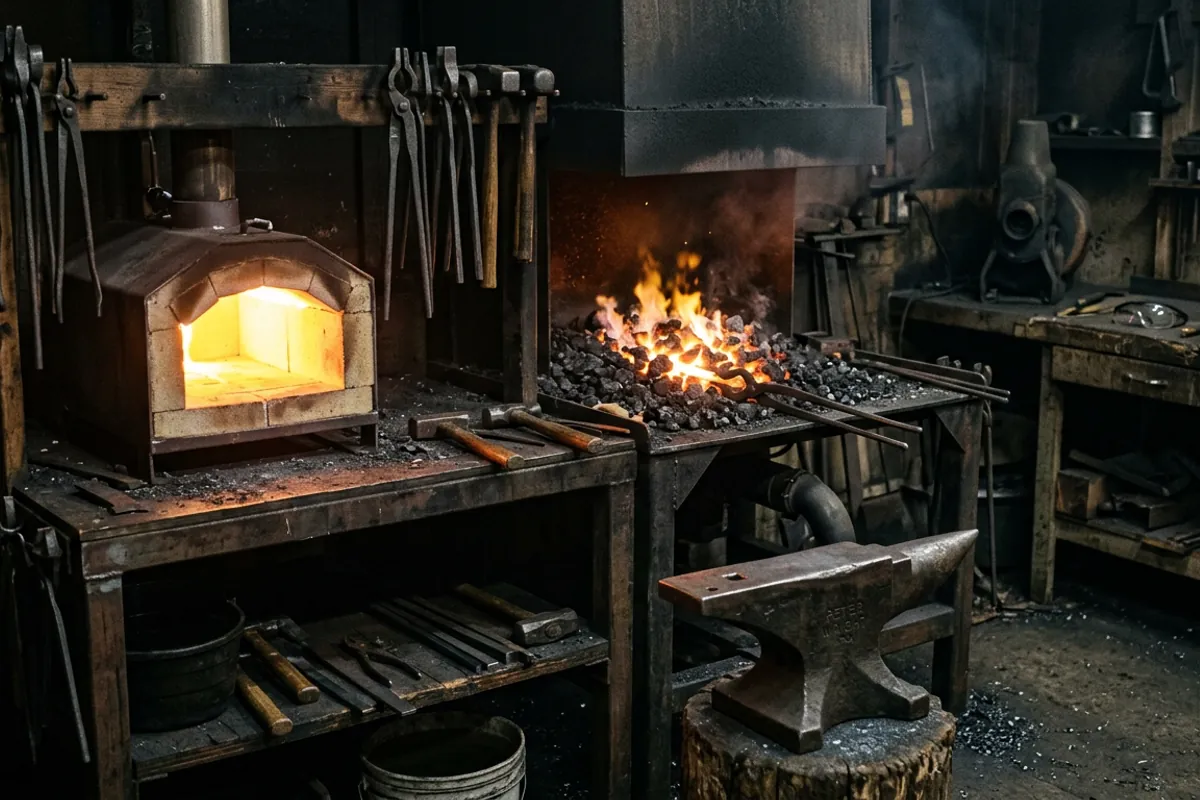
A coal forge burns coal, or more precisely coke, the near-pure carbon left after coal has cooked off its volatiles. It gives you a deep, concentrated fire that you can pile up for heavy stock or forge welding, and you can shape the fire itself by how you feed and rake it. The tradeoff is that coal is dirty, smoky, and needs managing. Your neighbors will notice. Good smithing coal is not the same as the coal you might find at a hardware store, and getting the right stuff matters more than beginners expect.
A propane forge burns gas through one or more burners inside an insulated chamber. It lights with a spark, comes up to heat in a few minutes, holds an even temperature, and makes no smoke. For most day-to-day work, that convenience is why my propane forge sees more hours than my coal forge. The tradeoff is that a typical single-burner propane forge struggles to reach forge-welding temperature and heats the whole chamber rather than a spot, so long or awkward pieces are harder.
Neither fuel is "better." They are different tools. If you are trying to decide, I put the honest comparison in coal or propane, which first forge makes sense. My short version for a brand-new smith: propane is the easier place to start because it removes fire management from the list of things you are learning all at once.
The anvil and why weight matters
The anvil is the smith's workbench, the mass you hammer against. Mine is a 148 lb Trenton I call Bessie, and I measure every other anvil against her. An anvil is not just a heavy block. It has a flat working surface called the face, a pointed end called the horn used for curves and drawing out, a square hole called the hardy hole that holds cutting and bending tools, and a smaller round pritchel hole used for punching. Learning what each part is for is part of learning the craft.
Weight is the thing beginners get wrong. A heavier anvil returns more of your hammer energy back into the steel instead of absorbing it, so more of every blow does work. A light anvil bounces and moves and wears you out. That said, you do not need a monster. For general hobby work, something in the range of 100 to 150 pounds is a genuinely usable starting anvil, and plenty of good work has been done on less. The people asking about a 500 pound anvil are almost never the people who need one. I break down honest sizing in what size anvil do you actually need, and if you are shopping, how to buy an anvil without wasting your money covers the traps.
The one thing that is not negotiable is a hard face. A cheap anvil with a soft face dents under the hammer and steals energy the same way a light anvil does. That is worth checking before you spend a dollar.
The hammer, the tongs, and the rest of the starter kit
Beyond the forge and anvil, a working smith needs a way to hold hot steel and a way to hit it. That means tongs and a hammer.
Tongs are the tool people underestimate. You cannot hold hot steel in your bare hand, and you cannot do controlled work holding it with pliers or vise grips. A good pair of tongs grips the stock securely so the piece does not twist or fly when you strike it. Different jaw shapes hold different stock, and most smiths accumulate a drawer full over time. You do not need ten pairs to start. One or two that fit the stock you actually use will carry you a long way.
The hammer is personal. A common starting weight is somewhere around 2 to 3 pounds for general forging, light enough that you can swing it accurately for an hour without ruining your elbow. New smiths almost always reach for a hammer that is too heavy because it feels more serious. Accuracy and endurance beat raw mass every time in the first year. The classic pattern is the cross pein, which has one flat face and one wedge-shaped face for moving metal in a direction.
If you want the full short list of what a beginner actually needs, without the upsell, I laid it out in the black smith tools you actually need to start. The honest truth is that the essential kit is smaller than most gear guides pretend.
Heat, steel, and the metallurgy a smith has to respect
Forging shape is only half of the trade. The other half is understanding that steel changes its properties when you heat and cool it, and that these changes are not optional folklore. They are real material science, and getting them wrong makes a tool that fails.
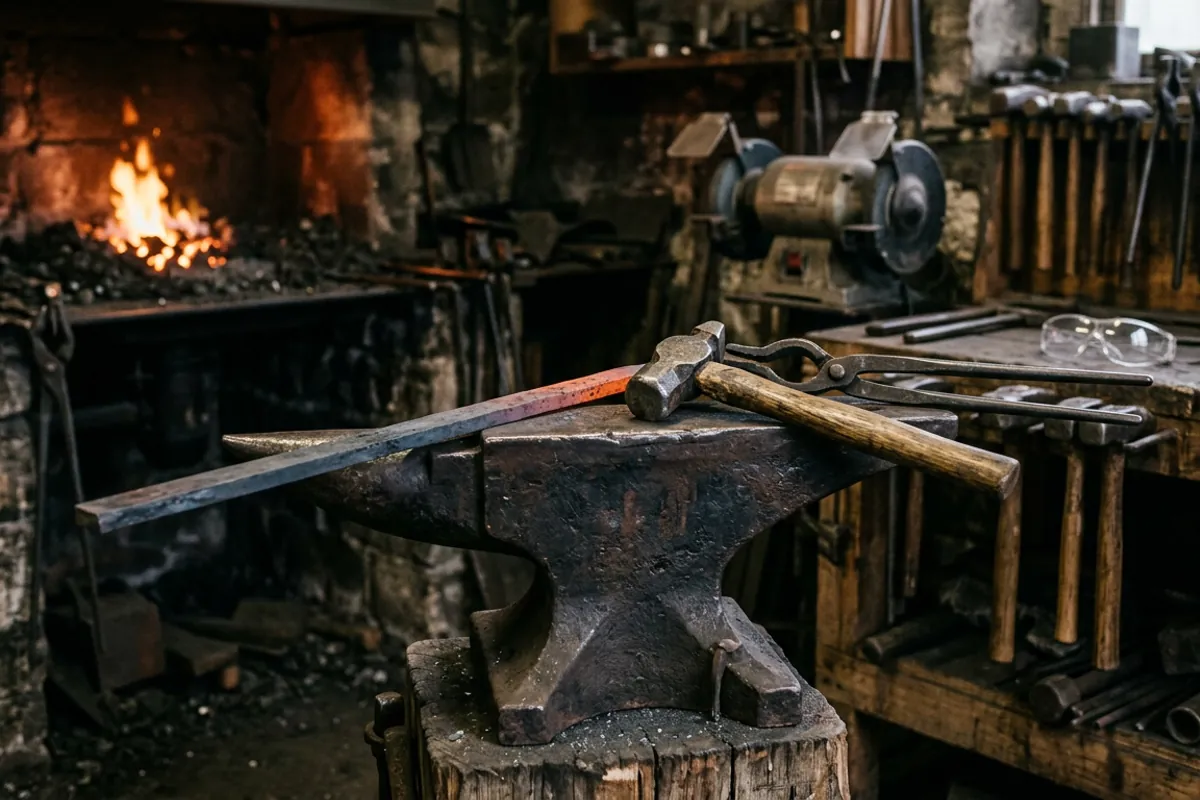
Two ideas matter most. The first is that heating steel and cooling it slowly, called annealing, softens it and relieves stress, making it easier to work and to file or drill. The second is that heating certain steels and cooling them fast, called quenching, makes them very hard and very brittle, and that hardness then has to be pulled back with a controlled low-temperature bake called tempering so the piece is hard enough to hold an edge but tough enough not to shatter. Harden, then temper. Skip the temper on a knife and it can snap.
I am an experienced hobby smith, not a metallurgist, and I am careful to say so. The color-based methods a smith uses at the forge get you into the right range, but they are approximate. When a question gets genuinely deep, like exactly what happens to a specific alloy at a specific temperature, the right move is real testing, not shop lore. I send people to Knife Steel Nerds for the heat-treat and steel-science numbers, because that is work done with actual instruments rather than eyeballed color. For the plain-language version of the processes, I have written up what annealing steel actually does and how to temper steel by heating and cooling.
Safety, and why I do not soften it
This is the part I refuse to make friendly. Forging is hot, heavy work with real hazards, and the injuries are not hypothetical.
Early on, I quenched a blade in oil that was too cold, standing too close, in a cotton shirt, with no face shield. The oil flared up and took my eyebrows off. I kept my eyesight by luck, not by doing anything right. That day is the reason this site treats protective gear as mandatory, not optional.
Wear eye protection rated to ANSI Z87.1. Forging throws scale, and grinding throws steel and abrasive particles at speed. Your eyes do not grow back. Wear natural fibers, cotton or wool or leather, and keep synthetics away from the forge. Synthetic fabric melts and sticks to skin when it catches, which turns a small burn into a serious one. Have a face shield for quenching and anything that can spit. Work in ventilated space, because both coal smoke and the products of a propane fire are things you do not want to breathe. Keep water nearby.
None of this is about being timid. It is about being able to forge next week. The smiths I know who have been at it for decades are, almost without exception, careful people. I put the full rundown of what matters and what is marketing in blacksmith safety gear, what matters and what to skip.
How a beginner actually starts
If all of this sounds like a lot, here is the encouraging part. You can start smaller and cheaper than the gear guides suggest, and you learn more from a few real projects than from months of shopping.
A minimal working setup is a heat source, something heavy and hard to hammer against, a way to hold hot steel, and a hammer. People have forged useful things on a chunk of steel that was never sold as an anvil. I started on railroad track. The point is to get heat into steel and start moving it, because the skills, reading color, hitting where you aim, and knowing when to reheat, only come from doing it.
The best first projects are small and teach a specific skill. A hook teaches you to draw out, taper, and bend. A bottle opener teaches control on a small piece. A simple leaf teaches texturing and shaping. I hand every weekend beginner I teach the same kind of project, because finishing something builds the instinct that reading never will. If you want a structured path, the black smith projects that actually teach you to forge walks through the ones that pull their weight.
Expect to be bad at first. Everyone is. The steel will fold where you did not want it to, your tapers will be lopsided, and you will burn a piece up by leaving it in the fire too long. That is the tuition. Twenty-five years in, I still make the beginner mistakes when I get careless. The trade rewards patience and punishes hurry, and that is true whether you are making a hook or a blade.
Where to go from here
Being a black smith, at the hobby level most of us occupy, is not a mystical calling or a professional credential. It is a learnable craft built on a few durable ideas: control your heat, hammer with accuracy over force, respect what heat treating does to steel, and never treat safety as optional. The equipment can be humble. The learning cannot be rushed.
If you are just orienting yourself, keep reading in more from the shop, where I collect the reference pieces that explain the trade rather than sell you gear. Start with something small and hot, protect your eyes, and forge a hook. That first finished piece, ugly as it will be, teaches you more about what a black smith really does than anything I can write.