Heat treating A2 tool steel is where a lot of home smiths hit the wall between what got them by on a mystery bar and what a real alloy actually demands. A2 does not care how good your eye is. It is an air-hardening, chromium-rich tool steel that wants an accurate soak at temperature, controlled cooling, and a proper tempering cycle, and it will quietly punish the forge-and-quench habits that carry you on plain carbon steel. I run a coal forge and a propane forge in a home shop, and I will tell you straight: A2 is one of the steels where I stop trying to do everything by color and either reach for a controlled setup or send the part out. This is what the steel really is, what the full heat treat cycle looks like start to finish, and where the home shop honestly fits.
What A2 actually is
A2 is an air-hardening, medium-alloy, cold-work tool steel. The "A" in the AISI tool steel system means air-hardening, and that one letter tells you most of what you need to know about how it behaves. A typical A2 chemistry runs about 1.0 percent carbon, roughly 5 percent chromium, about 1 percent molybdenum, and a small amount of vanadium, with some manganese and silicon along for the ride. Those numbers vary a little between mills, so treat them as the shape of the alloy, not gospel. When you buy a bar, the exact composition and the recommended heat treat live on the supplier data sheet, and that sheet is the number you follow, not a forum post and not me.
What that chemistry buys you is dimensional stability and toughness in a cold-work role. The chromium and molybdenum let the steel harden all the way through in still air, which means it moves very little during hardening compared to a water or oil quench. That is why A2 shows up in punches, blanking and forming dies, shear blades, gauges, and plenty of knives where a maker wants a stable, wear-resistant blade that is a little tougher than the high-chromium stainless grades. It sits in the family of alloys worth understanding on the steel and metallurgy hub, and it behaves nothing like the simple steels most beginners cut their teeth on.
Why A2 is not a forge-and-quench steel
Here is the part people skip. On plain high carbon steel, you can get a workable result heating to non-magnetic and quenching in oil, judging by color and the magnet. A2 does not play that game.
Two things break the old habits. First, A2 is air-hardening, so there is no quench tank moment where you plunge and it is done. The steel hardens as it cools through still air, which sounds forgiving and mostly is, but it means the whole result rides on getting to the right austenitizing temperature and holding there, not on how fast you dunk it. Second, and this is the one that gets people, A2 needs a real soak at temperature so the chromium carbides can dissolve and put that chromium and carbon into solution. If you just bring it up to color and let it cool, the alloy never gets into solution, and you get soft, uneven, disappointing steel that looks heat treated and is not.
The magnet trick fails you here too. The magnet tells you the steel has passed its Curie point, which is well below the austenitizing temperature A2 wants, so hitting non-magnetic and pulling it is a guarantee you are cold and under-soaked. You cannot eyeball a soak, and you cannot eyeball an air-hardening alloy's temperature closely enough by color to land inside the window it needs. That is why A2 is a controlled-furnace steel. If you want the honest owner-to-owner version of how much of home heat treating is guessing versus measuring, I got into it in my 4140 heat treat writeup, and A2 sits even further toward the measured end than 4140 does.
The full heat treat cycle, step by step
The cycle for A2 has four real stages: preheat, austenitize with a soak, air cool, and temper. Skipping or shortcutting any one of them shows up in the finished part.
Preheat and austenitize
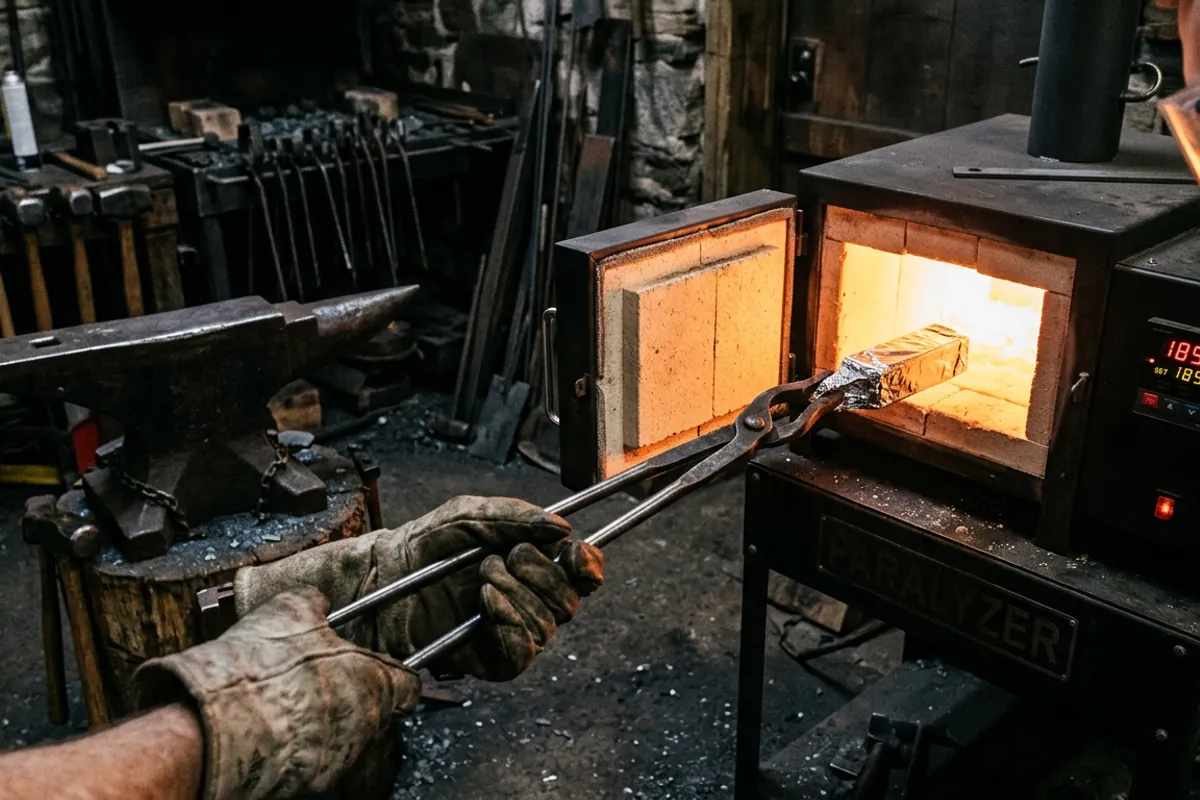
Most data sheets call for a preheat, commonly somewhere around 1150 to 1250 degrees Fahrenheit, to let the part equalize before you push it up to hardening temperature. The preheat matters more on thick or complicated shapes, where a straight ramp to full heat builds thermal stress and can crack or distort the part. Let it equalize, then bring it up to the austenitizing temperature, which for A2 typically lands around 1750 to 1800 degrees Fahrenheit, often quoted near 1775. Again, the exact figure is on your bar's data sheet, and you follow that sheet.
This is why A2 wants a heat treat oven with a controller and a thermocouple, not a forge and your gut. In a propane or coal forge you have hot spots, a moving flame, and no way to hold a bar at 1775 for a measured stretch of time. You can get plain carbon steel hard in a forge because the window is wide and the soak is short. A2's window is narrow and the soak is the whole point.
The soak matters
Once the part is fully up to austenitizing temperature, it needs to hold there long enough for the carbides to dissolve. Typical guidance runs on the order of 20 to 45 minutes at temperature once the part is equalized, scaling with section thickness. Thin stock needs less, a chunky die block needs more. Under-soak and the alloy is not in solution, so it will not reach full hardness no matter how you cool it. Over-soak or overshoot the temperature and you coarsen the grain and leave more retained austenite, which costs you toughness. The soak is a real interval you time, not a moment you catch.
Air quench
This is the easy part and the reason people like A2. You pull the part and let it cool in still, moving air. Thicker sections sometimes get forced air or a plate quench to pull heat evenly, and knifemakers often plate-quench thin blades between aluminum plates to keep them flat, but you are not slamming it into oil or water. Let it come down to about hand-warm, roughly room temperature or a bit above, before you do anything else. As quenched, A2 lands somewhere around 63 to 65 HRC, and it is hard and brittle in that state. Do not put it down and admire it. Untempered, air-hardened tool steel can crack sitting on the bench as it finishes transforming and as stresses settle, so keep the clock running toward temper or cold treatment.
Cold treatment and retained austenite
A2 keeps a meaningful amount of retained austenite after the air quench. Retained austenite is soft, unstable structure that did not finish transforming to martensite on cooling, and if it converts later in service you get dimensional change and a weaker part. For a lot of tool work you can live with it. For precision dies, gauges, and knives where you want every point of hardness and stability, a cold treatment between the quench and the temper helps drive that austenite to martensite.
The accessible home route is dry ice in a solvent like acetone, which gets you down near minus 100 degrees Fahrenheit. Shops chasing the last bit go to liquid nitrogen at cryogenic temperatures. The metallurgy of how much cold treatment actually buys you, and when it is worth the trouble versus marketing, is exactly the kind of question I send to real testing rather than guessing at. Knife Steel Nerds has done the controlled work on cryo and retained austenite, and that is where I point people who want numbers instead of shop lore.
If you go cold, be serious about it. Liquid nitrogen and dry ice both cause instant frostbite on contact, and both displace oxygen, so you never seal them in a closed container and you work with ventilation. Cryo-rated gloves, a face shield, and eye protection to ANSI Z87.1 are not optional here any more than they are at the forge. I lost my eyebrows early on to a quench oil flare-up because I stood too close with no shield, and cold burns you just as fast as hot does. And the sequence matters: cold treatment goes after the quench and before or between tempers, never as the finish, because you always temper the fresh martensite the cold treatment creates.
Tempering A2, and why you double temper
Straight out of the quench, A2 is glass-hard and brittle, and it stays that way until you temper it. Tempering is the step that trades a little hardness for the toughness that keeps the part from chipping or shattering in use. I walked through what tempering actually does to the structure in a plain-language tempering explainer, and the physics is the same here, but A2 has a couple of wrinkles worth knowing.
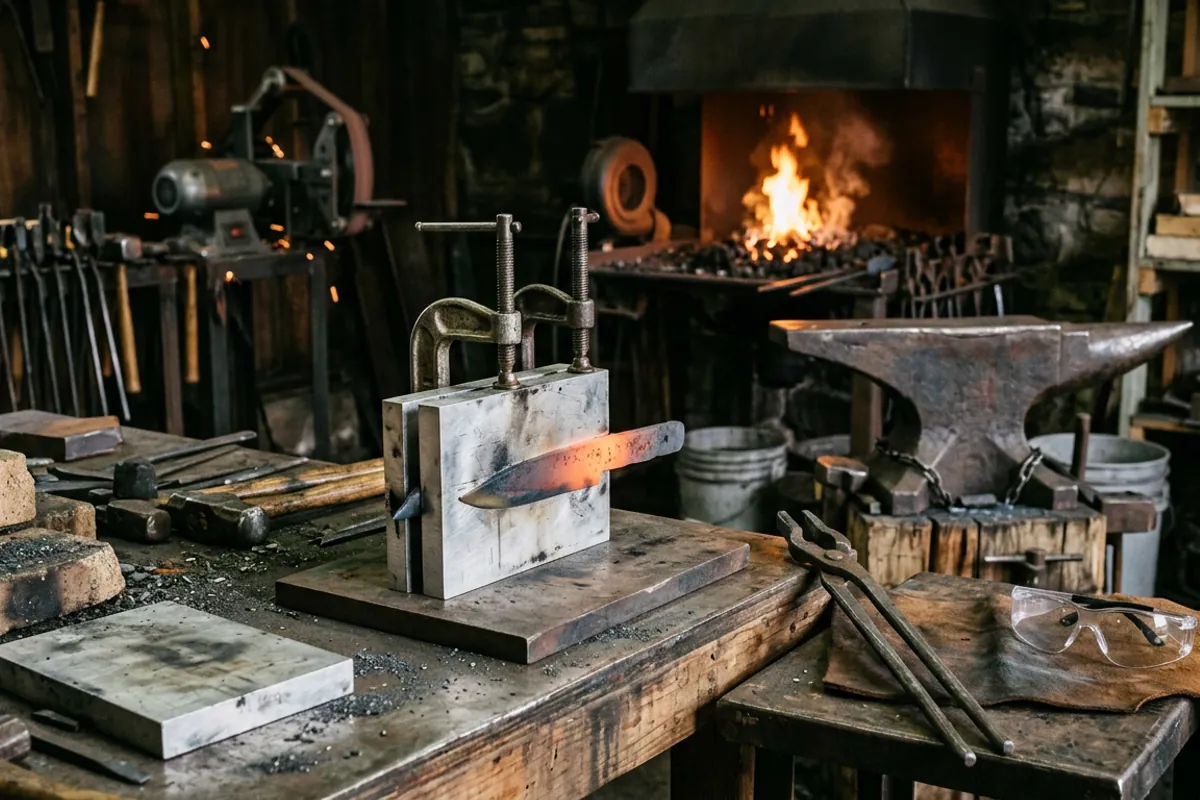
For most cutting and cold-work uses, A2 gets tempered low, commonly around 350 to 500 degrees Fahrenheit, which lands the finished part somewhere in the high 50s to low 60s HRC depending on where in that range you sit. Lower temper, higher hardness and less toughness. Higher temper, the reverse. A2 also has a secondary hardening hump up around 900 to 1000 degrees Fahrenheit, where the alloy carbides do their thing and hardness ticks back up. Most home and knife uses stay in the low range and never touch the secondary peak, but it is worth knowing the hump exists so you understand why the data sheet is not a straight downhill line.
Double temper. This is not optional advice for A2, it is standard practice. You temper, let the part cool fully to room temperature, and temper a second time at the same temperature, each cycle held for a couple of hours at heat. The first temper transforms most of the retained austenite to fresh, untempered martensite, and the second temper is what actually tempers that fresh martensite so it is not left brittle. Skip the second cycle and you leave hard, untempered structure in the part. Two hours at temperature per cycle is the common minimum, and you time it from when the part is up to temperature, not from when you closed the oven door.
Protecting the surface from scale and decarburization
Hold A2 at 1775 degrees Fahrenheit in open air for half an hour and the surface pays for it. You get scale and, worse, decarburization, where carbon burns out of the outer layer and leaves a soft skin that never hardens right. On a knife you grind that skin off anyway, so a little is tolerable. On a finished-to-size die or a part with a critical surface, decarb is a defect.
The home fix is stainless heat treat foil. You wrap the part in a pouch of stainless foil, fold the seams tight, and the foil plus the small amount of trapped air burns down the oxygen so the surface comes through clean. Commercial shops use controlled-atmosphere or vacuum furnaces that do the same job better, which is one more reason precise A2 work often goes out to a heat treater. If you have wondered what those outfits actually give you over a home oven, I got into it in a writeup on commercial heat treating. Two safety notes on the foil: it comes out of the oven as hot as the part, and cut stainless foil edges are genuinely sharp, so you handle it with tongs and gloves and open the pouch with a plan, not with bare hands over your face.
Doing this in a home shop, honestly
Here is the owner-to-owner truth. A2 is not hard to heat treat well. It is hard to heat treat well without the right equipment, and that equipment is a temperature-controlled heat treat oven, a way to time a real soak, stainless foil for the surface, and a temper source you can hold at a set temperature for hours. A kitchen oven can handle the temper end of it for low-temperature cycles, but it will not touch 1775 for the hardening soak, and a forge will not hold that number steadily enough to trust.
If you have a small heat treat oven, A2 is very doable and rewarding, and its low distortion makes it forgiving to grind and fit. If you do not, you have two honest options. Buy an oven, which is the path a lot of serious hobby knifemakers take, or send the hardening out to a commercial heat treater and do your own low-temperature tempering at home if you want. There is no shame in sending it out. A good heat treater has calibrated furnaces, controlled atmosphere, and cryo on hand, and they will land your A2 more consistently than a home setup on its best day. What there is shame in is telling yourself a forge quench got you real A2 hardness when it did not.
If you are still early enough that you are choosing steels, know that A2 is a step up in fussiness from the oil-hardening and plain carbon grades. It is worth understanding as part of a broader picture of what heat treating does to steel, which I laid out in a plain overview of heat treatment. Learn the cycle on a steel that forgives you, then move to A2 when you have the oven and the discipline to give it the soak and the double temper it asks for.
Where A2 fits, and what it costs you
A2 earns its keep where you want a stable, wear-resistant, reasonably tough tool that will not warp itself out of tolerance during hardening. For dies, punches, shear blades, and a certain kind of knife, that combination is exactly right, and the air quench that makes it stable is also what makes it demand controlled heat rather than a bucket. You trade the simplicity of a forge-and-oil steel for stability and predictable results, and you pay for that trade with a soak you have to time, a surface you have to protect, and a double temper you cannot skip.
None of it is mysterious once you stop trying to force air-hardening steel through carbon-steel habits. Get the preheat, hold the austenitizing soak, cool in still air, cold-treat if the job calls for it, and double temper for a couple of hours per cycle at the temperature your data sheet names. Do that and A2 is one of the most predictable steels on the bench. Try to shortcut it by eye and it will hand you a soft, cracked, or warped part that looks like it should have worked. The steel is honest. It just does not grade on a curve.