Heat treatment of metals is the part of smithing where the shape you fought into the steel stops mattering and the steel itself decides whether your work was worth it. You can forge a blade with a perfect edge geometry and a graceful line, and if you botch the heat treat you have a soft butter knife or a brittle glass rod. It took me a while to respect that. Early on I thought forging was the skill and heat treat was a footnote you tacked on at the end. It is the other way around. The forging is the fun part. The heat treat is the part that turns a bar of steel into a tool that holds an edge, and it is where most beginners quietly lose the plot.
I have been at this about twenty-five years, self-taught off a chunk of railroad track before I ever owned a real anvil, and I have ruined enough blades in the quench to have opinions. What follows is the working smith's version of heat treatment: what the heat is actually doing inside the steel, the handful of operations you will use, how to read temperature without a lab, and where you should stop trusting your eyeballs and send the question to people with actual test equipment. This is a reference piece, not a recipe. Every steel has its own numbers, and I will tell you plainly where to go get them.
What heat treatment actually is
Strip away the jargon and heat treatment is a controlled way of rearranging what is going on inside the steel at the level you cannot see. Steel is iron with a little carbon in it, and the way that carbon and iron arrange themselves changes with temperature. Heat the steel high enough and the internal structure shifts into a form that can dissolve carbon evenly. Cool it slowly and the carbon settles back into a soft, machinable arrangement. Cool it fast and you trap the structure in a hard, brittle state. Then you gently reheat to pull some of that brittleness back out. That is the whole story in one paragraph, and everything else is detail.
The reason this works on steel and not on, say, a copper pipe or an aluminum bar is that steel goes through what metallurgists call a phase change. There is a specific temperature band where the crystal structure of the steel reorganizes itself. Below it you have one arrangement, above it another. That transformation is the doorway. Hardening, annealing, normalizing, and tempering are all just different ways of walking the steel through that doorway and controlling how it comes back.
The four operations you will actually use
There are four heat treatments a home smith uses over and over, and it helps to hold them straight in your head because people mix them up constantly.
Hardening means heating the steel past its critical temperature so the structure transforms, then cooling it fast enough to lock in the hard state. This is the quench. Done right you get steel that is very hard and, on its own, too brittle to use.
Tempering always follows hardening. You reheat the just-quenched steel to a much lower temperature to trade a little hardness for a lot of toughness. A blade that skips tempering will chip or snap. I wrote a whole piece on this at tempering of metal, explained from the forge floor because it is the step beginners are most tempted to rush or skip, and it is the one that keeps your finished tool from shattering.
Annealing is the opposite of hardening. You heat the steel and cool it as slowly as you can, often burying it in ash or vermiculite overnight, so it comes out as soft as that steel gets. You anneal when you need to drill, file, or machine a piece, or to relieve stress before further work. The full walkthrough is in what annealing steel actually does, and how I do it.
Normalizing sits between the two. You heat the steel above critical and let it cool in still air. It refines the grain and evens out the internal stresses from forging without making the steel as dead-soft as a full anneal. Bladesmiths normalize a few times before the hardening quench to clean up the coarse grain that forging leaves behind. That grain refinement is not cosmetic. Coarse grain makes a weaker, more brittle blade, and no amount of good quenching fixes grain you did not refine first.
Why the numbers matter more than the color
Here is the trap. Every steel has its own critical temperature, its own ideal quench speed, and its own tempering range, and those numbers are not close enough to guess at. A steel like 1084 austenitizes in one band; a steel like 5160 or O1 or 80CrV2 in another, and the oil or water or air you quench into is specified per steel. Get the austenitizing temperature wrong and the carbon never fully dissolves, so the quench cannot harden it. Quench a water-hardening steel in oil and it may not harden; quench an oil-hardening steel in water and you can crack it in half with a sound like a rifle shot. I have heard that crack. It is unmistakable and it means the blade is scrap.
This is exactly why I will not print a heat-treat table in this article and call it authoritative. The right numbers live with the steel you actually bought, and the best public source I know for the science and the tested data behind it is Knife Steel Nerds. When someone asks me the precise austenitizing temperature and soak time for a specific alloy, I send them there rather than to my memory, because they run controlled tests and I run a home forge. If you have not settled on a steel yet, our steel selector tool and the steel and metallurgy topic hub are where I would start, and then you match your heat treat to the steel you land on, never the other way around.
Reading temperature without a lab oven
Most home smiths do not own a programmable heat-treat oven. You can still hit the critical temperature reliably with two cheap tools: your eyes and a magnet.
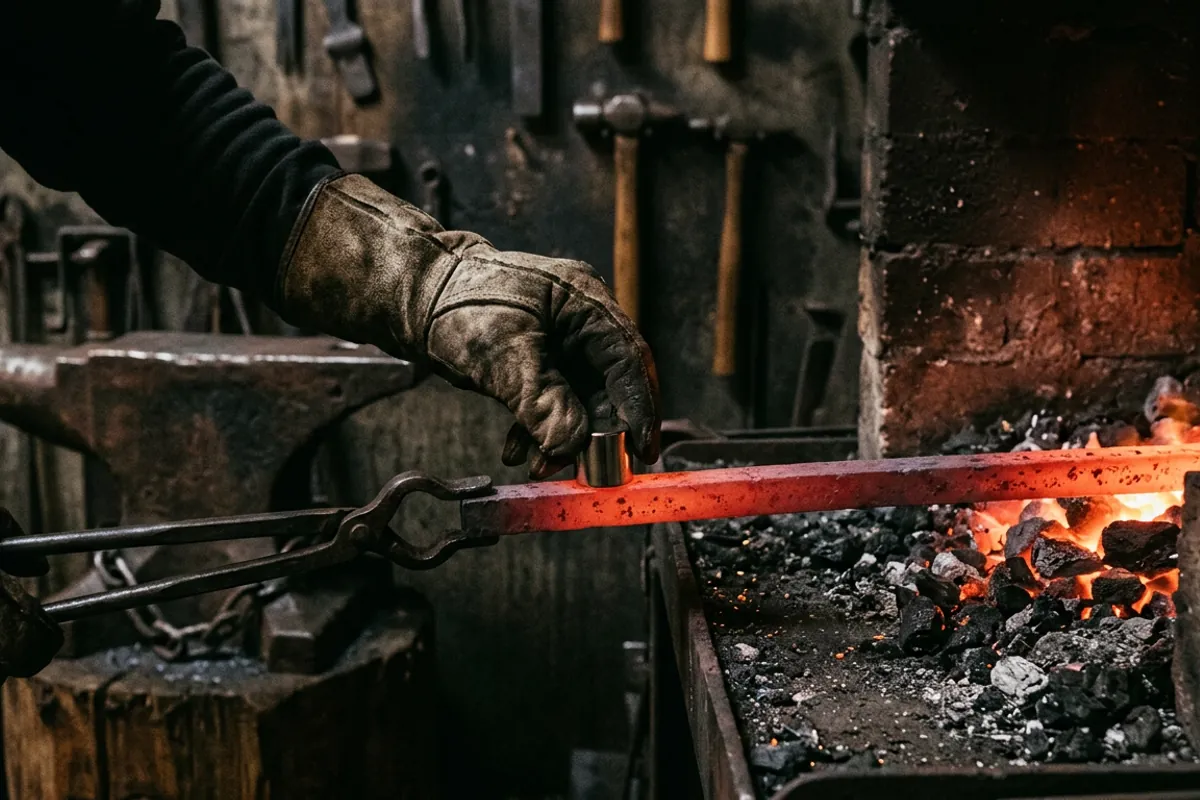
Steel loses its magnetism at a temperature very close to its critical point. That is the single most useful fact a hardening smith owns. Iron becomes non-magnetic at about 1418 degrees Fahrenheit, and for common carbon steels the point where a magnet stops sticking sits right in the neighborhood of where you want to be for austenitizing. So the field method is this: heat the blade evenly, touch a magnet to it, and when the magnet no longer pulls, you are at or just below critical. For most simple carbon steels you then bring it up just a shade more and quench. The magnet does not read a number, but it reads the phase change itself, which is what you actually care about.
Color is the backup, and it is less reliable because it depends on how much light is in your shop. A blade that reads a clean cherry to bright orange in a dim shop can look completely different in daylight through the open door. This is one reason smiths harden in low light, so the color is honest. I trust the magnet first and use color to confirm the heat is even along the whole piece, because an uneven heat means part of the blade hardens and part does not, and that mismatch is a stress line waiting to crack.
Judging heat by eye is also why eye protection is not optional at the forge. You are staring into a bright heat source reading subtle color shifts, and forge work throws scale and sparks. Wear proper eye protection rated to ANSI Z87.1. I say that in every guide I write and I mean it every time.
The quench, and how it goes wrong
The quench is the fast cool that locks in hardness, and it is where the most dramatic failures happen. A few hard-won points.
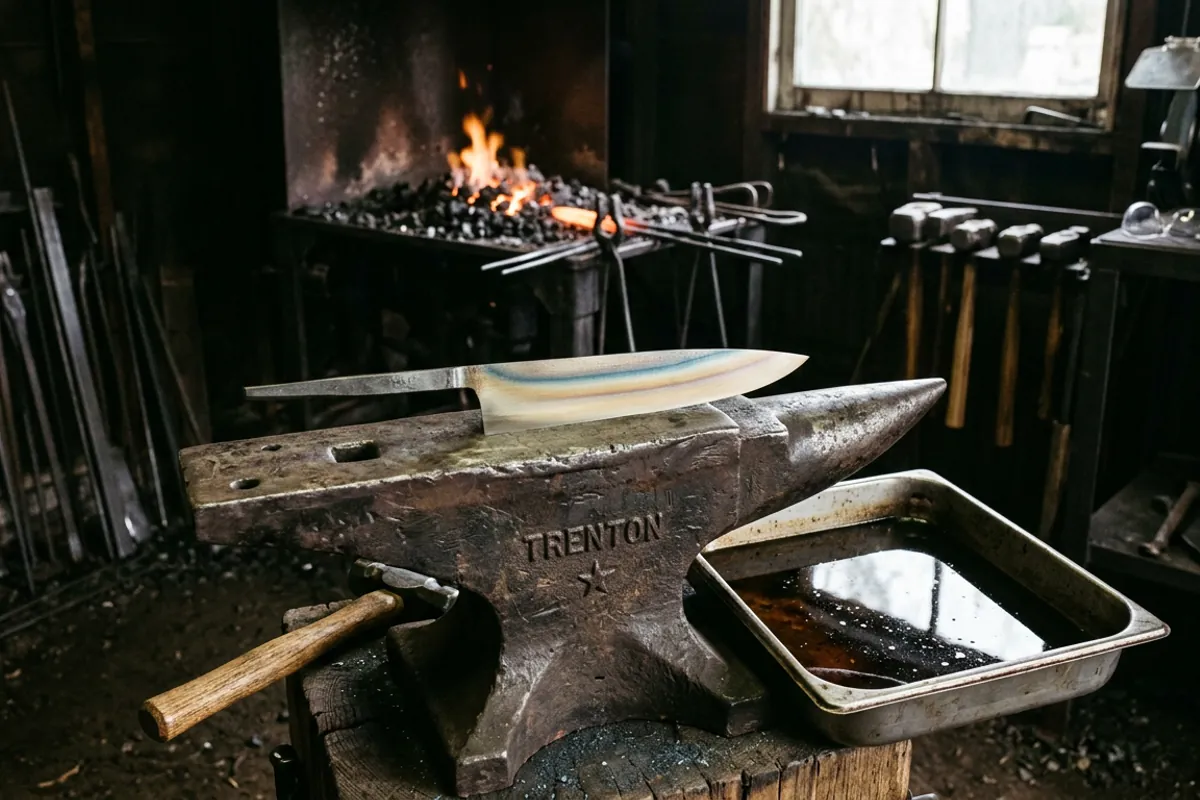
Use the quenchant the steel calls for. Oil-hardening steels want oil, and specifically an oil in a sane temperature range, usually warmed to somewhere around 120 to 130 degrees Fahrenheit for many quench oils so it flows and pulls heat evenly. Water-hardening and some simple carbon steels want a faster quench, and that speed is exactly what makes them prone to cracking if the geometry is uneven. Match the steel, do not improvise.
Move the blade correctly. You quench edge-first and straight down, then a gentle up-and-down movement in some oils, never a sideways stir that warps the blade. The steel is at its most fragile in the seconds after the quench, and any twist you put in it can lock in as a warp or a crack.
And the safety part, because I paid for this lesson with my eyebrows. Very early on I quenched a blade in oil that was too cold, standing too close in a cotton shirt with no face shield. The oil flared up the side of the tank and took my eyebrows with it. I kept my eyesight by luck alone. Quench oil flashes, and a cold or contaminated oil flares worse. Stand back, use a tank deep enough that the blade cannot bottom out, keep a lid nearby to smother a flare, wear a face shield and natural fibers, not synthetics that melt onto skin. Nobody tells you the quench is the dangerous step until they have watched one go wrong.
Tempering, and why the just-quenched blade is a liability
Straight out of the quench, a properly hardened blade is at full hardness and full brittleness. If you set it down and admire it, then pick it up and flex it, you can snap it. It has to be tempered, and it has to be tempered soon, ideally within the hour, before the internal stresses find a weak spot on their own.
Tempering is a low, controlled reheat. A kitchen oven does this job fine for many carbon steels because the temperatures are low enough, often somewhere in the 350 to 450 degree Fahrenheit range for a knife edge depending on the steel and how hard you want it. Higher tempering temperatures give a softer, tougher result; lower ones keep more hardness and less toughness. Where exactly you land is a steel-specific decision, which is why I keep pointing you back to tested data rather than a rule of thumb.
Smiths sometimes read tempering by the oxide colors that bloom on clean, bright steel as it heats: a pale straw around the lower end, running through brown and purple into blue as it gets hotter. Those colors are a rough guide on bare steel and useless once there is any coating or scale on the surface. I treat them as a sanity check, not a thermometer. An oven with a known temperature beats guessing at a color that shifts with the light every time.
Where eyeballing ends and testing begins
The honest limit of the home shop is this: you can get a repeatable, good heat treat on simple carbon steels with a magnet, a decent oven, the right quench oil, and discipline. That covers a huge amount of real knife and tool work. What you cannot do at home is verify hardness with certainty or dial in the complex alloys that need tight soak times and sub-zero treatment. If you want to know your actual Rockwell hardness, that takes a tester, and if you are working an air-hardening or high-alloy steel, the process moves beyond what a torch and a coffee can of oil can control.
So my rule is simple. Learn the four operations cold. Match every number to the specific steel in your hand, from a source that tested it, not from a forum comment or my memory. When a question gets into precise austenitizing soaks, cryo, or the metallurgy of a fancy alloy, send it to real testing and read what Knife Steel Nerds has already measured rather than running an experiment on a blade you care about. Heat treatment of metals rewards respect for the numbers and punishes improvisation, and the smiths whose blades hold up are the ones who stopped guessing and started matching the treatment to the steel.