Knife making is one of those crafts that looks impossible from the outside and turns out to be mostly patience once you are standing inside it. I have been smithing about twenty-five years, started self-taught on a length of railroad track clamped to a stump, and I still teach weekend beginners who show up convinced there is a secret. There isn't one. There is a sequence of ordinary steps, each of which you can do badly, and a heat treat that decides whether the thing you made is a knife or a pretty piece of soft steel. This is the plain version of that sequence, owner to owner, with no product pitches in it. If you want the gear side, that lives in the knife making topic hub and the buying guides it points at.
What knife making actually is
A knife is a piece of hardened steel with a geometry that cuts, a handle you can hold safely, and a heat treatment that lets the edge survive use. That is the whole definition. Everything else, the damascus patterns, the file work, the fancy handle materials, is decoration on top of those three things.
New makers almost always get the priority backward. They agonize over which steel to buy and then run a heat treat they read half of on a forum, in an oven they never checked with a thermometer, and finish with an edge that is thick behind the bevel. The result cuts poorly and they blame the steel. In practice, the order that matters is geometry first, heat treat second, steel choice a distant third. A well ground, properly hardened 1084 blade will out-cut a badly ground blade in an expensive powder steel every time.
The other thing worth saying up front: knife making and blacksmithing are related but not the same skill. Plenty of excellent knife makers have never lit a forge. Plenty of good blacksmiths make mediocre knives because forging a shape is not the same as controlling grain structure and grinding a clean bevel. I do both, and I can tell you the forge is the fun part and the grinder is where the knife is actually decided.
Stock removal and forging are both real knife making
There are two roads to a finished blade, and the internet arguments about which is legitimate are a waste of your evening.
Stock removal means you start with flat bar of the right thickness, cut the profile out, grind the bevels, and heat treat. No forge required. You need a way to cut steel, a way to grind it, and a way to heat it to hardening temperature. Most production knives in the world are made this way, including most of the ones people revere.
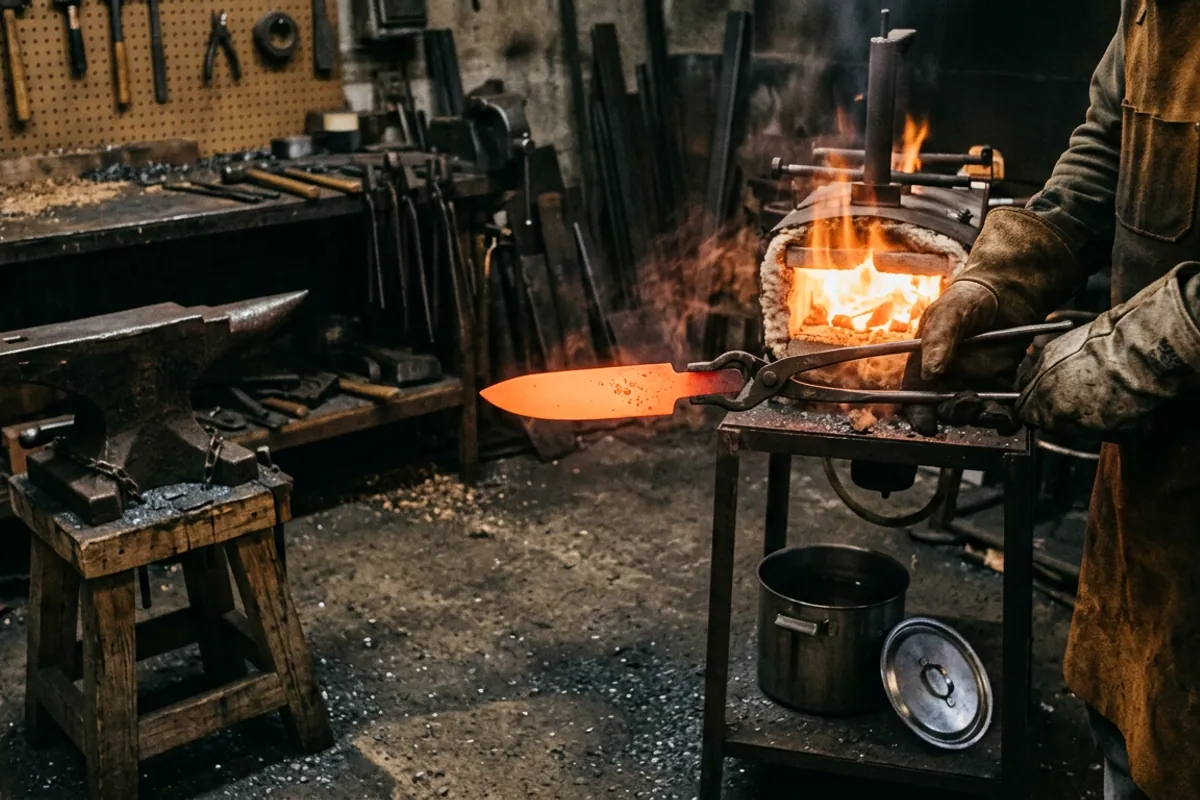
Forging means you take a bar, heat it, and move the steel with a hammer to get closer to the blade shape before you ever touch a grinder. It saves abrasive, it lets you use round or thick stock, it lets you make shapes that would be wasteful to grind out, and it is deeply satisfying. It also adds a whole category of ways to ruin the steel: overheating it, working it too cold, and leaving coarse grain behind because you skipped the normalizing cycles.
If you only want knives, start with stock removal. You will make a working knife faster and learn grinding and heat treating, which you need either way. If you want to be a smith who also makes knives, forge, and accept that your first several blades will be practice. I have written the forging path out in more detail in blade smithing, explained from bar stock to finished edge and again from the steel's point of view in bladesmithing, from a bar of steel to a blade that holds an edge.
One correction I make constantly with beginners: forging does not "pack" the steel or align mystical grain fibers into the edge. That idea was handed down from an era before anyone could look at steel under a microscope. What forging actually does for you is shape, and if you do the normalizing cycles afterward, grain refinement. If you want the real metallurgy on that, Knife Steel Nerds has done the testing and published it, and I would rather send you there than make up numbers.
Steel, and why the beginner list is short
For your first ten knives, the correct answer is a simple carbon steel with a forgiving heat treat and a published data sheet. That means 1084, 1075, 80CrV2, 5160, or O1. These harden in oil, they do not need a soak measured to the minute, and every one of them has documented hardening and tempering guidance from the mills and the knife supply houses.
1084 is the one I hand beginners most often. It sits close to the eutectoid composition, which in plain terms means it does not need a long hold at temperature to dissolve carbides, so a quick even heat and a fast oil quench gets you most of the available hardness. 15N20 shows up mostly as the bright layer in pattern welded steel. 5160 comes from leaf spring stock and is tough, which is why it is popular for choppers.
What to skip early: stainless steels like AEB-L, 154CM, or the various powder steels. They are good steels, but they need tight temperature control, usually a foil wrap to prevent decarburization, a plate quench, and often a cryogenic step to convert retained austenite. That is a real heat treat oven and a real process, not a forge and a magnet. Send those out to a professional heat treater or wait until you have the equipment.
Also skip mystery steel for anything you care about. Old files, leaf springs off an unknown vehicle, and railroad spikes are fine for practice and terrible for results, because you cannot look up a heat treat for a steel whose composition you do not know. Railroad spikes in particular are low carbon and will not harden meaningfully no matter what you do to them, which I get into in the railroad spike knife, honestly explained. Make them for fun, not for cutting. If you want a structured way to compare the beginner steels against what you actually plan to make, the steel selector tool walks through it.
The shop you need, and the shop you do not
You need less than the videos suggest and more than the cheap kit lists claim.
To cut and shape steel: an angle grinder with cutoff wheels will get a profile out of bar stock. Files will refine it. A drill press, or a hand drill and patience, makes the handle pin holes. A vise that actually holds is not optional.
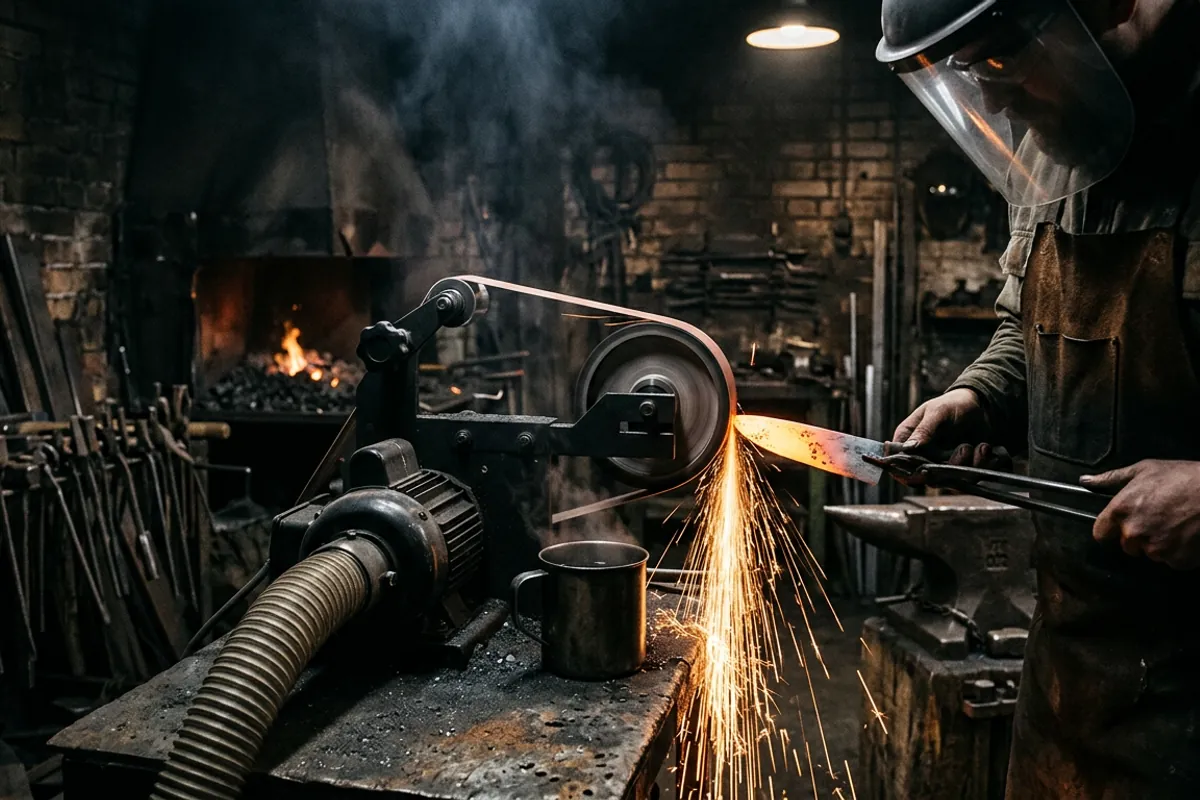
To grind bevels: a belt grinder is the tool that changes the craft. Everything else in a knife shop has a workaround. Grinding bevels on a bench grinder or with files works, and people did it for centuries, but a proper belt grinder turns a weekend of filing into an hour. That is a real purchase and I treat it as one in the belt grinder I would buy for knife making, and the ones I would skip and, for the lower budget version of the same question, the belt sander for knife making I would actually start with.
To heat the steel: for stock removal you need a heat source that can bring the blade evenly to hardening temperature and hold it there. A small propane forge does this well. A coal forge does it too but takes more skill to keep even, because a coal fire has hot spots and a blade is long and thin. I run both fuels and the tradeoffs are laid out in coal or propane: which first forge makes sense?.
To temper: an oven with a separate thermometer in it. Household ovens routinely run off by a wide margin, and tempering temperature is the difference between a blade at working hardness and one that is glass. Do not trust the dial.
What you do not need: an anvil, for stock removal. If you are forging, you do, and size matters less than mass and a solid stand. I have covered that in what size anvil do you actually need?. Bessie, my 148 lb Trenton, is more anvil than most knife work requires.
Shaping the blade before heat treat
Work in this order and you will save yourself grief.
Cut the profile first, including the plunge line location and the tang. Drill your pin holes now, while the steel is soft, because after hardening you are not drilling anything without carbide or annealing the tang back down.
Then grind the bevels, but leave the edge thick. The rule I give beginners is to leave the edge about the thickness of a dime before heat treat. A thin edge going into a quench warps, and worse, it can crack outright, because thin sections cool faster than thick ones and the stress has to go somewhere. You will thin it after tempering.
Then clean up the flats and the plunges. Sand out your deep grinder scratches at this stage, because every scratch you leave is a stress riser during the quench and a scratch you get to chase later in hardened steel, which is miserable. Get to a consistent finish, 220 grit is a reasonable stopping point, before the blade goes in the fire.
Keep the blade cool while you grind. If the steel colors from grinding heat before heat treat it does not matter much, but building the habit matters, because after tempering, a blue edge off the grinder means you have just ruined the temper on the part of the knife that does the work.
Heat treating is where the knife is made
Here is the sequence in plain terms, for a simple carbon steel like 1084.
Normalize, especially if you forged. Heat the blade to a bit above critical, let it cool in still air, and repeat a few times at slightly lower temperatures each round. This refines the grain that hammering and overheating coarsened. Skipping it is why forged blades sometimes come out brittle for no visible reason.
Harden. Bring the blade evenly to its austenitizing temperature. Without a controlled oven, the magnet is the traditional check: plain carbon steel loses its magnetism at the Curie point, 1414 F, and hardening temperature sits just above that, so you go to non-magnetic and then a little further. Watch the blade in dim light, not in sun, because judging color in daylight is how people overheat steel. Then quench, spine first and straight down, in the quenchant the data sheet calls for. For 1084 that is a fast oil. Canola warmed to roughly 130 F is the common shop substitute and it works for these steels; a purpose made fast quench oil works better. Do not quench an oil hardening steel in water. It cracks, and you will hear it.
Test that it hardened. Before it goes anywhere near the oven, run a file across the edge. If the file skates, you have hardness. If it bites, something went wrong and tempering will only lock in the failure.
Temper immediately, while the blade is still barely warm to the touch. A freshly quenched blade is fully hard and under enormous internal stress, and blades crack sitting on the bench waiting for someone to preheat an oven. Two cycles of one hour at the temperature the data sheet gives for the hardness you want, cooling to room temperature between them, is standard practice for these steels. Tempering trades a small amount of hardness for a large amount of toughness, and the numbers for each steel are published. Use them; do not temper by eyeballing oxide colors on a blade you care about. I have written more about what tempering is actually doing to the steel in tempering of metal, explained from the forge floor.
If any of that raises a deeper question about hardness versus toughness, retained austenite, or how a given steel behaves at a given temper, that is territory for real testing, and Knife Steel Nerds has published the actual data. I would rather point you there than guess.
Handles, fit, and the finish work
After tempering, you thin the edge, finish the flats, and put a handle on it.
The two common handle constructions are full tang with scales pinned and epoxied to either side, and hidden tang with a block of material slid over a narrower tang and secured. Full tang is easier to get right the first time. Use a good structural epoxy with a real cure time, not five minute epoxy, and pin it as well as glue it. Rough up the tang and the inside of the scales so the epoxy has something to hold.
Handle materials worth knowing about: stabilized wood, which is wood impregnated with resin so it does not move with humidity; micarta, which is fabric in resin and grips well when wet; G10, which is glass fiber in resin and is tough and slippery.
That last one comes with a real hazard. Grinding G10, carbon fiber, or micarta puts fine resin and glass dust in the air, and it is not dust you want in your lungs. Grind it with a respirator on, with ventilation or dust collection, and consider wet sanding. Wood dust from some exotic species is a sensitizer too. This is not fussiness; it is the part of knife making that hurts people slowly instead of all at once.
Then sharpen. Geometry is what cuts. A knife thin behind the edge with a modest edge angle will out-cut a thicker one in better steel, and this is one of the most consistently demonstrated findings in knife testing. If your knives feel dull despite a shaving sharp edge, the problem is usually the thickness behind the edge, not the sharpening.
The safety rules I do not bend
I lost my eyebrows early on to a quench oil flare-up. Oil that was too cold, a blade that was too hot, me standing too close in a cotton shirt with no face shield. The oil flashed. I kept my eyesight by luck, not by anything I did right. So I am blunt about this part.
Eye protection rated ANSI Z87.1, every time, and a face shield over it at the grinder and at the quench tank. Safety glasses stop chips. They do not stop a splash of hot oil or a belt that lets go.
Natural fibers only near heat. Cotton, wool, leather. Synthetics melt onto skin and turn a burn into a graft. No synthetic hoodie in the shop, ever.
At the quench: use a steel container with enough oil volume to absorb the heat, keep a lid within reach so you can smother a flare, and know that hot steel plus oil produces flame and smoke as a normal event. Never use a plastic container. Never quench in a bucket of oil sitting on wood.
Respiratory protection when you grind. Steel dust, abrasive grit, and resin dust are all things you only get one set of lungs for. A properly fitted N95 is the floor; a P100 cartridge respirator is better.
No loose gloves at a running belt grinder. This is owner consensus more than my personal rule, and I agree with it: a glove that catches on a belt pulls your hand into the platen. Most makers I know grind bare handed and dip the blade in water to manage heat.
Ventilation and carbon monoxide awareness when a forge is running. A gas or coal forge in an enclosed space is a CO hazard, and CO gives no warning. Get real airflow and put a detector in the shop.
The rest of the PPE conversation, including what is worth buying and what is theater, is in blacksmith safety gear: what matters and what to skip.
What your first knife will actually take
A realistic first stock removal knife is a simple drop point in 1084, about four inches of blade, flat ground, with pinned scales. Expect to spend a full weekend on it, and expect the grinding to take longer than you think and the finish sanding to take longer than the grinding.
Expect to make mistakes in a predictable order. The plunge lines will not match. The bevels will not be even. Something will warp in the quench and you will learn about straightening a blade during the temper. You will sand to 400 grit, etch or polish, and find a scratch you missed. All of that is normal, and the second knife is dramatically better than the first because most of those errors are habits you correct once.
The one mistake I want you to avoid entirely is the one that costs body parts: rushing the quench, standing over the tank, wearing the wrong shirt, and skipping the face shield because it is one quick blade. That is exactly the setup I was in when the oil came up at me.
Make the first knife simple and finish it. A finished plain knife teaches you more than three abandoned ambitious ones, and it is the only way to find out which part of knife making you actually love. For most people it turns out to be the grinder. For me, after all these years, it is still the moment the blade comes out of the oil and the file skates across the edge.