If you have a hundred dollars and a garage, a knife making kit is the most honest first purchase in this hobby. It puts a real blade shape in your hands, teaches you handle fitting, drilling, epoxy, and finish work, and it does all of that without a forge, an anvil, or a single dollar spent on fuel. My pick for most people is the boxed assemble it kit that ships a hardened blade blank with scales, pins, a sheath, and the basic hand tools, because it fails in the cheapest possible way: if you hate the work, you are out the price of a decent dinner. My second pick, and the one I would actually push a stubborn beginner toward, is rolling your own kit out of a bar of 1084 and a good file.
I have not run these specific kits down in my own shop. I do not buy kits, I make knives from bar stock, and I am not going to pretend otherwise. What follows is published specs where a maker publishes them, owner reports from the forums with the threads linked, and twenty five years of shop experience about what actually matters when you turn a piece of steel into a knife.
What a knife making kit actually is
The phrase covers three different products, and buying the wrong one is the most common way people waste money here.
The assembly kit. A finished, hardened, ground blade with a bare tang, plus handle scales, pins, epoxy, and usually a sheath. You drill, shape, glue, sand, and finish. No heat treating, no forge, no grinder required. This is what BladeForums moderators mean when they tell beginners to start with kits.
The blank set. Just blades, no handle material, usually several of them. Cheap per piece, good for practicing handles over and over, which is exactly the skill most first knives are worst at.
The raw material kit. A bar of known steel, a file, some sandpaper, and pins. You cut the profile, file the bevels, heat treat it, and handle it. This is the real thing at the smallest possible scale, and it is how I would spend the money if you already know you like making things.
Only the third one makes you a knife maker. The first one makes you a knife owner who did the last thirty percent of the work, and there is nothing wrong with that as a first step. If you want the whole arc from bar stock to finished edge before you spend anything, read knife making, explained from the first bar of steel first.
How the kits compare
Scroll horizontally to see all columns.
| Kit | What is in the box | Blade steel | Blade condition | Tools included | Price tier |
|---|---|---|---|---|---|
| Boxed assembly kit with tools | Blade blank, beech scales, mosaic pins, mini vise, rasp and file, sandpaper, epoxy, wax, leather sheath | Seller lists stainless; no maker spec sheet published | Hardened, ground | Yes, basic | Budget |
| Damascus blank kit | 10 in blade blank, wood scales, pins, leather sheath | Seller lists 1095 and 15N20 pattern welded; hardness not independently published | Hardened, ground | No | Budget to mid |
| Kitchen blank set | Multiple kitchen blade blanks, no handle material | Seller lists 7Cr stainless; no maker spec sheet published | Hardened, ground | No | Budget |
| Roll your own: 1084 bar | 1/8 in x 1-1/2 in x 12 in annealed bar | 1084 high carbon, pickled and annealed, forges and grinds easily | Annealed, you heat treat | No | Budget |
| 12 in mill bastard file | One file with handle | Not applicable | Rectangular, single cut, regular taper, 12 in | Yes | Budget |
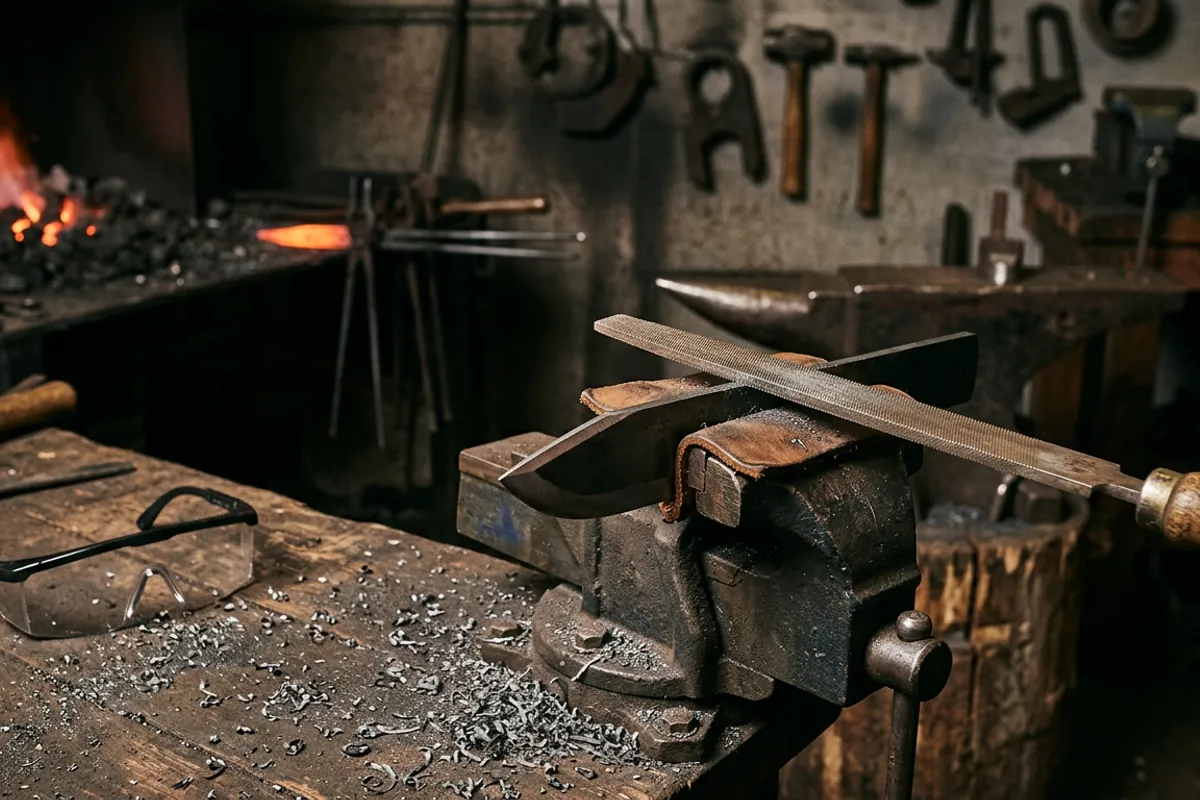
Where a table cell says the seller lists something, that is exactly what it means. Marketplace listings are not spec sheets, and I will not launder a listing claim into a published number. Hardness in particular is unverifiable on nearly every import kit blade, so plan around that rather than trusting it.
The boxed assembly kit with tools in it
This is the one I would put in front of somebody who has never made anything out of metal. A hardened, ground blade with a bare full tang, beech scales, mosaic pins, epoxy, sandpaper, a small vise, a rasp, and a leather sheath. You supply a drill and an afternoon.
What it teaches is worth more than it looks. Drilling clean holes through a tang and scales that stay lined up, mixing and clamping epoxy without starving the joint, shaping a handle that fits a hand instead of a photograph, and sanding through the grits until the wood stops looking like a fence post. Those are the skills that separate a knife somebody wants from a knife somebody put in a drawer. The blade being done for you is a feature at this stage, not a cheat.
The honest tradeoff: the blade steel is a listing claim. Stainless blanks in this price class are usually adequate for light kitchen and camp use and usually not heat treated to what a custom maker would accept. You are buying a handle project with a functional blade attached. Do not expect edge holding that competes with a properly treated 1084 blade.
Check price on Amazon (paid link)
The Damascus blank kit
Pattern welded blanks with wood scales, pins, and a sheath are everywhere in this category, and they are a fair bit prettier than the plain stainless kits. The listings typically describe 1095 and 15N20 layered billets and quote a hardness in the high fifties. There is no maker spec sheet behind those numbers that I can find, so treat them as claims.
Two things worth knowing before you buy one. First, the pattern on a real forge welded billet comes out after an acid etch, and a lot of kit blanks arrive already etched. If you sand the flats while shaping the handle, you will sand the pattern off the ricasso area and it will not come back without re-etching. Tape the blade off. Second, high carbon Damascus rusts. It is 1095 and 15N20 with no chromium worth mentioning. It needs oil and it will patina.
On BladeForums, the standing advice for a first kit is to pick a fixed blade with a simple, blocky handle profile and avoid inside curves, since those curves are what makes handle shaping hard. A lot of Damascus kits ignore that advice and ship a swoopy handle outline. Look at the tang shape, not the pattern, before you click buy.
Check price on Amazon (paid link)
The blank set for people who want reps
A set of kitchen blade blanks with no handle material is the least exciting product on this page and possibly the most useful. Handle work is a repetition skill. Your third handle will be better than your first by a margin that will embarrass you, and buying six blades at once is cheaper than buying six kits.
The steel on these sets is typically listed as a 7Cr grade stainless, which is a budget stainless, again with no published heat treat data. For a kitchen knife that gets touched up on a stone every few weeks, that is fine. For a chopper, buy carbon steel instead.
Pair a set like this with scrap hardwood, canvas micarta, or G10 offcuts and you can run through a lot of learning for very little money. One safety note that matters here: G10 and micarta dust is glass and resin, and grinding it without a respirator is a genuinely bad idea. Wet sand it or wear real respiratory protection, not a dust mask off the paint aisle.
Check price on Amazon (paid link)
Rolling your own kit out of 1084 and a file
Here is the version I would build, and it is barely more expensive than the boxed kits: a bar of annealed 1084, a 12 inch mill bastard file, a hacksaw, sandpaper, a drill, and pins. New Jersey Steel Baron describes 1084 as pickled and annealed, easy to forge and grind, and needing only the very basics of a simple heat treatment, which is exactly why it is the standard beginner recommendation. On BladeForums the same thing comes up over and over: 1084 meets the requirements even with the simplest tools and heat treat setup.
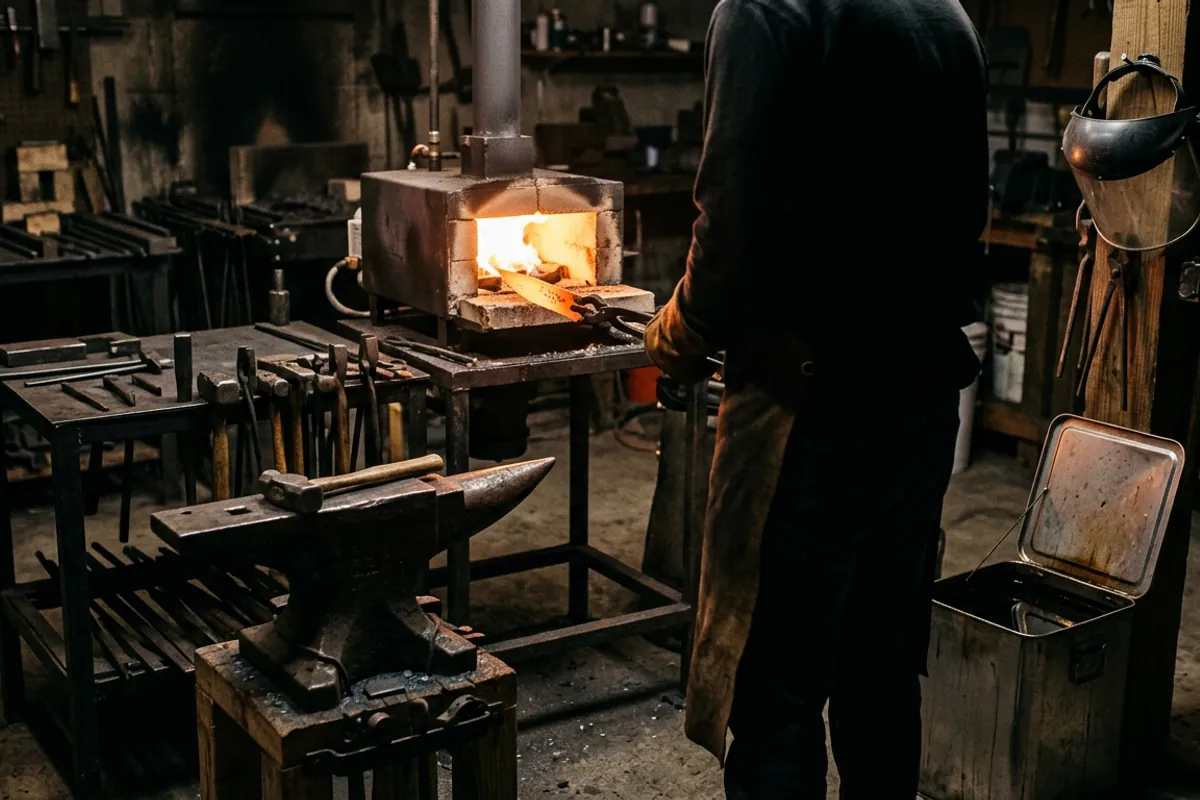
The bar comes annealed, which means soft enough to cut and file by hand. You draw your profile, cut it out with a hacksaw, file the bevels, drill the pin holes while the steel is still soft, then heat treat, then handle. Drilling after hardening is a good way to ruin a bit and a blade, so do it first.
Check price on Amazon (paid link)
The file is not an accessory here, it is the tool that does the work. A 12 inch mill file, single cut, regular taper, per the maker's own listing. Buy it with a handle or fit one, because a bare file tang will eventually go into your palm. Files cut on the push stroke only. Lifting on the return keeps the teeth sharp, and a file card keeps the pinning down.
Check price on Amazon (paid link)
The BladeForums thread on essential tools puts it plainly: you can make knives with just files, a hacksaw and sandpaper, and a 1x30 belt grinder around eighty dollars is the sensible first power tool, not a 2x72. That matches what I see at the club. If and when you do step up, I have written about which grinders are worth it in the belt sander for knife making I would actually start with.
What no kit includes, and what that costs you
Heat treating. Assembly kits skip it. The 1084 route does not. For simple carbon steels you bring the blade to non magnetic, go a shade hotter than that (a magnet tells you the Curie point, which sits just under the hardening temperature), quench in oil, then temper in a kitchen oven. Knife Steel Nerds has the honest version of both heat treating in a forge and the metallurgy behind it, and it is worth reading before you heat anything. My own take on the second half of that process is in tempering of metal, explained from the forge floor. If you want to compare steels before you buy a bar, the steel selector will get you to a shortlist.
A heat source. A propane torch will harden a small blade if you keep the whole edge hot at once, badly. A small forge does it properly. That is a separate purchase and a separate decision.
An anvil. You do not need one for stock removal at all. If you go the forging route, knife work is light work and a small anvil is genuinely enough, which is the one place a budget cast anvil earns its keep. Something in the 66 pound class will forge blades all day even though I would not build a general shop around it.

Bessie, my 148 pound Trenton, is more anvil than knife work needs, and I would still tell a knife maker to buy weight if the money is there. The reasoning is in what size anvil do you actually need.
Safety gear. Not one kit ships it. See below.
What owners say
For gear I have not run myself, the forums are the evidence, so here is what they actually report.
On kits as a starting point, BladeForums is unusually consistent. A moderator in the knife making kits thread recommends starting with kit knives specifically for people short on skills, equipment, time, and funds, and notes that experienced makers buy inexpensive kits and customize them into much nicer knives. Jantz, Knife-Kits, and Texas Knife Supply come up repeatedly as the reliable domestic sources, which is a fair signal that the import boxed kits are treated as a cheap first step rather than a destination.
On handle materials, the same thread flags Dymondwood as chippy and prone to breaking out when drilled or machined. If a kit ships that material, go slow with a sharp bit and back the scale with a sacrificial block.
On tooling, the essential tools thread lands on bench, vise, hacksaw, files, sandpaper, drill press, and a respirator, with the repeated point that skill matters more than the machine. Several makers there suggest sending your first blades out for heat treat rather than buying a kiln.
On 1084 heat treat, the traffic on KnifeDogs and BladeForums is mostly people getting good results with a forge, a magnet, and canola or a fast quench oil, with the failures traced to soak time and oil temperature rather than the steel. Knife Steel Nerds' review of Kevin Cashen's 1080 and 1084 guide is the place to go when the forum answers conflict.
Owner signal on the specific import kits linked above is thin and mostly marketplace reviews, which I do not treat as evidence. I would not buy any of them expecting a verified hardness.
The safety part, since the box will not mention it
I lost my eyebrows early on quenching a blade in oil that was too cold, standing too close, in a cotton shirt with no face shield. The oil flared up the side of the tank and into my face. I kept my eyesight by luck, not by judgment, and that is the whole reason I write this section into every guide.
- Eye protection rated ANSI Z87.1, every time, and a face shield over it for quenching and grinding. Kit safety glasses are usually unrated. Replace them.
- Natural fibers only near heat. Synthetics melt onto skin.
- Quench oil goes in a steel container with a lid you can drop on it, warmed rather than cold, outdoors or well clear of anything combustible, with the blade going in point first and held still. Cold oil and a moving blade are what caused my flare.
- A respirator for grinding, especially for micarta, G10, and any coated blank. Steel dust is bad, resin and glass dust is worse.
- No gloves at a drill press and no loose sleeves. A glove that catches on a bit takes the hand with it.
The full rundown of what is worth buying and what is theater is in blacksmith safety gear: what matters and what to skip.
What I would tell a friend
Buy the boxed assembly kit if you want to find out whether you like this work by Sunday night. It is cheap, it is complete, and finishing a handle well is a real skill you will use forever. Do not believe the hardness claim, and tape the blade before you sand.
Buy the 1084 bar and a mill file if you already know you like making things. Same money, and at the end you own a knife you actually made, plus the file, plus the knowledge of what a bevel wants to do under a file. That is the path I would take.
Skip anything sold as a complete kit that does not tell you the steel, and skip the pretty Damascus with the swoopy tang for a first project. Spend the difference on eye protection you can trust and a respirator, because the kit will not include either, and the hospital does not sell those in a gift box.
More of this from the floor is in the knife making topic hub, and if you are working out the rest of the shop around the bench, start with blacksmithing tools: the short list that actually matters.