Twenty five years ago I clamped a length of railroad track to a stump and decided I was going to make a knife. What I actually made that first year was a pile of warped, soft, cracked steel and a much better understanding of why bladesmithing is treated as its own discipline instead of just blacksmithing with a pointier result. Forging a hook is forgiving. A blade is not. Every mistake in heat, in geometry, in timing, shows up later as a bend, a chip, a crack down the spine, or an edge that rolls the first time it meets a cardboard box. This is the reference I wish someone had handed me then: what the process actually is, in order, and why each step exists.
I am a hobby smith, not a full time bladesmith and not a metallurgist. What follows is process knowledge from a home shop, and I will say clearly when something is owner consensus rather than something I have done myself.
What bladesmithing actually means
Bladesmithing is making a blade by forging it: heating steel and moving it with a hammer into blade shape before any grinding happens. That is the narrow definition, and it is the one that matters, because the other way to make a knife is stock removal, where you start with a flat bar of the right thickness and grind away everything that is not a knife.
Both routes make good knives. Most working custom makers do stock removal for most of their production, and there is nothing dishonest about it. Forging buys you two things: you can move mass where you want it, so a bar of one thickness becomes a thick spine and a thin edge and a distal taper without turning half your steel into grinding dust, and you can make shapes that would waste enormous material as stock removal, like a big chef knife out of small bar or a blade with an integral bolster.
What forging does not buy you is magic. The old line about forging "aligning the grain" is a folk explanation that has not survived real testing. If you want the metallurgy on that, Knife Steel Nerds has done the work and published it, and their results are more reliable than anything I can tell you from the anvil. Forging is a shaping method. The heat treatment is what makes the blade.
The steel decides most of it
You cannot heat treat your way out of the wrong steel, and you cannot forge your way out of it either. Before anything else in bladesmithing, you pick an alloy and commit to its recipe.
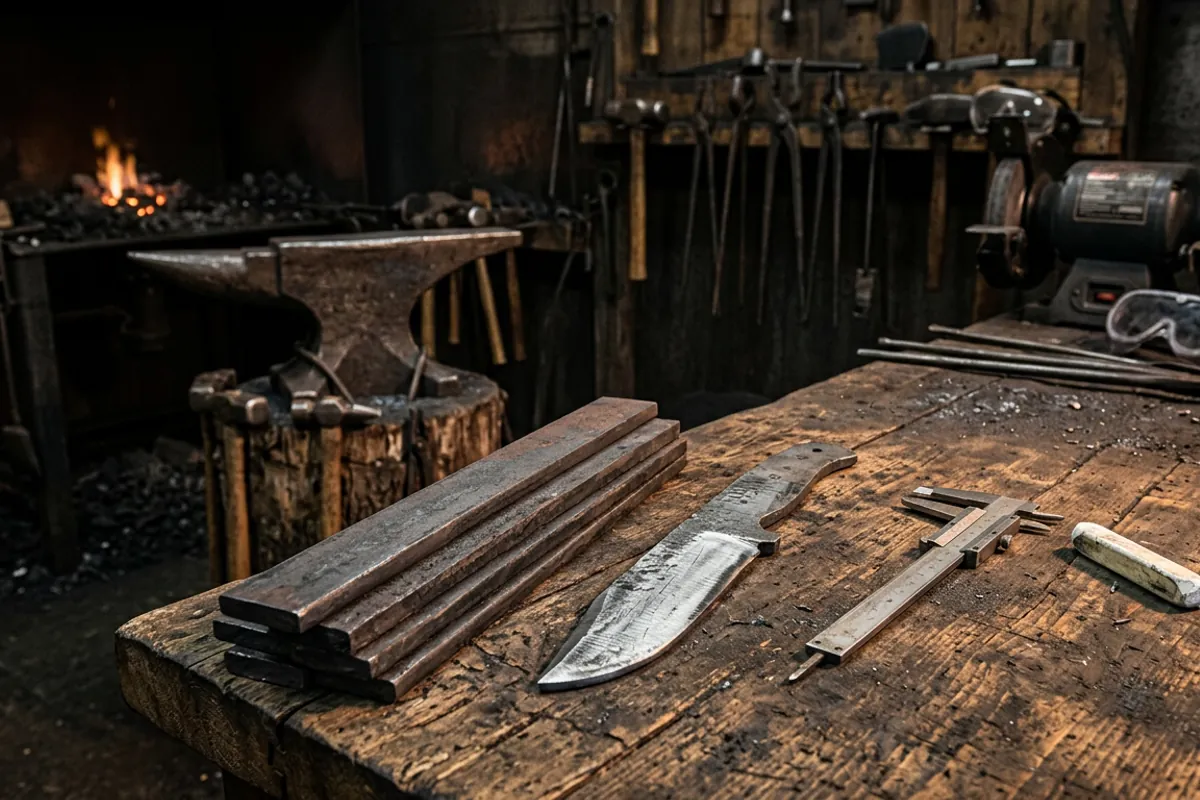
For a first several blades, the answer is a simple high carbon steel: 1084, 1075, 80CrV2, or 5160. These have enough carbon to harden properly, few enough alloying elements that they do not need a soak at temperature or a controlled atmosphere, and they harden in oil in a home shop without exotic equipment. 1084 in particular is the one I hand beginners, because its heat treat window is wide and forgiving and because published guidance for it is everywhere and consistent.
What you should not start with is mystery steel. Leaf springs, files, old sawmill blades, and scrap yard bar are all "probably" something, and probably is not a heat treat recipe. You can make a knife from them, and smiths have for a century, but you are guessing at hardening temperature and tempering temperature, and when the blade comes out soft or cracks you will not know which variable failed. The same goes for railroad spikes, which are a fun forging exercise and a poor knife because there is not enough carbon in them to harden meaningfully. I wrote about that honestly in the railroad spike knife piece, because it is the single most common thing beginners are disappointed by.
Stainless steels are a different world. They need soak times at temperature, tight temperature control, usually a foil wrap to prevent decarburization, and often a cryogenic step. They are not a home forge project without a proper heat treat oven. Start with simple carbon steel and earn your way up. If you want a starting point for comparing alloys by what they are actually good at, the steel selector lays it out.
Forging the blade
Forging heat for simple carbon steel is a bright orange to yellow, and you work down from there. The two rules that matter: do not forge below a dull red, and do not soak the steel at forging heat any longer than you have to.
Forging cold is how you crack a blade before it is a blade. Below roughly a dull red the steel stops moving and starts tearing, and the damage is often invisible until the quench opens it up. Overheating is the other failure. Hold carbon steel at a bright yellow, get careless and let it approach sparking, and the grain grows coarse. Coarse grain means a blade that snaps instead of bends. Both mistakes are silent at the time and loud two hours later.
The forging sequence for a simple knife is roughly: draw out the tang or the blade end, establish the profile, forge the bevels down toward but not to a sharp edge, and straighten. Leave the edge at least as thick as a dime through the whole heat treat. A knife edge forged or ground to zero before hardening will overheat in the quench, warp, and often crack right along the thin section.
An anvil with real mass under the hammer matters more than an anvil with a pretty face. Bessie, my 148 lb Trenton, is more than enough for blade work, and honestly you can forge knives on considerably less. If you are trying to work out what you actually need, what size anvil do you actually need covers it without the usual "buy the biggest you can afford" hand waving.
Normalizing, and why skipping it costs you
This is the step new smiths skip, and it is the one I would put back first. Forging leaves the steel with uneven grain, internal stress, and whatever grain growth you caused in your hottest heat. Normalizing fixes that before you commit to hardening.
The idea is straightforward: heat the blade to just above its critical temperature, then let it cool in still air, and do it a few times, dropping the temperature slightly each round. Each cycle refines the grain finer than the last. Three cycles is the common home shop practice for simple carbon steels, though whether the extra cycles buy anything is genuinely disputed: see normalizing steel, cycles and temperatures. Some makers add a thermal cycle set below critical to soften the steel for easier drilling and filing before hardening.
You need a way to judge critical temperature. The practical shop method is the magnet: steel loses its magnetism at the Curie point, which for these steels sits just under the hardening temperature. A magnet that stops sticking tells you that you are close, then you bring it up a shade further. That is a proxy, not a thermometer, and it is why anyone serious about repeatability eventually buys a heat treat oven with a controller. Judging by color in a bright shop is unreliable. Judge in shade, or dim the lights.
Hardening: the quench
Hardening means getting the steel above critical, holding it long enough for the structure to convert, and then cooling it fast enough to trap that structure as martensite, which is hard and brittle.
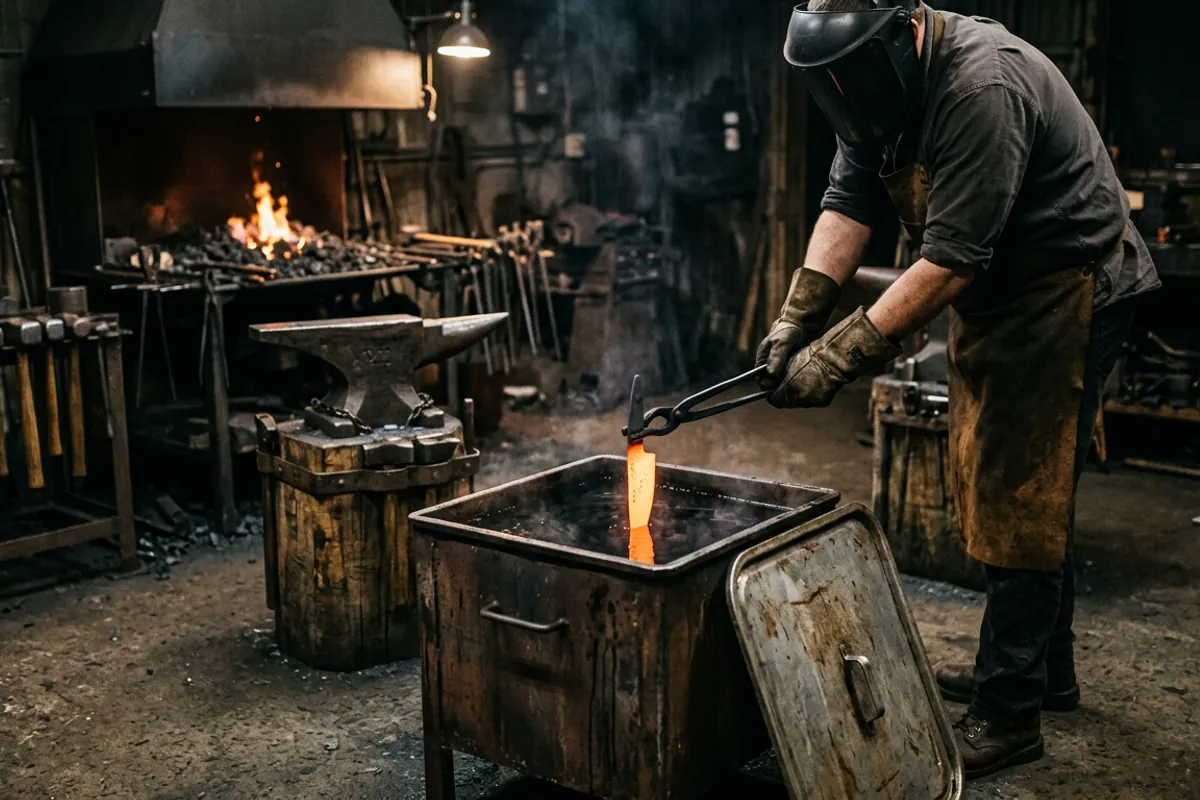
The quenchant has to match the steel. Simple high carbon steels like 1084 harden in a fast oil. Water and brine cool faster still and will crack these steels routinely in a home shop, which is why oil is the default. Commercial fast quench oils have published operating temperature ranges on their data sheets, commonly warm rather than cold, and you should use the number the maker publishes rather than one you read on a forum. Canola is the common home substitute and gets warmed similarly. Cold oil is thick oil, and thick oil quenches unevenly.
Quench with the edge going in first, straight down, in one motion, and hold the blade still or move it edge first through the oil rather than swirling it sideways. Sideways movement in the quench is how you warp a blade.
Then test before you go further. A properly hardened simple carbon blade will skate a file rather than let it bite. If the file cuts, something failed: not hot enough, not fast enough, or the wrong steel. Find out now, not after you have spent six hours on handle work.
The quench is also the most dangerous moment in the whole process, and I will come back to that.
Tempering: the step that keeps the blade in one piece
Straight out of the quench, a blade is glass. Fully hardened, untempered steel will shatter if you drop it, and blades have cracked sitting on a bench overnight. Tempering trades a little hardness for the toughness that makes a knife usable, and it happens immediately, ideally within an hour or two of the quench.
Tempering is low heat held for time: an oven, two cycles of one hour each, cooling to room temperature in between. The temperature you choose sets the final hardness. For a general purpose knife in simple carbon steel, published guidance clusters in the range of about 375 to 425 F, giving hardness in the high 50s on the Rockwell C scale, with lower temperatures leaving it harder and higher temperatures leaving it tougher and softer. Look up the published curve for your specific steel rather than assuming one number covers all of them.
The trap here is your oven. Household ovens routinely swing tens of degrees around their setpoint, and the dial is not the truth. Put an oven thermometer inside and calibrate against it. I have written the longer version of this in tempering of metal, because temper is where most home heat treats quietly go wrong.
Grinding, geometry, and the edge that cuts
Heat treatment sets the potential. Geometry decides whether the knife actually cuts. A blade at 58 HRC ground thin behind the edge will outcut a harder blade left thick behind the edge every time, and thickness behind the edge is the measurement most beginners never take.
Post heat treat grinding has one hard rule: keep the steel cool. If you let the edge run up to blue during grinding, you have just tempered that spot far past where you wanted it, and that section will be soft forever. There is no recovering it short of a full re heat treat. Grind with light pressure, keep water at the machine, and dunk often. The thinner the section, the faster it heats.
Hand filing and sanding will make a knife, and plenty of good ones have been made that way. A belt grinder makes it faster and more consistent, and it is the single machine that changes a knife shop most. The gear side of that is a separate conversation, and I keep it in the belt grinder guide so this page can stay about process.
Finish sanding matters more than people expect. Deep scratches left from coarse belts are stress risers and they are also where rust starts. Work up through the grits properly and stop chasing mirror polish before the scratches underneath are actually gone.
Handles, fittings, and the parts that are not steel
A blade is not a knife. The handle carries every bit of force you apply, and a well forged blade in a badly fitted handle is a liability.
Full tang construction, where the tang is the full profile of the handle with scales pinned on either side, is the most forgiving for a beginner and the easiest to do well. Hidden tang construction is elegant and asks more of your fit. Either way, the failures come from the same places: a tang with sharp inside corners at the ricasso, which is a stress riser and a common break point, and pin or epoxy work that leaves gaps for moisture.
Round the inside corners where the tang meets the blade. Drill tang holes before hardening, since hardened steel does not drill with ordinary bits. Choose stabilized or naturally stable handle material unless you enjoy re fitting scales after the first humid summer.
Safety in a bladesmithing shop
I do not soften this section, and here is why. Early on I quenched a blade in oil that was too cold, standing too close, in a cotton shirt, with no face shield. The oil flared. I lost my eyebrows and kept my eyesight by luck alone. That is the whole reason this site treats protective equipment as a requirement instead of a suggestion.
The specific hazards, plainly:
The quench. Oil that is too cold, contaminated with water, or in too small a container will flash. Use a deep steel container with far more oil than you think you need, keep a metal lid within reach to smother a fire, keep water away from it entirely, and stand back with your arms extended. Never quench in a plastic bucket.
Eyes. Scale flies off hot steel under the hammer, and grinders throw hot particles and occasionally belt fragments. Eye protection rated to ANSI Z87.1 is the standard, and a face shield over safety glasses is the right answer at the grinder and at the quench tank.
Clothing. Natural fibers only near heat. Cotton, wool, or leather. Synthetics melt onto skin, and that burn is a different category of injury.
Air. A coal forge produces carbon monoxide and needs real ventilation, not a cracked window. Grinding produces fine metal and abrasive dust that belongs in a respirator filter rather than your lungs, and steel dust in a collection bin is a fire hazard. Never heat galvanized or plated steel: burning zinc causes metal fume fever, and you will not know you got a dose until hours later.
Hearing. Hammer on anvil is loud, hour after hour, and hearing loss does not come back. The full rundown of what is worth owning is in blacksmith safety gear.
How to actually start
Buy known steel, one bar of 1084 in a thickness around 1/8 inch. Forge a simple straight blade with no curves and no clip, something around four inches. Normalize three times. Harden in warm oil, edge first, and check with a file. Temper twice at one hour. Grind, fit a simple handle, and then take the knife outside and cut things with it until it stops cutting, then look closely at the edge and figure out why.
Then do it nine more times. The tenth knife will be better than the first for reasons you will be able to name, which is the entire point. Every weekend beginner I have taught improves fastest on repetition of a simple pattern, not on ambition.
If you want the same ground covered from a slightly different angle, blade smithing explained walks the same path, and the knife making topic hub collects everything else on this site about the craft, from grinders to steel choice. Take your time, keep your face shield on at the quench tank, and make the boring knife well before you make the interesting one.