===ARTICLE BELOW===
A homemade forge hammer is one of the first real tools most of us make, and it is a good place to start because it teaches punching, drifting, and heat treat in a single project, and you finish with a hammer sized to your hand instead of to a store shelf. But "homemade" hides three very different jobs, and the one you pick decides whether you spend a satisfying afternoon or a frustrated weekend. If you only want a working hammer with the least that can go wrong, my honest advice is to reface a cheap forged drilling hammer and rehandle it, not to forge a head from scratch. If you want the practice more than the hammer, forging a head is the better teacher. Below is the gear I would buy for each path, and the parts I would not bother with.
I have not run every one of these down on a bench, and I will say so where it matters. These picks lean on published specs, owner reports from the forums, and what I have learned reshaping and rehandling hammers in my own shop over about twenty five years. For the buy-it-instead route, see my forge hammer buying guide; for a fuller walk through the from-scratch build itself, my diy forge hammer piece covers the process step by step. This one is about the gear you put on the bench first, and the rest of the striking tools live on the hammers and tongs hub.
Three honest ways to make one
There are really only three routes to a homemade forge hammer, and they ask for different gear and different skill.
The first is to reface a hardware store hammer. You take a hammer that already has a good forged, hardened head, a drilling hammer or an engineer hammer, and you grind new geometry into the faces: crown one face slightly, dome or draw the other into a rounding or a cross pein, and dress the sharp edges so they do not leave half moon marks in your work. No forge welding, no heat treat if you keep the grinding cool, and you can be forging with it the same day. This is the path I steer most beginners to.
The second is to forge a head from scratch. You start with a bar of tool steel, punch a hole, drift it into a proper eye, forge the faces, then normalize, harden, and temper. This is the real project, and it is where you learn the most, but it is also where the most goes wrong: a cold shut around the eye, a cracked face from a bad quench, a lopsided head. Do this one because you want to learn it, not because you are in a hurry for a hammer.
The third is to weld or build up a head, either by modifying a small sledge head or by welding plate into a block. It works, and plenty of smiths have done it, but for a first homemade hammer it combines the worst of both other paths without the clean payoff, so I will not spend much on it here.
The gear at a glance
Here is the short list, with the published specs I could confirm from the makers and non-marketplace retailers. Where a spec is not published, I say so rather than guess.
Scroll horizontally to see all columns.
| Starting point | What it is | Published specs | Best for |
|---|---|---|---|
| Estwing MRF3LB Sure Strike | Drilling hammer to reface | 3 lb forged steel head, 11 in overall, fiberglass handle | Fastest path, no forge needed to begin |
| 4140 round bar | Bar stock to forge a head | Chromium molybdenum alloy steel, buy 1.5 to 2 in diameter | Forging a head from scratch |
| True Temper 2046200 | Hickory replacement handle | 16 in, American hickory, fits 2.25 to 4 lb heads | Rehandling a reshaped or forged head |
| Blacksmith eye drift | Forged eye drift and mandrel | Not published | Drifting a punched eye |
None of that is a bench test. It is published specs and owner consensus weighed against shop experience, and I will flag the thin spots as I go.
Refacing a hardware store hammer, the fastest homemade forge hammer
If you want a homemade forge hammer working this weekend, start with a good forged drilling hammer and change its shape, not its steel. The head is already the right kind of medium carbon steel, already hardened and tempered by the factory, and already roughly the weight a one hand forging hammer wants to be. Your job is geometry, not metallurgy.
The one I would reach for is the Estwing Sure Strike 3 lb drilling hammer. Estwing publishes it as a forged steel head with the striking faces polished, on an 11 inch fiberglass handle, and a non marketplace retailer lists the same 3 lb head and 11 inch length (Estwing; AFT Fasteners). Three pounds is a sensible starting weight for most adults forging by hand; if you are smaller in the wrist or new to it, a lighter head will save your elbow, and Estwing makes the same hammer in a 2 lb version.
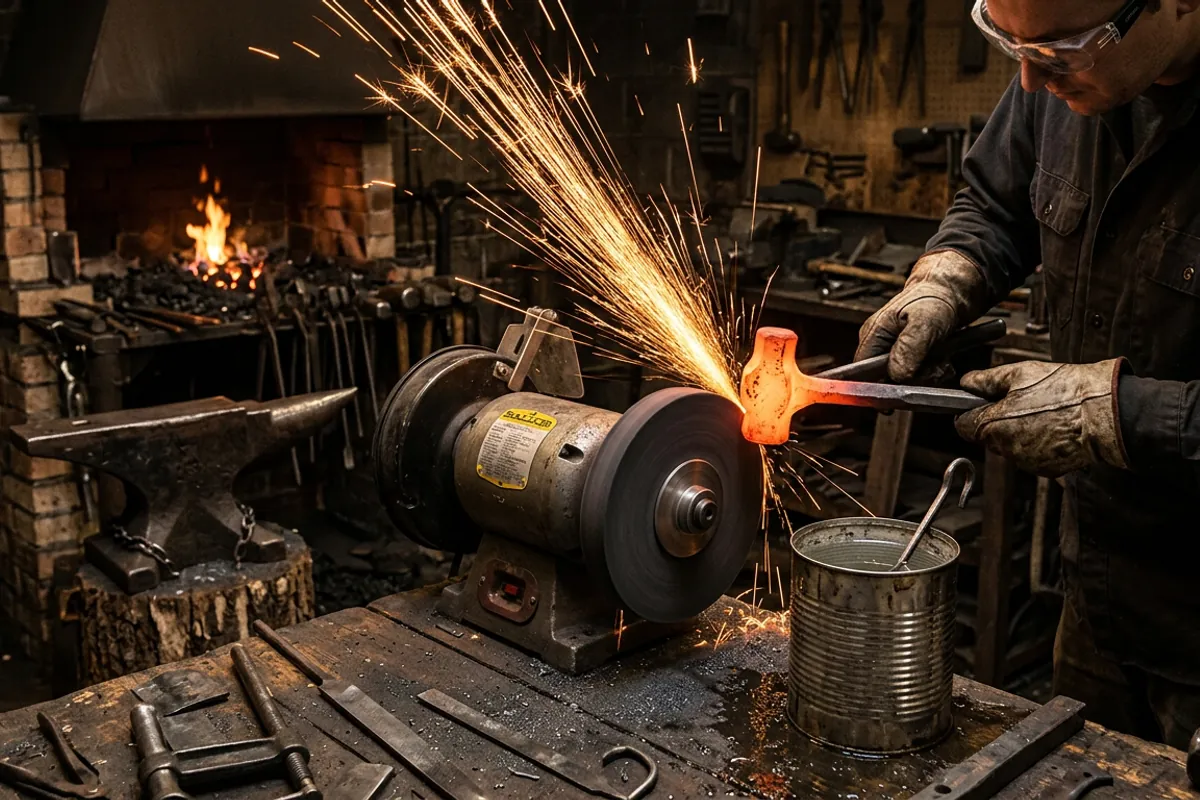
To reshape it, work the faces on a grinder with the head dunmounted or well clamped, keep a can of water at hand, and dip often. That last part is not fussiness. The factory temper on a hammer face is shallow, and if you let the steel get hot enough to change color at the surface you have quietly annealed the very part that has to stay hard. Grind a gentle crown into one face so its center touches first, break the sharp perimeter edges to a small radius, and if you want a cross pein or rounding profile, take it off the opposite face slowly. Owners on I Forge Iron who have modified small sledges and drilling hammers describe exactly this: dress the edges, crown the face, and go slow to protect the temper (I Forge Iron, "Modifying a mini-sledge").
Check price on Amazon (paid link)
The honest tradeoff is the handle. A fiberglass drilling hammer handle is tough and it will not come loose, but you cannot swap it for a longer stick or shape the grip to your hand the way you can with a wood eye. If handle length and balance matter to you, and after a few hundred blows they will, buy a wood handled engineer hammer to reshape instead, or plan to reface a bare head and hang your own handle, which is the next two sections. For how a bought rounding hammer is shaped for comparison, my rounding hammer buying guide lays out the geometry you are trying to copy.
Forging a head from scratch, steel and the eye
This is the version people picture when they say homemade forge hammer, and it is a genuine rite of passage. It also needs an anvil with real mass under the punch, a striker or a press helps a lot, and a way to drift the eye. On my 148 lb Trenton, Bessie, punching a hammer eye by hand is doable but it is honest work; lighter anvils bounce the energy back at you. If you are still sorting out anvil mass, my anvil weight guide covers what you actually need under a punch.
Steel first. The owner consensus is consistent and boring in the best way: a simple medium carbon or low alloy steel, not a fancy air hardening one. The names that come up over and over are 1045, 4140, and 5160 (forgingworld; I Forge Iron, "best steel for forging a hammer head?"). 1045 is the friendliest to heat treat and forgives a lot; 4140 is a chromium molybdenum alloy that is tougher and a touch harder but wants a proper oil quench and temper, which is why some smiths steer beginners away from it for a first head (forgingworld). The long running I Forge Iron thread on 4140 versus 1045 for tools lands in the same place: both make a fine hammer, 1045 is the more forgiving learner (I Forge Iron, "4340 vs 4140 vs 1045"). If you want a single bar to start with, a length of 1.5 to 2 inch 4140 round bar is the common pick, and it is sold in cut lengths.
Check price on Amazon (paid link)
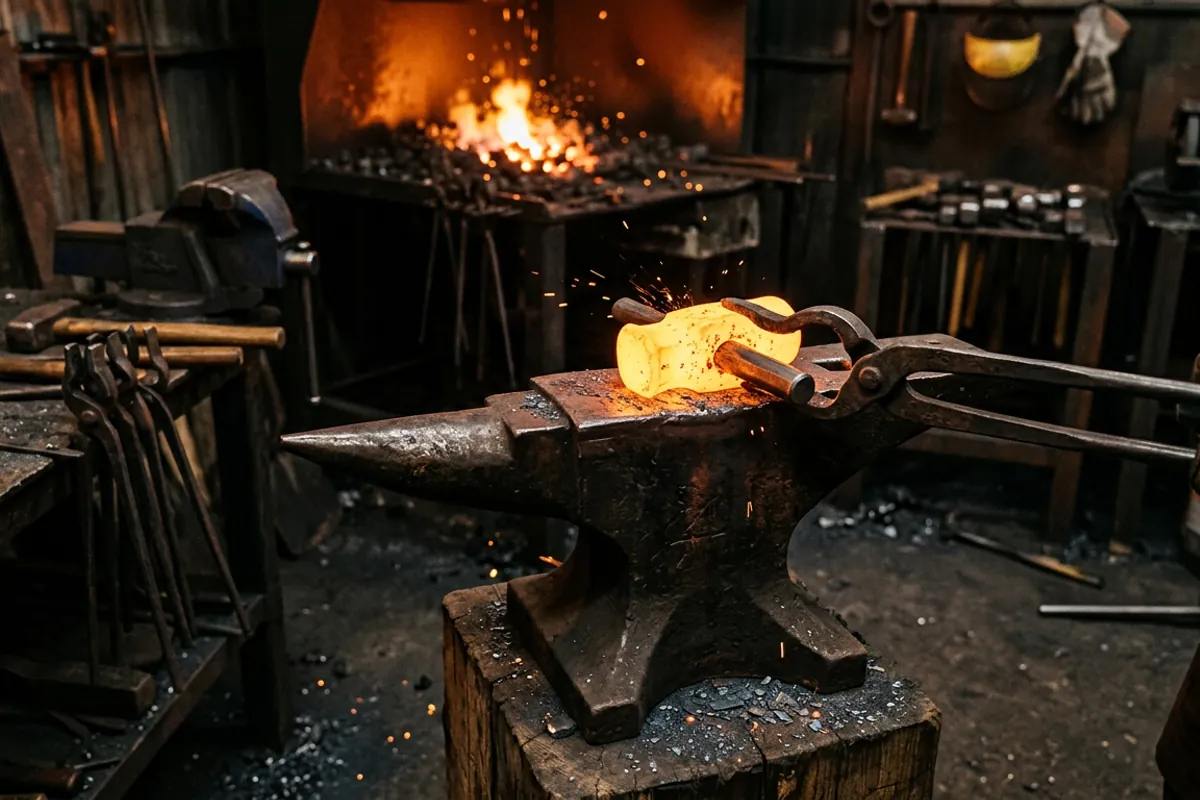
The eye is the hard part. You do not drill and file a hammer eye; you punch a slot and open it with a drift, which leaves the grain flowing around the hole instead of cut through it. That means a slitting punch or drill line to start, then a drift the shape of your handle to open and true the eye. You can forge your own drift from a bar of high carbon or H13, and most experienced smiths eventually do, but an off the shelf drift gets you a repeatable eye on your first try. The imported forged drifts on Amazon are inexpensive and will do the job; owner signal on the specific listings is thin, so treat them as a starting drift and expect to dress the shape. If you want the full rundown on sizing and forging your own, that is its own topic in my hammer eye drift buying guide.
Check price on Amazon (paid link)
Forge the faces last, after the eye is drifted, so the swelling around the eye does not distort a face you already finished. Leave the faces a little proud and soft in the forging stage; you dress them true after heat treat.
The handle, hickory, fit, and why balance matters
Whether you refaced a bare head or forged one, a homemade forge hammer lives or dies on the handle. Buy straight grained American hickory and nothing else. The True Temper 2046200 is a 16 inch hickory blacksmith and engineer handle rated by retailers for roughly 2.25 to 4 lb heads, which covers most hand forging hammers (Gas and Supply). Sixteen inches is a good default; a lot of smiths trim a hammer handle shorter than a claw hammer, into the 12 to 14 inch range, for control close to the anvil, and you can always cut down but never add back.
Check price on Amazon (paid link)
Fit matters more than the handle you buy. The eye is tapered, wider at the top, so the handle seats from the bottom and the wood plus wedges lock into the flare at the top. Rasp the tongue to fit snug, seat it, saw the kerf, drive a wood wedge across the grain and then steel wedges as needed, and let the head sit proud a hair so it can be re seated. Do not glue it and do not rely on paint or epoxy to hold a hammer head. A head that flies off mid swing is exactly the kind of avoidable injury this site exists to nag you about.
Grain is the detail beginners miss, and the part that actually predicts a break is runout: you want straight grain running the full length, not grain that wanders out the side of the handle near the eye. Growth rings in line with the swing are a secondary preference on top of that. Hold the handle up to the light before you commit and you can read both. There is more on hanging and wedging in the hammer handle replacement guide.
Heat treat and the safety that is not optional
If you forged a head, it is not finished until it is heat treated, and this is the step that hurt me. Early on I quenched a blade in oil that was too cold, standing too close in a cotton shirt with no face shield. The oil flared and took my eyebrows, and I kept my eyesight by luck. That is why I will not soften this: heat treat is where a home shop gets careless and pays for it.
The sequence for a medium carbon head is normalize to relieve forging stress, harden by heating to the steel's critical temperature and quenching in the right medium (water for 1045, oil for 4140), then temper the same day to pull it back to a working hardness. The owner target most smiths quote for a hammer face is somewhere in the low 50s HRC: hard enough to resist denting on hot steel, soft enough that it does not chip and throw a shard. Many smiths temper only the faces and leave the eye and cheeks softer and tougher so the head cannot crack through the eye. I do not publish hardness numbers I have not tested, so send the exact temperatures to real data and to my own 4140 heat treat guide, and read up on what annealing steel actually does before you start, because a botched normalize haunts the quench.
Now the safety, plainly. Wear eye protection rated ANSI Z87.1 any time you grind or quench, and a face shield over it at the quench tank. Wear natural fibers, cotton or wool or leather, never synthetics that melt to skin near heat. Keep the quench oil at the volume and temperature its safety data sheet calls for, in a container deep enough to submerge the work with room to spare, and keep a lid within reach to smother a flare. None of that is optional, and none of it is where you save money. If you need the rest of the kit, my safety gear guide is the short list.
What owners say
For the gear I have not personally run down, here is what the forums report, attributed so you can read it yourself.
On refacing hardware store hammers, the consensus on I Forge Iron is that a good forged drilling or engineer hammer head is worth reshaping, and the whole trick is dressing the edges and crowning the face without cooking the temper (I Forge Iron, "Modifying a mini-sledge"). Nobody there treats it as a compromise; it is a normal, respected way to get a good hammer cheap.
On steel for a forged head, the threads are remarkably aligned: 1045 for the forgiving first head, 4140 or 5160 once you trust your heat treat, and stay away from air hardening tool steels for a first hammer (I Forge Iron, "best steel for forging a hammer head?"; I Forge Iron, "4340 vs 4140 vs 1045"). Alec Steele's shop notes make the same point about matching a simple steel to a simple heat treat (Alec Steele Co.).
On the imported eye drifts and low cost drift kits, I will be straight with you: owner signal on the specific Amazon listings is thin, and the reviews that exist are more about "it worked" than any long term report. They are fine as a first drift. If you forge hammers regularly you will make your own to your handle, which is the same conclusion the from-scratch threads reach (I Forge Iron, "Forging a Hammer process?").
On hickory handles, the complaint you see everywhere is grain: cheap handles with run out or rings crossways to the swing break, and the fix is to read the grain and seat the head properly rather than to spend more. That is craft, not gear.
What I would tell a friend
If you asked me across the anvil, here is the short version. For a homemade forge hammer you can use tomorrow, buy a 3 lb Estwing Sure Strike drilling hammer, reshape the faces on a grinder while keeping the steel cool, and dress the edges. That is the least that can go wrong and it makes a genuinely good hammer. If you want to forge a head, start with 1045 over 4140 for your first one, punch and drift the eye rather than drilling it, hang it on straight grained 16 inch hickory with the grain running the way it swings, and do not call it done until it is normalized, hardened, and tempered. The one thing I would not compromise on anywhere in this project is the eye protection and the quench setup. A hammer is cheap to remake. Your eyes are not.