I have enough verified material. Writing the article.
Here is the article:
A diy forge hammer is one of the few pieces of shop gear where building beats buying, and I mean that literally. If you want a rounding hammer for moving hot steel fast, the honest answer is that you can grind one out of a hardware store drilling hammer in an afternoon for the price of lunch, and it will hit as well as a boutique hammer costing ten times as much. That is the pick I hand every weekend beginner who asks me what forging hammer to buy: do not buy a fancy one first, make one from a cheap forged head. The Estwing B3-3LB drilling hammer is the base I would start with.
Before you take any of this as gospel, here is the framing I owe you. I have ground and rehandled my own hammers for years, so the process below is shop experience, not a guess. But the specific product picks lean on published specs and owner reports from the forums, weighed against what I know works on the floor. I have not bench-tested every hammer on Amazon against each other, and I am not going to pretend I have. Where I am passing along what other smiths report rather than what I have run down myself, I will say so.
What "diy forge hammer" actually means
There are three different projects hiding under that one search, and they are not equally worth your time.
The first is a conversion: take a cheap forged hammer head, usually a drilling or club hammer, and grind it into the face profile you want, most often a rounding hammer. This is the one I recommend for almost everybody. The steel is already forged, hardened, and tempered by the factory. You are just changing its shape.
The second is a rehandle and reshape: take a ball pein or an old head you like, dress the faces, and hang it on a proper handle at a length and angle that suits your swing. Small job, big difference in how the tool feels.
The third is forging a head from scratch out of bar stock, drifting the eye, then heat treating it yourself. This is a real project that teaches you a lot, and it is also the one where people waste the most time and steel before they have the skills to pull it off. I will cover it, but it is not where a beginner should start.
For a plain-language tour of the whole hammer family before you commit, my blacksmith hammer buying guide walks through the shapes, and the cross pein hammer guide covers the one shape most beginners actually reach for. This guide is the DIY companion to those.
The specs that matter, side by side
For a conversion you care about three things: head weight, whether the steel is forged (it takes a face better than cheap cast), and whether the handle can be replaced. Here is the field I would build from, published specs only.
Scroll horizontally to see all columns.
| Item | Weight | Head material | Handle | Length | Price tier |
|---|---|---|---|---|---|
| Estwing B3-3LB drilling hammer | 3 lb | Alloy steel, forged | Steel, one piece | 11 in OAL | Budget |
| Vaughan TC432 ball pein | 32 oz (2 lb) | High carbon steel, drop forged | Hickory | 15.75 in OAL | Budget |
| Nicholson 21701N mill file | n/a | Cut steel, single cut | Wood | 10 in | Budget |
| True Temper replacement handle | rated to 8 lb heads | n/a | Hickory | 16 in | Budget |
Estwing weight, material, and length are from the Hanes Supply listing; the Vaughan length and handle are from Hammer Source. Neither maker publishes a hardness figure for these heads, so I am not going to invent one. That is fine for our purposes: both are forged, and forged factory hammer heads run hard enough to hold a forging face.
Estwing B3-3LB drilling hammer: the easiest rounding hammer to make
A drilling hammer, also called a club or crack hammer, is a short double-faced hammer meant to drive chisels and star drills. That makes it close to a rounding hammer blank already: two symmetric faces, a compact head, forged alloy steel. To make a rounding hammer, you crown one face into a dome and leave the other flat, or crown both if you want a dedicated rounder. That is the whole job.
The B3-3LB is 3 lb, which is heavier than most people should swing all day at first. If you have never forged for hours, a 2 lb to 2.5 lb hammer is easier on the elbow, and you can get the same Estwing pattern in a 2 lb. But if you want one hammer to grow into and you are moving decent stock, 3 lb is a workhorse weight. Estwing forges the head and handle in one piece, which is the tradeoff: the tool is nearly indestructible and it cannot loosen, but you can never rehandle it, and a solid steel handle telegraphs more shock into your hand than wood does. For a rounding hammer you keep near the anvil and pick up for heavy work, I can live with that. For an all-day general hammer, I would rather have wood.
The forums back this up as the standard beginner conversion. On I Forge Iron, the common advice in the rounding hammer threads is exactly this: pick through the rack, grab the head whose factory shape is already closest to what you want so you remove the least metal, and grind it to suit. That rack-picking tip is real and it matters, because every ounce of steel you do not have to grind away is heat you do not have to fight.
Check price on Amazon (paid link)
Vaughan 32 oz ball pein: the cross pein conversion
A ball pein hammer is the other classic starting point, and it suits a different goal. Leave the flat face alone and grind the round pein into a cross pein, and you have a drawing hammer for moving steel in one direction. The Vaughan TC432 is 32 oz of drop-forged American high carbon steel on a hickory handle, 15.75 inches overall. Two things make it a better long-term tool than the Estwing for general work: the high carbon head takes a clean face and holds it, and the hickory handle means you can rehang it, reshape the grip, or swap length whenever you want.
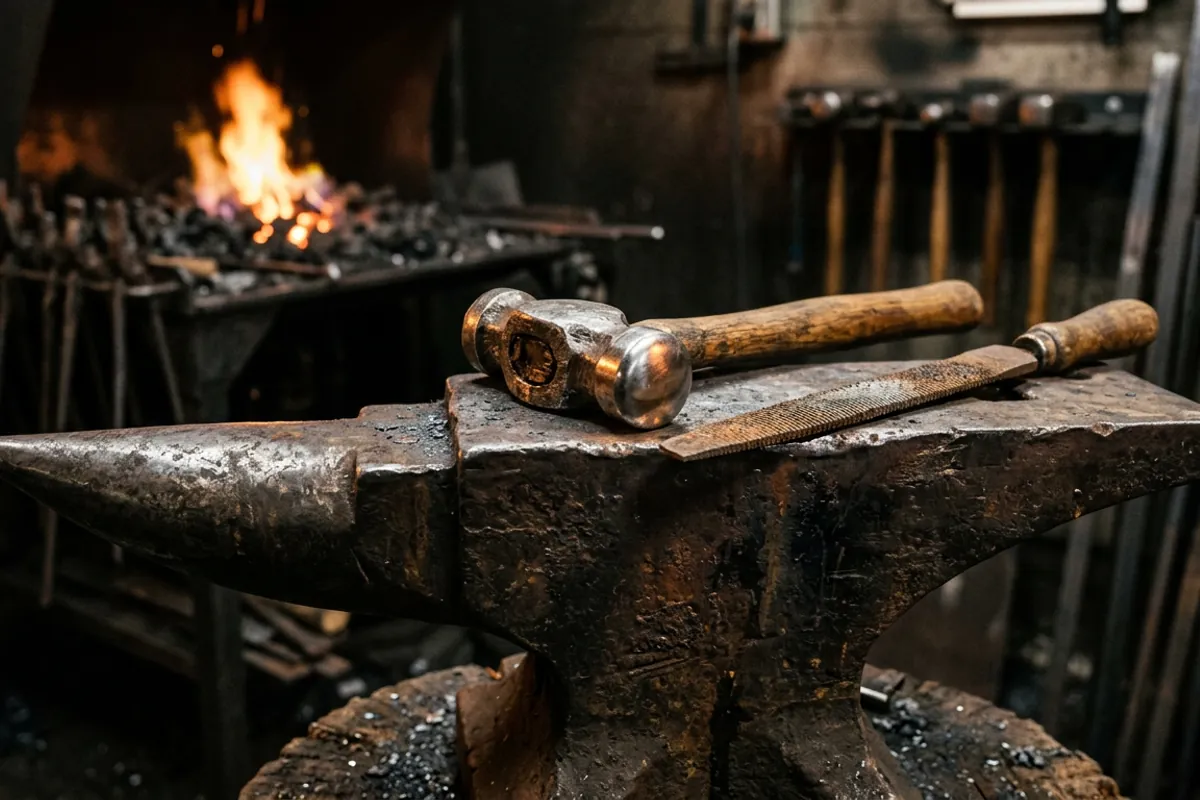
The catch with any ball pein conversion is the face. Factory ball peins come with a slightly crowned, hard, polished face and sharp edges around it. Those sharp edges will mark your work, so the first thing you do to any hammer you forge with, converted or not, is dress the edges to a smooth radius. That is not optional and it is the single most common thing beginners forget.
Two pounds is a comfortable everyday weight for most people, which is part of why I would point a first-timer here over the 3 lb Estwing if they only make one hammer. For where a hammer this size fits in a full kit, the beginner blacksmith kit guide puts it in context.
Check price on Amazon (paid link)
Dressing the face and rehandling: the file and the handle
You do not need a milling machine to make a good hammer face. You need a grinder for bulk removal, a file for control, and patience. A good single cut mill bastard file, like the Nicholson 21701N, is what I reach for to knock the sharp corners off a face into a smooth radius and to refine a crown after grinding. A file gives you feel that a bench grinder does not, and on a hammer face feel is the whole game. If you have a belt grinder, even better, and my belt grinder guide covers those, but a file and an hour will get a beginner a face that works.
Check price on Amazon (paid link)
For any wood-handled head, a proper replacement handle turns a mediocre hammer into one you want to pick up. The True Temper 2046200 is a 16 inch hickory blacksmith and engineer handle rated for heads up to 8 lb, so it covers anything in this guide. Hang it yourself: fit the eye, saw the kerf, drive the wood wedge, then the steel wedge, and dress the top flush. A hammer that is hung dead straight and cut to a length that matches your arm will do more for your accuracy than any brand name. If you have never hung a head before, do it once on a cheap hammer before you do it on one you care about.
Check price on Amazon (paid link)
Forging a hammer head from scratch
This is the advanced route, and it is a genuinely good forging project once you have the fundamentals. You start with a chunk of medium or high carbon bar, usually something like 1045 or 4140, forge the rough shape, drift the eye with an axe eye drift or a dedicated hammer drift, then normalize, harden, and temper the faces. It is a lot of hot, heavy work, and to do it you need real mass under the steel. Forging a hammer head on a light anvil is miserable; the anvil moves and eats your blows. This is one of the few jobs where I would tell a beginner to have at least a 100 lb anvil before starting, and more is better. If you do not have one yet, a budget cast single-horn anvil will get you going while you save for something better.

For sizing an anvil to your work, my anvil weight guide lays out the tradeoffs. And be honest with yourself about the heat treat: getting a hammer face to the right hardness and then tempering it back so it does not chip is real metallurgy, not eyeballing. Send that question to real testing rather than folklore, and read up on tempering before you quench anything. A hammer face that is too hard will spall and throw chips at your eyes, which is exactly the kind of thing this site takes seriously.
Do not wreck the heat treat, and do not skip the eye protection
Here is the one mistake that turns a good conversion into a soft hammer: overheating the face on the grinder. A factory hammer head is hardened and tempered. If you grind aggressively and let the steel get hot enough to change color, straw and then blue, you are drawing the temper right back out and softening the exact surface you are trying to shape. Grind in light passes and keep a can of water at the grinder to dip the head often. If you see the steel start to color, you have already gone too far, so stop and cool it. Keep it cool and the factory heat treat stays intact.
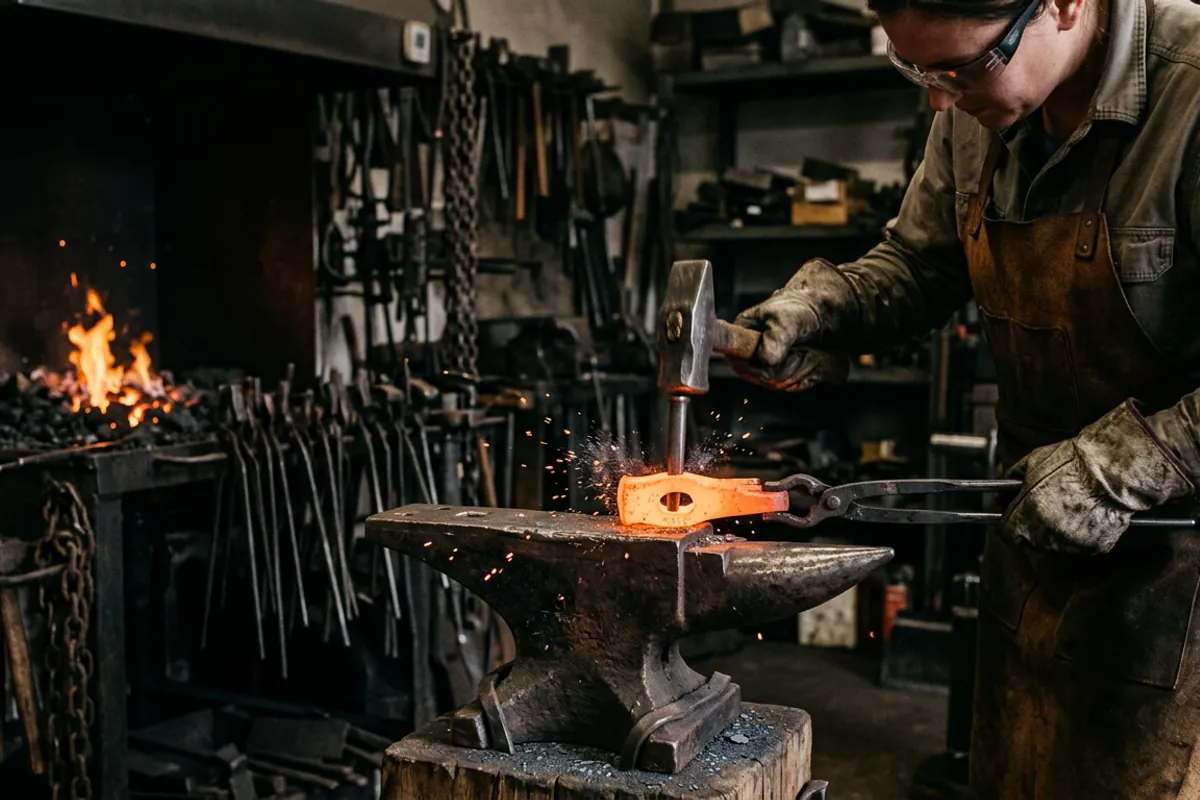
Now the part I never soften. Grinding steel throws a stream of hot particles straight at your face, and dressing or using a hammer can throw a chip. Wear eye protection rated to ANSI Z87.1, not fashion sunglasses, every time the grinder spins and every time you swing a hammer at hardened stock. I learned the hazard side of this shop the hard way, standing too close to an oil quench in a cotton shirt with no face shield, and I got to keep my eyesight on luck rather than sense. Wear natural fibers near heat, not synthetics that melt to your skin, and put a face shield over the safety glasses when you are hardening a head. My blacksmith safety gear guide has the full rundown of what actually matters.
What owners say
For the picks I have not run head to head myself, here is what the forums report. On I Forge Iron, the rounding hammer discussions are broadly positive on the DIY conversion route: experienced smiths there routinely tell newcomers to grind their own rather than spend on a boutique hammer, and the recurring advice is to start from a forged drilling or club hammer and remove as little metal as possible. The debate that comes up over and over, including in the "how round is your rounding hammer" thread, is how much crown to put on the face. The consensus there is that beginners tend to grind too much dome, which leaves half-moon marks in the work, so err flatter than you think and add crown later if you want it.
On the ball pein conversions, the common complaint is the opposite of a product flaw: people grind the pein into a cross pein and then forget to dress the sharp edges, and blame the hammer for marking their steel. That is user error, not a bad tool. The Vaughan and Estwing lines both get steady, unremarkable approval as cheap forged heads that take a face fine, which is exactly what you want from a blank. Where owner signal is genuinely thin is on how any specific factory head heat treats if you forge on it hot, because most people never do, so I would not push that.
What I would tell a friend
Make your first forge hammer, do not buy it. Start with the Vaughan 32 oz ball pein if you want one comfortable everyday hammer you can rehandle, or the Estwing B3-3LB if you specifically want a heavier rounding hammer and do not mind a steel handle. Buy a file to dress the edges, buy a spare hickory handle so you can practice hanging one, and grind slow with water at the ready so you keep the factory temper. Skip forging a head from scratch until you have the hours to do the heat treat right. And whatever you make, dress the edges smooth and put the glasses on before the grinder spins. Everything else in the hammers and tongs topic hub builds on that first hammer feeling right in your hand.