I have enough verified sourcing. Two ASINs confirmed live via direct fetch (B093H1RZKG, B08T89TRCD), a third (B07KVMBYSL) confirmed via search with matching title, maker specs from simondstore.com, and a readable BladeForums owner thread. Neither VEVOR ref is a forge, so I'm correctly leaving the placeholder out. Writing now.
Charcoal is where most of us started, whether we admit it or not, and it is still the cheapest honest way to get steel to a working heat. So if you are shopping for a blacksmith charcoal forge, here is my verdict up front: I would build the fire before I bought the forge. A charcoal fire is a hole, some air from below, and a pile of fuel, and you can put that together from a steel firepot and a table for the price of a nice hammer. If you want a turnkey unit anyway, the Simond Store welded firepot is the piece I would spend money on and build the rest around. The complete "furnace with hand blower" units work, but you pay for the stand and the crank blower, and both are the parts easiest to source cheap or scrounge.
Fair warning before we go further: I have run coal and propane in my own shop for years, and I have burned plenty of charcoal, but I have not run these specific Simond units down on my own bench. What follows leans on the makers' published specs, what owners report on the forums, and general shop experience with how charcoal behaves. Where that is secondhand, I will say so.
The short version: build before you buy
The reason charcoal keeps pulling in new smiths is that it removes the two biggest excuses: cost and coal supply. You do not need a coal dealer, you do not need a coke source, you need a bag of lump charcoal from the hardware store and a way to blow air up through it. A brake drum bolted to a stand, a length of black pipe, and a hair dryer on a dimmer will forge steel today. That is not a compromise setup, it is a real forge, and I have watched beginners make knives on exactly that.
So when someone asks me which charcoal forge to buy, my first answer is usually "don't, yet." Read the homemade forge build guide and the charcoal forge buying guide first, spend an afternoon and thirty dollars, and see whether you even like solid fuel before you drop a couple hundred on a finished unit. If you build one and decide charcoal is your fuel, great, you have lost almost nothing. If you hate raking a fire and want even, hands-off heat, you just saved yourself from buying the wrong thing, and you should be reading the coal versus propane breakdown instead.
That said, plenty of people want a thing that shows up in a box and works, and there is no shame in it. The rest of this guide is for them.
What actually makes a charcoal forge work
A charcoal forge has three jobs, and the gear only matters insofar as it does them well.
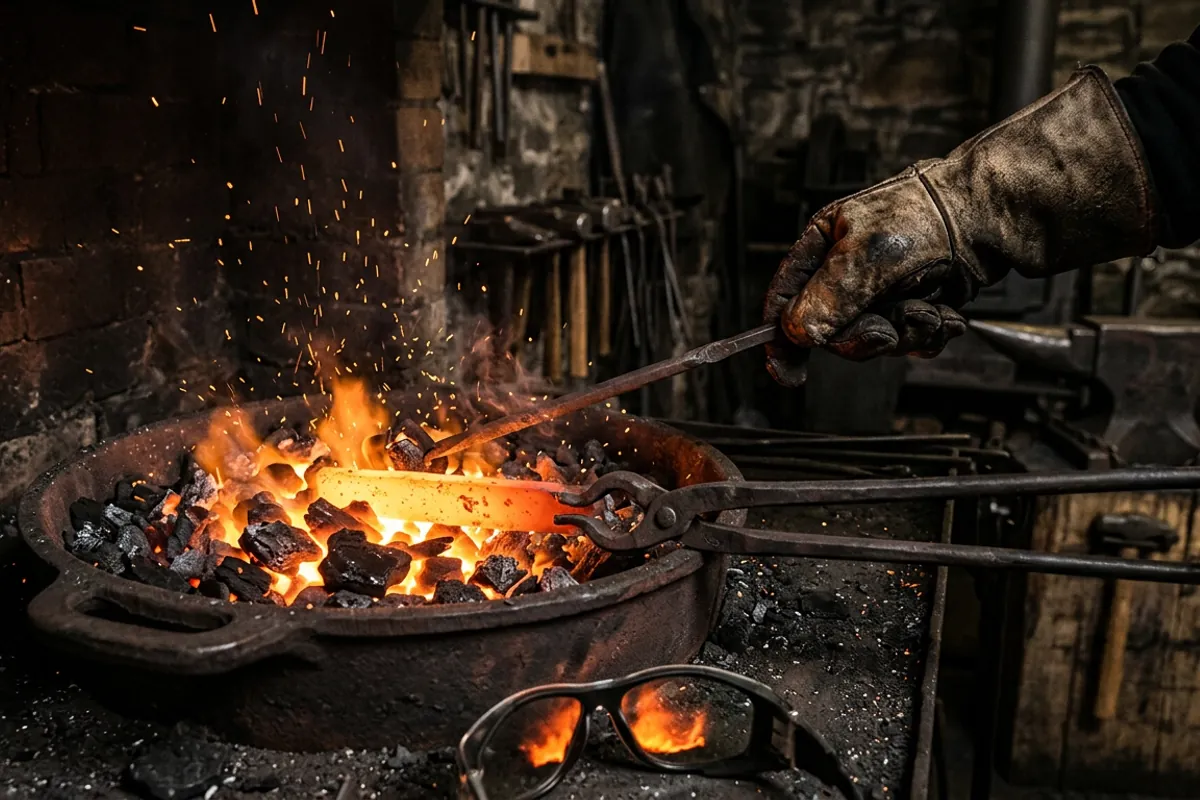
First, it has to hold a deep enough fire. Charcoal is low density and burns loose, so it wants more depth than coal does to build a proper hot core. Smiths on BladeForums talk about running a charcoal bed around six inches deep and keeping the fire tight with water so it does not sprawl and eat fuel. That six-inch number matters when you look at firepot specs, because a lot of commercial pots are shallower than that.
Second, it has to get air from below in a controllable amount. Charcoal wants less blast than coal, and too much air just burns your fuel and your money. A hand crank blower gives you fine control; a hair dryer or cheap electric blower on a blast gate does the same job for less. What you want is the ability to turn the air down, not just up.
Third, it has to deal with ash. Charcoal makes a lot of fine ash and not much clinker, so a clinker breaker matters less than a clean ash dump you can drop the waste out of without pulling the whole fire apart.
That is the whole machine. Everything a manufacturer sells is some combination of a pot, an air inlet, and a stand, and you are really deciding how much of that you want to buy versus build. If you want the fuel itself explained properly before you commit, I wrote up what blacksmith charcoal actually is separately.
The specs that matter, side by side
Here is the field I would actually consider, with published figures only. Where a maker does not state a number, I have said so rather than guess.
Scroll horizontally to see all columns.
| Product | Firepot size (inside) | Material | Temp rating | Weight | Price tier |
|---|---|---|---|---|---|
| Simond Store welded firepot | 10 x 12 x 4.5 in | 1/2 in MS plate | 2600F rated | 45 lb | Budget |
| Simond Store firepot coal forge kit | 10 x 12 in | Welded steel plate | Not published | Not published | Budget to mid |
| Simond Store coal forge with hand blower | Not published | Steel | Not published | Not published | Mid |
The firepot dimensions and 45 lb weight for the standalone pot are from the Simond Store product page, which also lists the outer size at 12 by 14 by 16 inches and a half-inch-thick plate. Note the 4.5 inch inside depth. That is fine for coal, a little shallow for a deep charcoal bed, and it is the single spec I would keep in mind across this whole lineup.
Simond Store welded firepot: buy this, build the rest
If I were buying one piece of steel for a charcoal setup, this is it. A welded firepot in half-inch mild steel plate is the part that is genuinely worth paying for, because it is the part that lives in the fire and warps or burns through if it is made thin. Simond publishes a 2600F rating and a 45 lb weight, and owner reviews describe good welds and heavy material, which is what you want here.
The plan with a firepot is simple: build a steel or heavy-timber table, cut a hole to drop the pot into (Simond lists a minimum opening of about 10.5 by 12.25 inches), plumb your air to the three-inch round inlet on the bottom, and you have a forge that will outlast you. You supply the stand and the blower, which are the cheap, easy-to-scrounge parts. This is the route that best matches how I actually think about solid-fuel forges: spend on the pot, build the furniture.
The honest limits: 4.5 inches is a shallow pot for charcoal, so you will be banking fuel up above the rim and managing a wider fire than a coal smith would. And you are buying a component, not a finished forge, so you need some basic fabrication ability or a friend with a welder. If that is a wall for you, look at the kit instead.
Check price on Amazon (paid link)
Simond Store firepot coal forge kit
The kit version bundles the same 10 by 12 welded firepot with more of the surrounding hardware, so you are closer to a working forge out of the box with less fabrication. Simond markets it plainly as a coal and charcoal forge kit for knife making and general work, and the core is the same welded pot that makes the standalone worth owning.
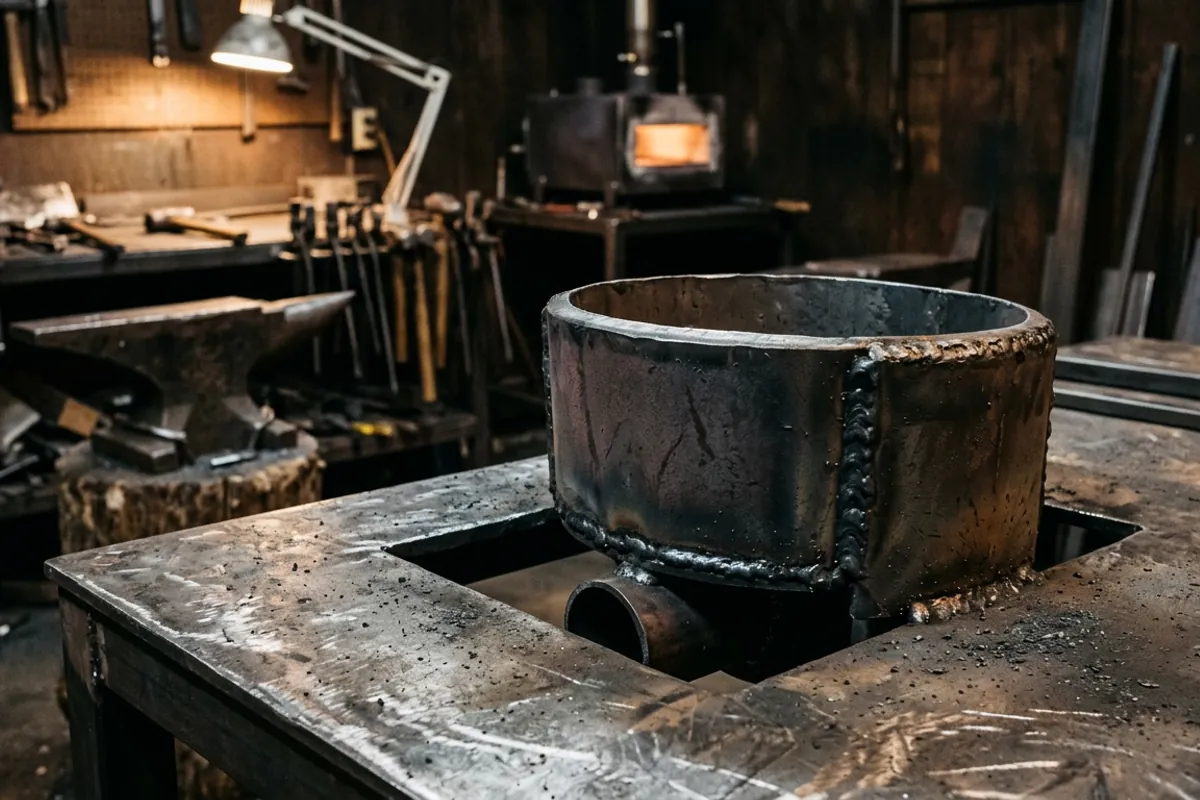
This is the middle path: you are paying a bit more to skip some of the build, but you are still getting a solid-fuel forge built around a proper firepot rather than a stamped-tin novelty. For someone who wants to burn charcoal, does not want to fabricate a whole table, and does not want to pay for a crank blower they will replace anyway, this is a reasonable landing spot.
The tradeoffs are the same shallow-pot caveat as above, plus the general note that "kit" contents vary and shipping a heavy welded pot sometimes arrives rough around the edges. Check the welds and the air inlet when it lands.
Check price on Amazon (paid link)
Simond Store coal forge furnace with hand blower
At the top of this lineup is the vintage-style furnace: a complete unit with a pedal or crank hand blower, the kind of riveter's forge look a lot of people picture when they imagine a coal or charcoal forge. It shows up assembled as a forge, blower and all, and that is its whole appeal. You open the box, you have a forge.
I will be straight about where the money goes. You are paying for the stand and the hand blower, and those are precisely the two parts I would happily build or buy used for a fraction of the price. A hand crank blower is a nice thing to own and gives lovely air control, but a cheap electric blower on a blast gate does the same job. So this unit is for the buyer who values turnkey convenience over saving money, and who does not want to fabricate anything. That is a legitimate preference; just know that is what you are buying.
Check price on Amazon (paid link)
What owners say
For gear I have not run myself, here is the consensus I could actually find, attributed.
On the Simond firepots specifically, owners on the I Forge Iron solid-fuels forum frame these as fine for small projects, jewelry, spoons, small blades, and question whether they are worth the price for bigger work. The recurring praise is that the welded pot is genuinely heavy and well built. The recurring gripes are that the pot runs small, that the air inlet geometry is a right-angle rather than an inclined tuyere and can be awkward to plumb, and that the ash dump can leak a little air. None of those are dealbreakers, but they are the real texture of owning one, not marketing.
On charcoal operation generally, the BladeForums charcoal thread is the most useful owner signal I found. The consensus there: run lump charcoal, not briquettes, keep the fire tight with a squirt bottle, do not overdo the air, and expect charcoal to burn up noticeably faster than coal so you feed it more often. Several smiths note a better blower helps with control but a hair dryer works to start. That all matches my own experience with charcoal, so I am comfortable passing it along.
If owner signal on a specific unit feels thin to you, that is because it is thin. These are budget, imported forges with modest review counts, and I would rather tell you that than dress up a handful of reviews as a verdict.
Fuel, air, and safety
Two practical notes before you light anything.
On fuel, buy lump charcoal, the irregular black chunks that are just carbonized wood, not the uniform pillow-shaped briquettes. Briquettes are held together with binders and fillers that make ash and off-gas, and they do not get as hot or as clean. If you are weighing charcoal against mineral coal for the long run, the coal I would actually buy writeup covers that side.
On safety, this is where I stop being casual. Solid-fuel forging throws sparks and produces carbon monoxide, and charcoal in particular is happy to smolder and gas you in a closed space. Forge with real ventilation, ideally outdoors or under an open-sided roof, never in a closed garage. Wear ANSI Z87.1 rated eye protection any time the fire is lit, and dress in natural fibers, cotton, wool, leather, never synthetics that melt onto skin when a spark lands. I learned the fiber lesson the hard way with a quench-oil flare that took my eyebrows, and I will never soft-pedal it: the gear is not optional. The full rundown is in the blacksmith safety gear guide, and the whole forges topic hub collects the fuel and forge writeups in one place.
What I would tell a friend
Build first. Spend an afternoon and thirty dollars on a brake-drum charcoal forge before you buy anything, because it will teach you whether you even like solid fuel, and it forges steel just fine.
If you want to buy, buy the firepot, not the furnace. The Simond Store welded firepot is the part worth your money, half-inch plate rated to 2600F, and you can build the stand and rig a blower for pocket change. The complete furnace-with-blower unit works, but you are paying for the two parts easiest to make or scrounge. Keep the 4.5 inch pot depth in mind, because charcoal wants a deeper bed than coal, and plan to bank your fire up above the rim.
And forge outside with ventilation, Z87.1 eyewear, and natural fibers, every single time. A charcoal forge is the cheapest way into this craft. It is not a reason to get cheap about the parts of you that do not grow back.