I have everything I need: four verified ASINs, published specs, real forum threads, and the NIOSH/CDC hazard data. Writing the article now.
Building a forge is the first real project most new smiths take on, and a homemade forge is usually the smartest way to spend your first two hundred dollars in this craft. I have run a coal forge and a propane forge side by side for years, and the truth is that a shop-built propane forge lined with ceramic fiber will do ninety percent of what a new smith needs: fast, even heat for drawing out, tapering, and general blade and hook work. What follows is not a bench test. I have not run down every one of these exact products in my own shop, so where I name a specific part I am leaning on the maker's published specs and on what owners actually report on the forums, weighed against what I know about how a forge behaves when you light it.
The reason to build rather than buy is not just money, though you will spend less. It is that when you build the thing, you understand it. When the flame runs rich and sooty, or a hot spot eats through your lining in a season, you know why, because you cut the shell and sprayed the rigidizer yourself. A store-bought forge is a black box until it breaks. Before you buy a single part, it is worth reading how the fuels actually differ in my coal or propane guide, because that choice decides almost everything else about the build.
The parts worth buying, and the ones worth building
The body of a propane forge is not the hard part. A steel shell can be a discarded freon tank, a length of thick wall pipe, or a small propane cylinder with the valve properly removed and the tank purged and cut. That is genuinely free or close to it, and there is no product that beats a scrap tank. What you cannot fake, and what I tell every beginner not to cheap out on, is the insulation, the coating that seals it, and the burner. Those three decide whether your forge reaches welding heat or just gets warm and sad.
Here is how the buy-or-build call shakes out on the parts that matter, with the specs the makers actually publish.
Scroll horizontally to see all columns.
| Part | What it is | Published spec | Buy or build | Cost tier |
|---|---|---|---|---|
| Ceramic fiber blanket | High temp wool that lines the shell | 1 in thick, 16 x 48 in, 2400 F rated, 8 lb density | Buy | Budget |
| Rigidizer / refractory coating | Hardens the wool, seals the fibers, reflects heat | ITC-100HT rated to 5000 F | Buy | Budget to mid |
| Burner and regulator | Mixes propane and air, feeds the chamber | Single burner, adjustable 0 to 21 PSI regulator | Buy | Mid |
| Insulating firebrick | Chamber floor, or a whole one-brick forge | 2300 F rated, 9 x 4.5 x 2.5 in | Buy | Budget |
| Shell | The steel body | scrap tank or pipe | Build | Free |
The blanket spec comes from the manufacturer listing for the 3026E ceramic fiber (Lynn Manufacturing / GrillPartsReplacement), the ITC-100HT temperature rating from the ceramic coating maker's page, and the firebrick rating from standard 2300 F insulating firebrick listings. If a number is not published for a part, I say so rather than guess.
The ceramic fiber blanket is the heart of it
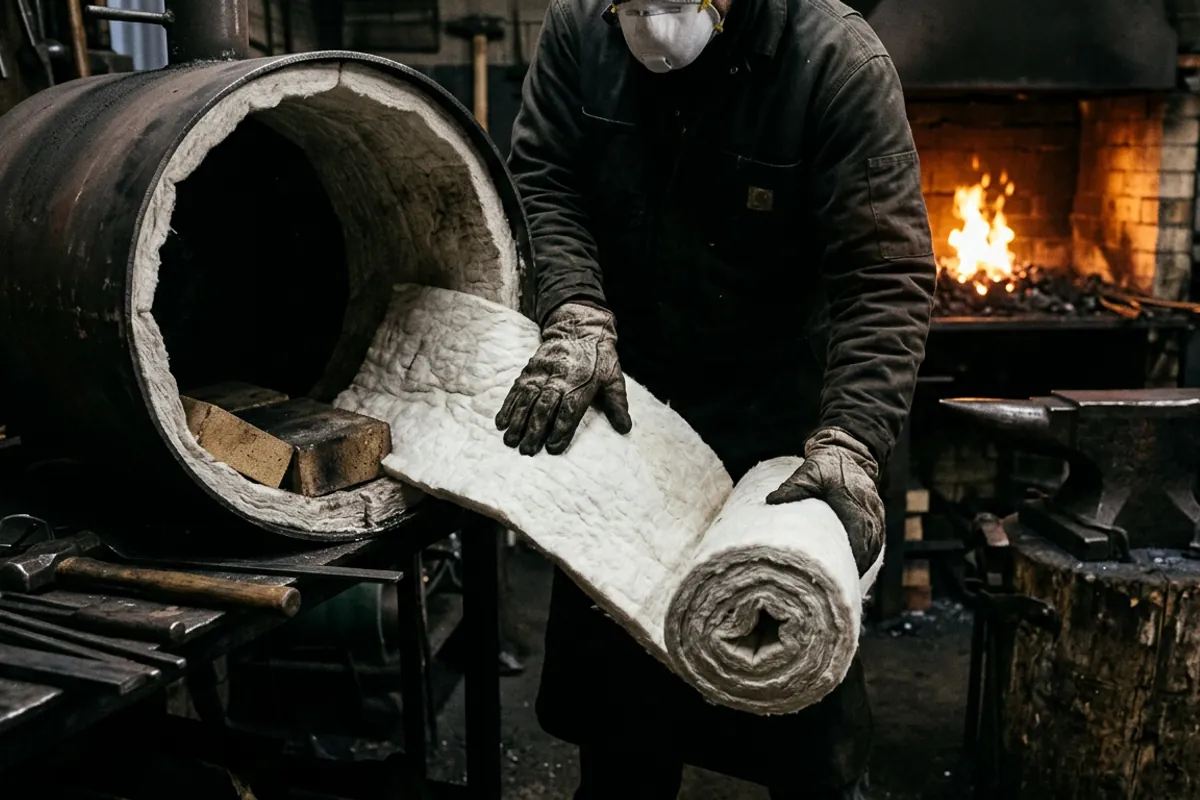
If you get one thing right, make it the insulation. A one inch layer of 2400 F rated ceramic fiber blanket, ideally two layers for a total of two inches, is what lets a small burner bring the chamber to forging heat and hold it. This is the same material sold under the Kaowool name, and for a single forge you want roughly a one inch by sixteen inch by forty eight inch piece, which is enough to double-line a modest chamber with some left over. The blanket most owners point new smiths at is the 2400 F rated ceramic fiber, and it is inexpensive enough that there is no reason to under-insulate.
Check price on Amazon (paid link)
Now the safety part, and I will not soften it, because this is the mistake that hurts people quietly instead of loudly. Raw ceramic fiber is a respiratory hazard. Under the OSHA hazard communication standard, refractory ceramic fiber is classified as a category 2 carcinogen, suspected of causing cancer by inhalation, and NIOSH has documented pleural plaques and respiratory disease in workers exposed to it (NIOSH / CDC on refractory ceramic fibers). The fibers are tiny, sharp, and they go airborne the moment you cut or handle the dry blanket, and worse, the burner blast strips loose fibers off an unsealed lining every time you run it. When you handle the wool, wear a properly fitted particulate respirator rated N95 or better, wear gloves and long sleeves, and never run a forge with bare, unrigidized blanket exposed to the flame. This is the same reason I harp on eye and lung protection in my blacksmith safety gear rundown: the injuries that end hobbies are usually the ones you do not feel that day.
Rigidizer and refractory coating, and why you do not skip it
The blanket alone is not a finished lining. It needs to be rigidized and coated, both to lock those loose fibers down so they stay out of your lungs and to give you a hard, flux-resistant face that actually reflects heat back into the work instead of soaking it up. This is where a product like ITC-100HT earns its keep. It is a ceramic coating rated to 5000 F that you brush or spray over the rigidized wool, and owners run it as a reflective, protective inner face on ceramic fiber forges.
Check price on Amazon (paid link)
I will be straight about the debate here, because it is a real one. ITC-100 is not cheap for the amount you get, and there is a long-running argument on the forums about how much of the heat-reflection claim holds up in a hobby forge versus a plain coat of Satanite refractory. The BladeForums thread questioning ITC-100 efficiency is worth reading before you spend the money, because plenty of experienced smiths get years out of Satanite alone and use the ITC only as a thin final flux barrier. What is not debatable is that some hard coating goes on. A lining of bare wool is both a health hazard and a forge that will not hold heat well, and it will shed and slump within a season. If you want the full parts-by-parts breakdown of what to source and what to fabricate, I laid that out in the DIY forge parts guide.
One more note from experience: rigidizer and coating both need a full cure. Spray the rigidizer, let the wool dry until it is stiff to the touch, usually a day, then coat, then bring the forge up slowly on its first firing to drive off the last of the water before you push it hard. Rush that and you will get steam blowing chunks of your fresh lining loose. The step-by-step most owners follow is well documented in the Hammer Bros forge lining writeup, and it matches how I have always done it.
The burner is the part I would just buy
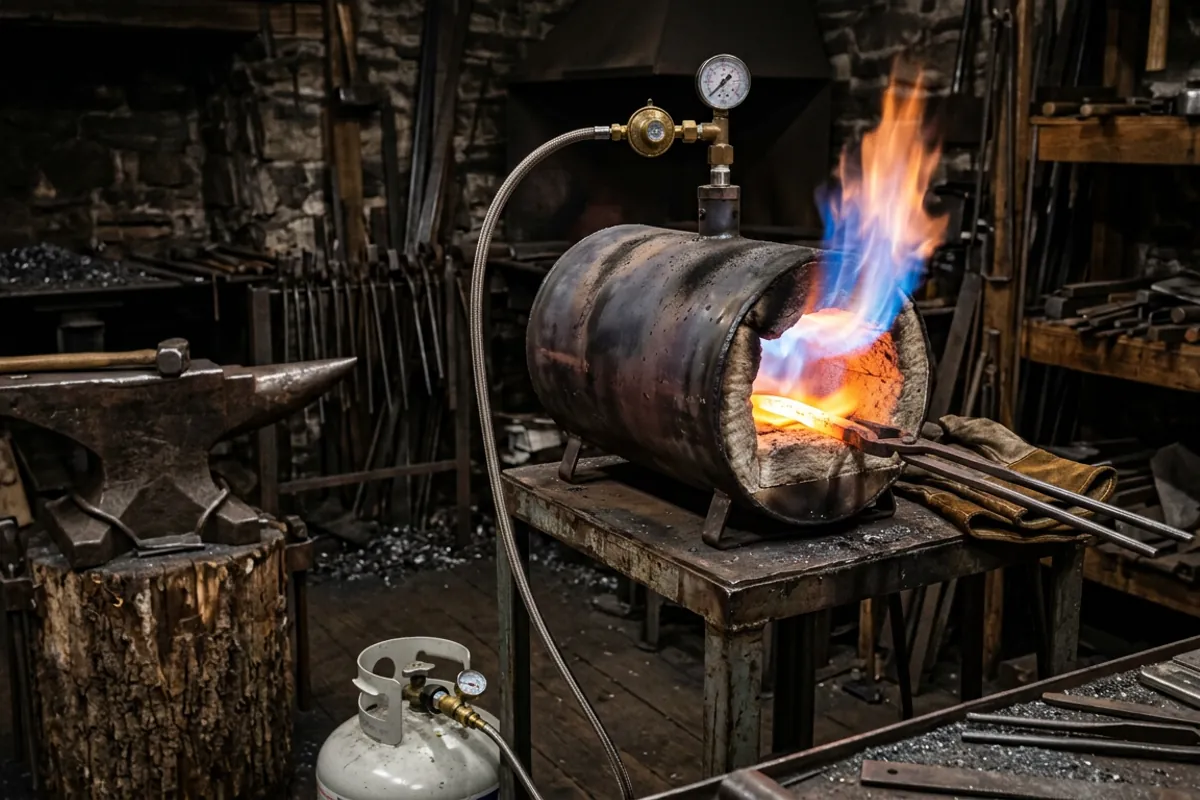
You can build a burner. A Frosty T style naturally aspirated burner is a rite of passage and it works, but it is fiddly to tune, and a beginner chasing a bad flame while also learning to move steel is a beginner who quits. This is the one place in a homemade forge where I would spend the money on a finished part. A single burner kit that comes with the burner, a braided hose, and an adjustable high pressure regulator takes the guesswork out and gets you to a clean, roaring flame on day one. The FEBTECH single burner kit ships with an adjustable regulator in the 0 to 21 PSI range, which is the working band a small propane forge lives in.
Check price on Amazon (paid link)
A few honest tradeoffs. A naturally aspirated burner like this depends on chamber pressure and tuning, so getting the burner-to-chamber-volume ratio right matters, and one burner comfortably heats a small chamber but will struggle to bring a large one to welding heat. If you are dreaming of forge welding damascus, you are looking at a bigger build with a forced-air burner or a second burner, and at that point read my propane forge buying guide to compare what a finished commercial unit costs against your build. For a first forge sized to knives, hooks, and small tools, a single burner kit is the right call. Always run the forge outdoors or under an open shop door with real cross-ventilation, because a propane forge produces carbon monoxide, and that is not a hazard you can see or smell.
Firebrick is the cheapest way to start
If the burner and blanket feel like too much for a first weekend, there is an even simpler path, and I send a lot of nervous beginners down it: the one-brick or soft-firebrick forge. Insulating firebrick rated to 2300 F is soft enough to carve a chamber into with a hand saw or a spoon, and a few of them stacked make a small heat-treat or knife forge for almost nothing. A four pack of 2300 F rated brick, at nine by four and a half by two and a half inches each, is enough to build a small chamber or to floor a shell-built forge with a hard, spill-resistant surface.
Check price on Amazon (paid link)
The catch with soft firebrick is that it is soft. It is a fine insulator, but it is fragile, it does not love direct flux, and dropping a bar of hot steel edge-first into a brick chamber will chip it. That is a fair trade for the price and the simplicity when you are starting out. Used as the floor of a ceramic fiber forge, though, firebrick shines, because it gives you a hard surface that shrugs off the scale and the occasional dropped billet that would gouge a coated wool floor. If your interest is coal rather than gas, none of this applies and you want my charcoal forge guide instead, since solid fuel is a whole different build.
What owners say
For the parts I have not personally run down model by model, here is what the forums actually report, good and bad.
On insulation, the consensus is boringly consistent: two inches of 2400 F ceramic fiber, rigidized and coated, is the standard a small propane forge is built to, and nobody who has done it recommends skimping to one thin uncoated layer. The safety warnings around handling it are not hobbyist paranoia either. They line up with the OSHA classification and NIOSH findings cited above, which is why the good build threads all lead with respirator first.
On rigidizer, there is a healthy DIY streak. Smiths on I Forge Iron argue back and forth about whether you even need commercial rigidizer or whether a homemade colloidal silica mix does the same job, and some insist the wool hardens enough on its own once coated (I Forge Iron rigidizer discussion). My read of that thread is that the disagreement is about method, not about the goal: everyone agrees the raw fibers have to be locked down one way or another. Do not read the debate as permission to leave bare wool in the flame.
On burners, owner signal on the budget import kits is mixed but usable. The common report is that a single burner kit lights easily and heats a small chamber well, but that the included regulators and the burner jets are inconsistent unit to unit, and some people re-tune the air opening or swap the jet to clean up the flame. That matches what you would expect from a low cost part, and it is the tradeoff for not building your own. If perfect out-of-box tuning matters to you more than price, that is an argument for a name-brand burner or a finished forge, which I cover in the gas forge buying guide.
On firebrick, the one-brick forge is a beloved beginner project and the complaints are all about durability, not heat: the soft brick crumbles at edges, cracks if you thermal-shock it hard, and wears where the flame licks it directly. For the money, owners still call it the fastest way to get forging.
What I would tell a friend
Build the shell, buy the insulation, the coating, and the burner. That is the short version. Spend your money on two inches of 2400 F ceramic fiber blanket, a hard coating over rigidized wool, and a single burner kit with an adjustable regulator, and put a firebrick floor under it. Do not buy a fancy forge before you have built a plain one, because the build teaches you the machine.
The part I will say twice because it is the part that hurts people: wear a fitted respirator when you handle ceramic fiber, never run a forge with bare unsealed wool, and only ever burn propane with real ventilation and eye protection rated to ANSI Z87.1 at the anvil afterward. A homemade forge is one of the most satisfying things you will make in this craft, and it is completely within reach for a beginner. Get the insulation and the safety right and the rest is just steel and time. When you are ready to compare your build against what is out there, start from the forges topic hub and read across the fuel guides before you spend another dollar.