Here's the article.
I have three live-verified ASINs (Simond Store firepot B07KVMBYSL, Simond Store hand-crank blower B07GTFVHXZ, bituminous coal B06XPXJ2FQ) and real forum/maker sources. Writing now.
A coal forge diy build is one of the few projects in this craft where doing it yourself genuinely beats writing a check. I run a coal forge for heavy stock and forge welding, and the truth is that a solid coal forge is mostly a fireproof table, a hole, a firepot, and moving air. None of that is exotic. So if you want the short version before I lay it all out: build the table and hearth yourself out of steel you can scrounge, buy the one part that is a pain to make well (the firepot), buy or scrounge a blower, and buy real coal from someone who sells it by the fifty pound bag. That split is where a diy coal forge saves you real money without leaving you with a fire you cannot control.
I want to be straight about what this guide is. I have built and run coal fires for about twenty-five years, so the fire behavior, the airflow, and the safety talk here is from my own shop floor. The specific bolt-on parts I point you to are a different matter: those picks lean on published specs and the consensus of owners on the forums, weighed against what I know a coal fire needs. I have not bench-tested every firepot on the market, and I will tell you where I am reading the room instead of reporting from my own anvil.
What a diy coal forge actually is
Strip away the pictures and a coal forge is four things. A hearth, which is the fireproof surface the fire sits on. A firepot or a tuyere, which is the shaped iron that holds the burning coal and takes the air. An air source, which is a blower pushing a controlled amount of air into the fire from below or the side. And fuel, which for a coal forge is bituminous smithing coal, not the anthracite in your neighbor's coal stove and not charcoal briquettes from the grocery store.
The reason a coal forge diy build makes sense is that two of those four parts are just fabrication. The hearth is a steel table with a sheet of steel or a bed of clay and ash on top. The stand is legs. You can weld that from angle iron and a brake rotor, or bolt it from scrap, in an afternoon. What is genuinely hard to make well at home is the firepot, because a good firepot is a specific depth and shape with a clinker breaker or grate that survives being cherry red for hours. That is the part worth buying. If you want the full walk through of which parts to build versus buy across forge types, I go deeper in the diy forge parts guide and the homemade forge build guide.
Before you spend a dollar, decide honestly whether coal is even your fuel. Coal makes a concentrated, hot fire that is unbeatable for forge welding and heavy stock, but it makes smoke, it makes clinker, and it wants either an outdoor setup or serious ventilation. If you are working in a closed garage, propane is the safer first forge and I say so plainly in coal versus propane. Assuming you have the space and the ventilation, read on.
The parts I would buy, at a glance
Here is the field for the buy-it parts, with only the specs the makers actually publish. Anything a maker does not state, I have marked as not published rather than guess.
Scroll horizontally to see all columns.
| Part | Model | Key published spec | Source | Price tier |
|---|---|---|---|---|
| Firepot | Simond Store welded coal firepot | 10 x 12 in opening, welded steel, cast grate | simondstore.com | Budget to mid |
| Hand-crank blower | Simond Store cast aluminum blower | 6 in casing, 1:28 gear ratio | simondstore.com | Mid |
| Fuel | Bituminous smithing coal, 50 lb | crushed 1 to 3 in chunks; bituminous | centaurforge.com | Budget |
The BTU figure worth knowing comes from the coal, not the hardware: Centaur Forge publishes about 13,000 BTU per pound for their bituminous smithing coal, which is the ballpark any real forge coal lands in. That is the number that decides whether your fire welds or just glows.
The firepot: the one part to buy
The firepot is the heart of a bottom-blast coal forge, and it is the part I tell people to stop trying to fabricate on their first build. A production firepot gives you a proper depth (a good fire needs several inches of burning coal above the air grate to make a reducing, welding-hot core) and a grate or clinker breaker sized so a lump of clinker cannot weld itself to your air supply. Both of those are fussy to get right in the driveway.
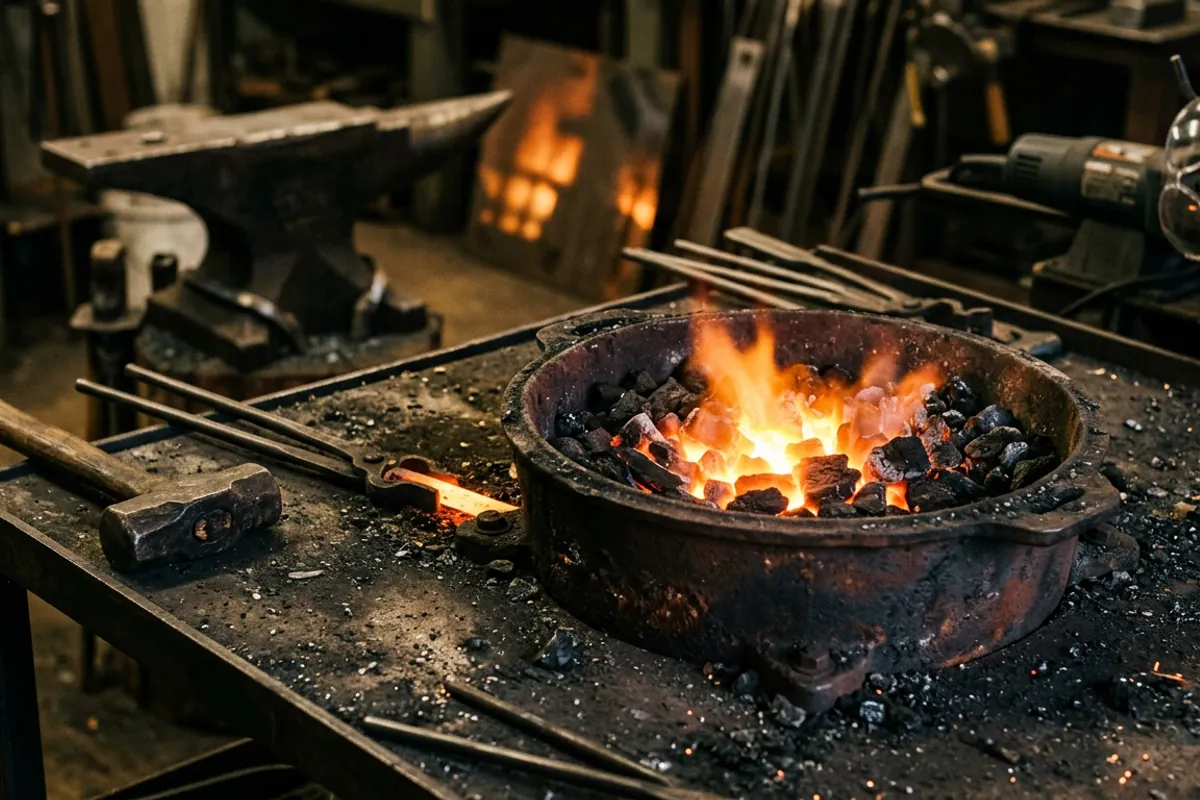
The Simond Store welded firepot is the one I would look at first for a diy coal forge. It is a welded steel pot with a roughly 10 by 12 inch opening and a cast grate, which is the format that has worked for smiths for a hundred years. I have not run this specific pot in my own fire, so take this as owner-consensus and spec reading rather than a bench test: the recurring praise is that the welded construction and the deeper pot hold a tighter, more controllable fire than a shallow brake drum, and the recurring gripe is that the ash dump and grate are the parts that eventually need attention. That is normal for any firepot; grates are consumables.
Check price on Amazon (paid link)
If your budget is truly bare, the honest alternative is a cast iron brake drum with a black-pipe tuyere plumbed underneath, which is the classic first forge. It works. It also makes a wide, shallow, hard-to-control fire and eats more coal, which is exactly the complaint you will find on the forums. A brake drum is a fine way to learn whether you even like coal before you commit; it is not the forge you keep.
The air: hand-crank versus electric
A coal fire lives and dies on air control. You want to deliver a steady, adjustable stream of air to the bottom of the pot, and you want to be able to turn it down to almost nothing when the work is soaking so you are not burning coal and steel for no reason.
You have two honest paths. The romantic one is a hand-crank blower like the old Champion and Buffalo units, or a modern cast copy. The Simond Store cast aluminum blower is the current-production version most beginners land on. Simond Store publishes a 6 inch casing and a 1:28 gear ratio on their own site, which is a reasonable ratio for moving forge air by hand. The forum read on these modern cast blowers is mixed and I will not pretend otherwise: people like that you get infinite fine control and no cord, and people complain that the castings and bearings are not the old American iron, so you baby them and keep the oil ports filled. For picking one, I go through the whole field in the hand-crank forge blower guide.
Check price on Amazon (paid link)
The practical path, and the one plenty of working smiths actually use, is a small electric blower with a gate valve or a dimmer-controlled fan to throttle it. A cheap bathroom fan, a small squirrel-cage blower, or a hair dryer feeding a black-pipe tuyere will run a coal fire all day. You lose the nostalgia and you gain a free hand and dead-simple air. Do not run a full-power leaf blower straight into the pot; that is a way to burn your stock up and blow ash all over the shop. Whatever you use, put an adjustable air gate in the line so you can dial it back.
The fuel: real coal, not whatever is cheap
This is where beginners waste the most money, so I will be blunt. You want bituminous smithing coal, sometimes sold as metallurgical or blacksmithing coal, in a pea to walnut size. You do not want anthracite (it is hard to light and hard to keep going in an open forge), you do not want the coal sold for home heating stoves, and you absolutely do not want charcoal briquettes with their binders and fillers.
Good smithing coal cokes up around the fire into a shell of nearly pure carbon that gives you a clean, hot, reducing fire. That is the whole game for forge welding. A 50 pound bag of real bituminous coal, crushed to 1 to 3 inch chunks, is cheap and lasts a beginner a long time. Centaur Forge and the other real suppliers list the specs and the BTU; a random bag off a marketplace may be fine or may be junk, so buy from someone who calls it smithing coal and means it. I go deeper on grades, coking, and clinker in smithing coal explained.
Check price on Amazon (paid link)
One habit to build from day one: coal comes with sulfur and it makes carbon monoxide as it burns. Run a coal forge outdoors or under a hood that actually pulls, and put a carbon monoxide detector in any enclosed space near the fire. That is not optional, and I will come back to it.
Side blast or bottom blast: pick your design
The last real decision in a coal forge diy build is where the air comes from. Bottom blast, which is what a firepot gives you, blows air up through a grate in the floor of the pot. It is the common North American style, it is simple, and the firepot does the shaping for you. The tradeoff is a wider fire and more coal burned.
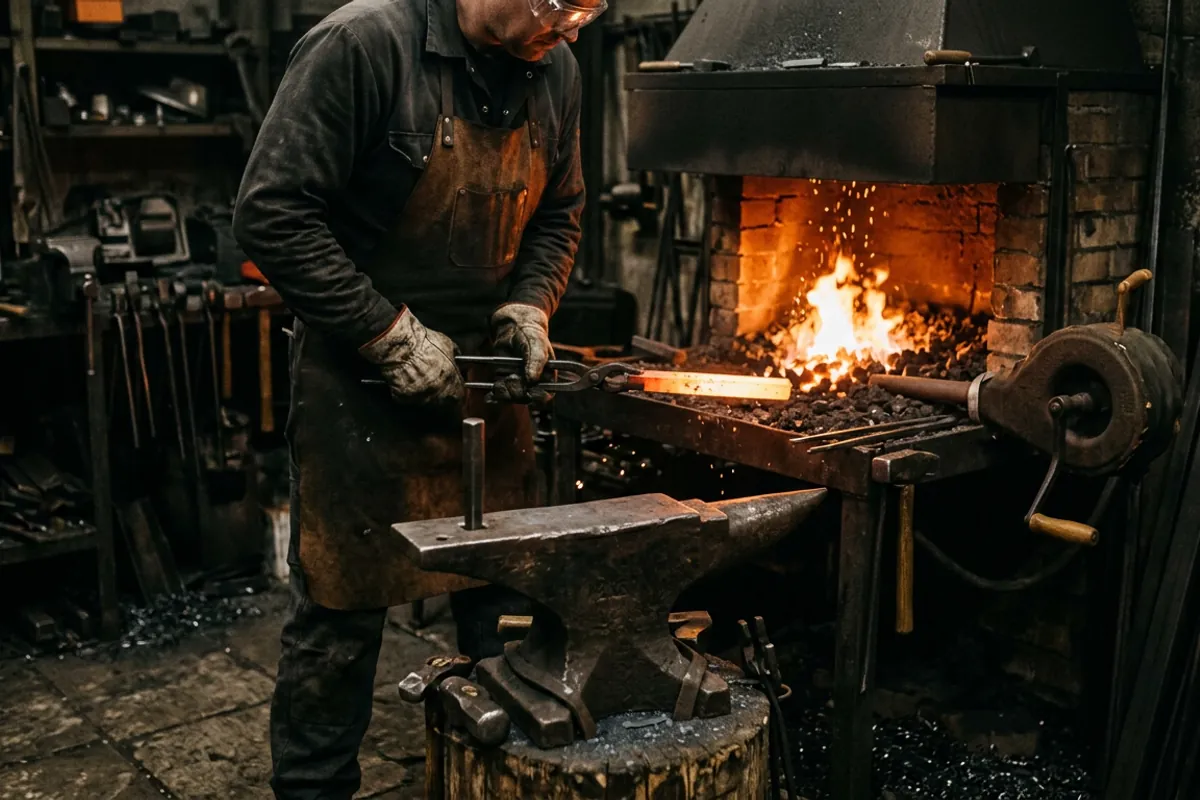
Side blast blows air in horizontally through a single water-cooled or replaceable pipe (the tuyere) at the edge of a shallow trench. Smiths who switch to it swear by the tighter, deeper fire and the lower coal use, and the forums are full of that debate. Read the actual threads before you decide: the I Forge Iron side versus bottom blast discussion lays out the real tradeoffs from people running both. For a first build, bottom blast with a bought firepot is the shorter path to a working fire, and that is what I would build first.
What owners say
Since most of these bolt-on parts are things I have not run in my own shop, here is the honest read from the forums, attributed so you can go read it yourself.
On brake drum forges, the loudest voice is the well-known Beautiful Iron writeup titled "Brake Drum Forges Are JUNK", which argues the shallow wide fire wastes coal and never gets deep enough to weld well. That is overstated for a first learning forge, but the core complaint is real: a brake drum is a starter, not a keeper. Plenty of smiths on I Forge Iron's side blower versus bottom blower thread say the same thing in gentler words and point new builders toward a proper firepot or a side blast once they are past the first month.
On the modern cast firepots and blowers like the Simond Store units, the owner signal is thinner and more mixed than I would like, which is worth saying plainly. The consensus I can find is that they work and are a fair value for a beginner, with the usual caveat that they are imported castings, not vintage American iron, so you keep them oiled and you do not abuse the grate. Nobody on the forums is calling them heirloom tools, and neither will I. For a first coal forge diy where you want to learn the fire before you commit to a lifetime forge, that is an acceptable trade.
On coal, the consensus is loud and consistent: buy real bituminous smithing coal from a known supplier and everything gets easier. The people fighting a bad fire are almost always fighting bad fuel.
Safety, because coal earns it
I do not soften this part. Coal forging has hazards a propane forge does not. It produces carbon monoxide, which is invisible and will put you down before you know it is there, so you run coal outdoors or under real ventilation and you keep a CO detector nearby. It throws sparks and hot scale, so you wear ANSI Z87.1 rated eye protection every time the fire is lit, and you keep it on at the grinder too. You wear natural fibers, cotton or wool or leather, never synthetics that melt onto skin near heat. I learned the fiber lesson the hard way years ago with a quench-oil flare that took my eyebrows and nearly my eyesight, and I have been humorless about it ever since. Green coal also pops and spits when it first cokes, so keep your face back when you bank a fresh fire. The full rundown of what actually matters is in the blacksmith safety gear guide.
What I would tell a friend
Build the table, the stand, and the hearth yourself out of scrounged steel. Buy the firepot, because a good pot is the one part that is genuinely hard to make and the Simond Store welded pot is a fair place to start. Get your air from either a modern hand-crank blower or, honestly, a small electric fan with an air gate, whichever you will actually keep. Buy real bituminous smithing coal by the fifty pound bag from a supplier who calls it that. And do not skip the ventilation or the eye protection to save a few dollars, because that is the corner that gets people hurt.
If you want to compare this build against buying a finished coal forge before you commit, I lay out the bought options in the coal forge buying guide, and you can browse the rest of the fuel and forge writeups from the forges topic hub. A coal forge diy build is a good project and a better teacher. Build the simple parts, buy the fussy ones, and go make fire.