Most people who ask me how to forge weld are really asking about the hammering, and the hammering is the smallest part of it. A forge weld is two pieces of steel brought to a heat where their surfaces will join without melting the way an arc weld melts, then set together with blows that are firm enough to close the joint and gentle enough not to blow it apart. Nearly every failed weld I have watched a beginner make was lost before the hammer ever came down: a dirty fire, a scarf that trapped dirt, flux put on at the wrong time, or steel pulled a shade too cold. Get the fire and the preparation right and the hammer work is almost anticlimactic. I do most of my welding in the coal forge, which is what this guide is written from, and I lean on two written sources smiths have trusted for years: the ABANA Controlled Hand Forging series that ran in the Hammer's Blow between 2000 and 2010, specifically the "Forge Welding" lesson by Dan Nauman, and the anvilfire iForge demonstrations by Jock Dempsey, one of them done with Frank Turley. If you are still building your first shop, the getting started hub covers the tools that come before this one.
What forge welding actually is
Solid steel at welding heat is not liquid, but its surface is close enough to plastic that two clean surfaces pressed together will share crystal structure and become one bar. That is the whole trick. The enemy is anything sitting between those two surfaces: scale, dirt, ash, clinker, cold spots. Everything in this article exists to get contaminants out of the joint and keep new ones from forming while you carry the steel from fire to anvil.
This also explains why forge welding has the reputation it does. It is not that the motion is hard. It is that the process is unforgiving of small sloppiness in four places at once, and a beginner is usually sloppy in all four. I have a short section on why this skill sits where it does in a smith's development over in what blacksmith working actually is; this article is the lesson that section points at.
The other thing worth saying up front: your first several welds will fail. Mine did. That is normal and it is not a sign you bought the wrong anvil.
The fire comes first
Nauman is blunt about the fire, and he is right. A clean fire is free of clinker in the firepot and has no fresh coal burning in the center of the fire. Fresh green coal in the middle of your welding fire is putting sulfur and volatiles right where your joint is going to sit. You bank the green coal around the outside, let it coke off, and rake coke into the center.
Depth matters as much as cleanliness. You want the work heating under a good two or so inches of coke, not sitting in the top of the fire where air is still hitting it. Steel in the oxidizing top of a fire makes scale faster than flux can deal with it. Buried under coke, in the reducing part of the fire, it comes up clean.
Clinker is the other job. Clinker is fused ash and mineral junk, it does not burn, and it blocks air and sticks to your work. Before a welding session I break the fire down, pull the clinker out of the firepot, and rebuild. If you are still learning what a good welding coal behaves like, I wrote that up separately in blacksmith coal explained, and the reason smiths care so much about coked fuel is covered in the forge coke guide.
Propane welds too. Plenty of smiths do all their damascus in a gas forge, and I run a propane forge for most of my day to day work. I do my welding in coal because a coal fire lets me put heat exactly where the joint is and bury it under coke, and because that is what I learned on. Do not let anyone tell you gas cannot weld.
Cutting a scarf that will actually weld
A scarf is the shaped end that lets two bars meet with a small area of contact first, so the joint closes from the middle outward and pushes flux and slag out the sides instead of trapping it.
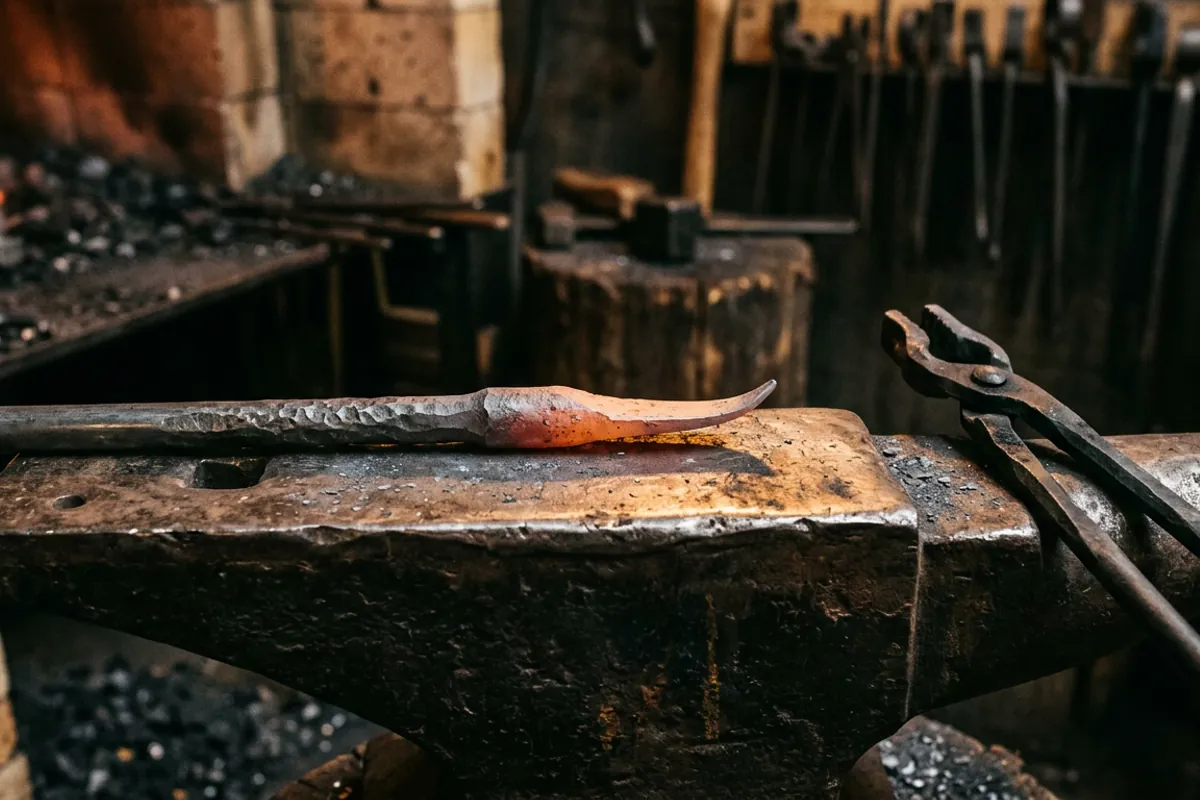
Nauman's version for a lap weld in 1/2 inch square bar goes like this. Upset the last 1" of the bar so that it measures at least 9/16" square. That extra material is what pays for the steel you are about to lose to scale and to the hammer. Then use half face blows over the far edge of the anvil to reduce the cross section to about 1/2 the thickness of the material, in this case to 5/16". Then forge a slight curve at the end of the scarf.
That last step is the one beginners skip, and it is the one that matters most. The anvil acts as a heat sink. A thin scarf tip laid flat on cold anvil face is losing heat every second it sits there. The curve keeps the thin edge of the scarf off the anvil before the first blow, so the tip is still at welding heat when the hammer arrives.
The anvilfire material adds a detail worth having: in the Part II demonstration with Frank Turley, a scarf with two convex surfaces was determined to prevent slag and flux inclusions. Two slightly domed faces touch in the center first and squeeze outward. Two flat faces trap whatever is in the middle. Think of it as closing the joint from the inside out.
Flux, and what it is actually doing
Flux is not glue and it is not a bonding agent. Nauman puts it plainly: it lowers the melting temperature of scale, and prevents more scale from forming while heating in the fire. That is the entire job. It does not make steel stick. It makes the film of iron oxide on your steel go liquid and thin enough to squirt out of the joint when the hammer lands, and it puts a barrier between hot steel and the oxygen in the fire.
Timing: flux is applied to the bars at an orange heat. Too cold and it sits there as powder and falls off. Too hot and you are fluxing steel that has already made the scale you were trying to prevent. Pull the work at orange, dust or dip the scarfed area, and put it straight back in the fire.
Understanding that flux is a scale solvent rather than an adhesive changes how you troubleshoot. If your welds are failing, more flux is almost never the answer. A cleaner fire, a better scarf, and a hotter, more even heat usually are. Which flux to buy, whether the box from the laundry aisle is the same thing, and the handling precautions are all covered in the forge welding flux guide, and I am deliberately not repeating that material here.
Reading the forge welding heat
This is where the numbers stop being useful and color takes over. Nauman's guidance is that the color of the bars should be yellow to yellow/white when removed from the fire. Dempsey describes the welding heat as the color of melted butter, which is the best description of that shade I have read. Once you have seen it, you will not confuse it with a merely bright yellow.
There is one important exception. Nauman notes that when welding high carbon steel to mild steel, a lower heat of orange/yellow should be the highest heat applied, so as not to burn the carbon out of the carbon steel. Dempsey states the principle behind it: as the carbon content increases, the forge welding temperature decreases. Higher carbon steel welds cooler and burns easier, and if you take a high carbon bar to the same heat that mild steel likes, you can ruin it.
Do not use sparks as your signal. This one has spread widely and it costs people welds. Nauman: some smiths wait to see just a few sparks coming from the fire, indicating the piece is just starting to burn, but this is not necessary and can lead to burning the tips off of the scarves. Dempsey points out that mild steel at welding heat shows a few sparks or none at all, so on plain mild stock you may be waiting for a signal that never comes while the work cooks.
The test I actually use is Nauman's: gently touch the pieces together in the fire. If they want to stick, almost like a magnet, they are probably ready to weld. That tactile check is worth more than any color chart, because it is the steel itself telling you.
The first blow, and the ones after it
Everything hinges on the first blow, and beginners hit it too hard. Dempsey: the first blow should be firm but not full force. A full force first blow often blows all the flux and the molten surface out of the joint, resulting in a failed weld. You are setting the joint, not drawing the bar out.
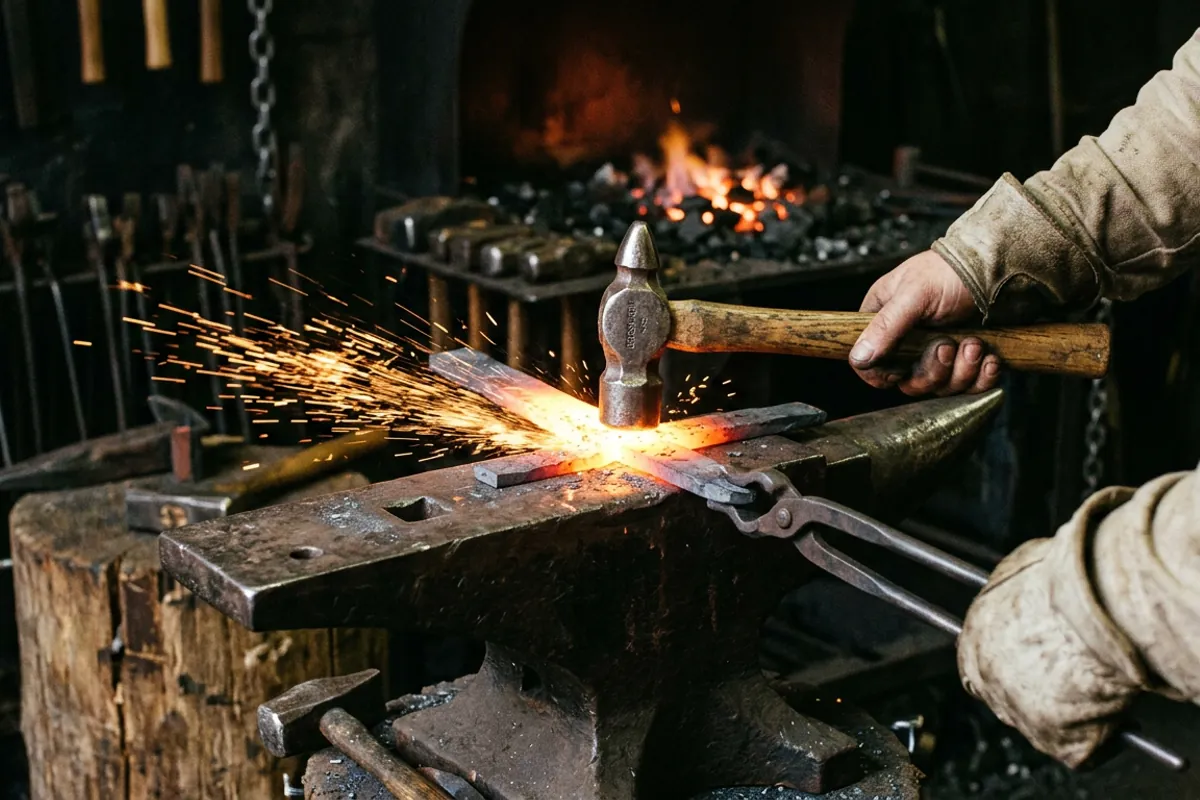
Then you work fast, because the heat is leaving. Nauman's sequence: strike firmly in the center of the joint, and forge the entire joint rapidly with six or seven blows. Make sure you forge the thin tip of the scarf, as it will cool rapidly. Flip the work 180 degrees and give it another six or seven, then turn it 90 degrees and give it five or six more. Never forge colder than a medium orange heat. When it drops below that, stop, flux again if the joint needs it, and go back to the fire.
Direction matters too. The anvilfire demonstration has you direct blows toward the middle of the weld first, which is the same logic as the convex scarf: close the center, then push outward and drive the flux and slag out of the joint rather than sealing it in.
Hammer choice surprises people. Nauman notes a lighter hammer of 1 1/2 to 2 pounds may work better than a larger hammer. Welding rewards speed and accuracy, not mass. My heavy hammer stays on the stand for this work.
The faggot weld, and why I start people there
If you have never made a weld stick, do not start with a lap weld. Start with a faggot weld. Nauman describes it as a simple, crude weld which has no end preparation, meaning no scarves at all. You bend a bar back on itself and weld the doubled end.
His practice piece is a good one: bend a 3/16" x 3/4" piece in half and weld the last 3/4" of the end of the bars together. Because there is no scarf to forge, the whole exercise is about fire, flux, heat, and blows, which is exactly the part you need to learn. When you make one stick you can cut it, break the joint open in the vise, and see for yourself whether the middle of the weld is clean steel or a gray unwelded patch.
One warning that comes with it. Nauman says to be extra careful when performing this type of weld, because the larger surface area causes more molten flux and sparks to fly from the joint. A faggot weld is the loudest, sparkiest weld a beginner will make, and it is the one most likely to throw hot flux at whoever is standing across from you.
What welding heat can do to you and your shop
I am not going to soften this. Welding heat throws molten flux, and molten flux sticks to skin and burns until it stops. Nauman's rule is the right one and it is not negotiable: you and anyone else present should be wearing eye protection with side shields at all times. Side shields matter here specifically because the spray comes off the joint sideways, not just toward your face. Buy safety glasses rated to ANSI Z87.1 and keep a spare pair by the door for visitors, because the person watching you weld is standing exactly where the flux goes.
Dress for it. Natural fibers only near this kind of heat. A synthetic shirt will melt into a burn instead of shedding a spark, and that turns a minor injury into a serious one.
Then look at your floor. Nauman lists what those sparks will ignite: shop rags, charcoal, dry wood. Before a welding session I clear the area around the anvil and the fire, because a spark that lands in a pile of rags smolders quietly for a while and then is a shop fire. Have a way to put a fire out that you can reach without crossing the room.
When a weld fails, and what it is telling you
A weld that opens back up is diagnostic information, not just a wasted heat. The usual causes, in the order I check them: the fire had clinker or green coal in the middle, the work was not deep enough under the coke, the heat was short of welding heat, the first blow was too hard, or the joint was hammered after it dropped below a medium orange.
There is a second failure mode that looks like success. A weld can hold together and still be mostly unjoined in the center, especially with flat mating faces that trapped flux. That is why the convex scarf guidance exists, and it is why I break practice welds open rather than trusting how they look from outside.
And there is burning, which is not recoverable. Steel held too long above welding heat, especially higher carbon steel, comes out crumbly and shedding sparks, and no amount of hammering fixes it. Cut it off and start again.
Where forge welding leads
Once welds stick reliably, the door opens to pattern welded work, which is nothing more than a lot of forge welds done in a row without ruining any of them. What that actually buys you in performance terms is worth reading honestly, and I covered it in pattern welded steel explained, along with why the nickel bearing bar in a billet behaves the way it does in what 15N20 steel actually is.
Billet welding is also where actual measured temperatures start to matter, because you are stacking and rewelding the same steel many times. Knife Steel Nerds is the source I send people to for that, and their numbers are the only ones I will print here: it is quite common for damascus smiths to use very high forge welding temperatures such as 2300 and 2350 F, which is 1260 to 1290 C, while for very high carbon steels a reduced temperature is likely necessary, such as 2150 to 2200 F, or 1175 to 1205 C, because the grain boundaries melt first. Note which way that runs. The hotter figure is for the 1084 and 15N20 class of billet, and the reduced figure is for very high carbon steel that will fall apart if you take it up there. It is the same principle Dempsey states in colors, expressed in a number.
For plain welding practice, though, stay off the thermometer. Build a clean fire, bank it deep with coke, upset and scarf your ends with a slight curve, flux at orange, take it to the color of melted butter, touch the pieces together to see if they want to stick, and then set the joint with one firm blow and six or seven fast ones behind it. That sequence is the whole skill, and the only thing between you and owning it is a stack of ruined practice bar.