Buy the hammer, the tongs, and the eye protection first, and buy them once. If you are starting from nothing, the smithing supplies that actually change your first year are a 2 lb cross peen you can swing all afternoon, one pair of tongs that fits the stock you own, and ANSI Z87.1 safety glasses on your face every single heat. Everything else on the usual shopping list can wait, be scrounged, or be made at the forge once you can move hot steel. I have been at this about twenty-five years, started on a length of railroad track clamped to a stump, and the pattern I see in every beginner shop is the same: money goes to the shiny stuff and the boring supplies get skipped.
One honest note before the list. Bessie, my 148 lb Trenton, and my two forges are mine and I will talk about them from experience. The specific products below are not bench tests. They are published specs and owner reports from the forums, weighed against what I know about how this gear gets used. Where the owner signal is thin, I say so.
What actually belongs on a first supply list
A supply list is not a wish list. Sort it into three piles and the spending gets easy.
Buy new, buy once: hammer, tongs, eye protection, gloves. These are the tools your hands and your face touch. A bad hammer gives you a sore elbow and a bad habit. Bad eye protection gives you an eye injury.
Buy used or build: anvil, forge, vise, stand. These are heavy, simple, and hold value. A used post vise from a farm auction beats a new import at the same money almost every time. My coal forge started as a firepot and a welded table, not a catalog purchase.
Consumables that quietly run the shop: mild steel stock, coal or propane, wire brush, flux if you weld, files, sandpaper, a quench container that will not tip. Nobody budgets for these and everybody runs out mid project.
If you want the longer argument for that split, I laid it out in the short list that actually matters. This guide is about what to actually put in a cart.
The supply list at a glance
Published specs only. Where a maker does not state a figure, it says so.
Scroll horizontally to see all columns.
| Supply | Published spec | Source | Price tier |
|---|---|---|---|
| Vaughan S32 blacksmith hammer (VN17030) | 2 lb head, 14.5 in hickory handle, forged high carbon steel | Marshalltown/Vaughan product page | Mid |
| Simond Store tong set, 4 pieces | 16 in overall, wolf, flat, round and mandrel jaws | Simond Store listing | Mid |
| 3M SecureFit 400 safety eyewear | Meets high impact requirements of ANSI Z87.1-2020, under 1 oz | 3M SecureFit 400 Series | Budget |
| RAPICCA 16 in forge and welding gloves | Rated to 932 F (500 C), 16 in length | RAPICCA leather welding gloves | Budget |
| VEVOR single horn anvil, 66 lb | Cast steel, single horn, hardy and pritchel holes | VEVOR feed listing | Budget |
| Simond Store coal forge kit | Welded firepot, 10 x 12 in | Simond Store listing | Mid |
Hardness is the number I would most like in that table and the one nobody publishes honestly at the budget end. Treat any anvil sold without a stated face hardness as an unknown until you bounce a ball bearing on it.
The hammer: one good one beats a rack of bad ones
The hammer is where I would spend first, because it is the tool you hold for every minute of every session and the one that will wreck your elbow if it is wrong.
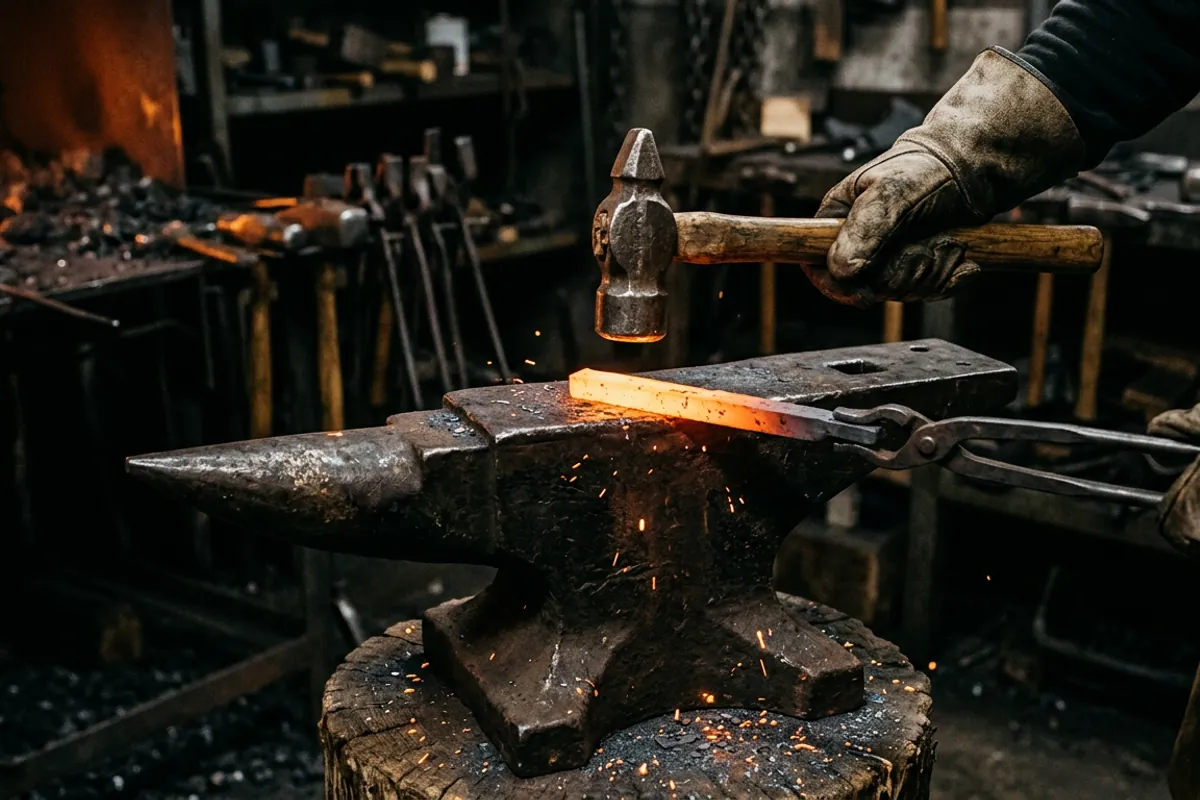
Weight first. Most adults starting out are best served somewhere around 2 to 2.5 pounds. Heavier feels productive for about ten minutes and then your technique falls apart, and bad technique is how people end up with tendon trouble. I still reach for a 2 lb hammer for most of a day's work and let the forge do the softening rather than my shoulder.
The Vaughan S32, model VN17030, is the one I would point a beginner at. Vaughan publishes it as a 2 lb head on a 14.5 inch American hickory handle, forged high carbon steel, with the pein ends beveled to reduce chipping, per the Vaughan blacksmith hammer page. That is a plain, honest hardware store hammer, and plain and honest is exactly what you want. The face is a little flatter and the edges a little sharper than a purpose made forging hammer, which is fine: dressing the face and radiusing the edges with a file and sandpaper is a first month job that teaches you what a hammer face does to hot steel.
Check price on Amazon (paid link)
What I would skip: two packs of no name cross peins. The heads are often soft, the eyes are often loose, and a head that comes off mid swing is not a theoretical hazard. If a hammer costs less than a pizza, assume the handle fit is the corner that got cut. More on picking and dressing a first hammer in the blacksmith hammer guide.
Tongs: the supply everyone underbuys
New smiths buy one pair of tongs, discover they do not fit anything, and then fight the work for a year. Tongs are stock specific. A pair that grips half inch round will not hold quarter inch flat, and a poor grip means hot steel on the floor or on your boot.
Two sane approaches. The first is to buy a small set covering the common jaw shapes so you can actually start, then forge your own as you learn. The Simond Store four piece set is listed at 16 inches with wolf jaw, flat jaw, round jaw and mandrel jaw, which covers most of what a beginner touches. The second approach is to buy one pair sized to the stock you actually own, usually flat jaw or wolf jaw for half inch square and round, and make the rest.
Check price on Amazon (paid link)
Either way, plan on fitting them. Import tongs typically arrive with jaws that do not close parallel. Heat the jaws, clamp a piece of your working stock in them, and tap the jaws to the stock. That is a twenty minute job that turns mediocre tongs into usable ones. Nobody sells you tongs that fit your steel out of the box, whatever the price.
The safety point, and it is not a soft one: tongs that slip are the most common way a beginner drops glowing steel. Test the grip cold before every heat. If the piece can be twisted in the jaws by hand, it will come out of the jaws under a hammer blow.
An anvil, or something that acts like one
An anvil is the supply people obsess over and the one I would rush the least. What you need is mass under the hammer, a hard flat face, and something that will not walk across the shop. A chunk of 4 to 6 inch round or square steel stood on end, buried in a stump, will outwork a light cast anvil for a beginner's first projects.
If you are buying, the honest hierarchy is: a good used forged anvil beats a new cast steel anvil, which beats cast iron, which is not an anvil at all. Cast iron sold as an anvil deadens the blow and eats your work. Bounce a ball bearing on any candidate face: a lively rebound means the hard face is doing its job, a dead thud means you are hammering into a shock absorber.
At the budget end, a cast steel single horn anvil around 66 pounds is a real starting point for small work, and one of the ones I see recommended most often for people who cannot find a used anvil locally.

Sixty six pounds is light. It will move stock up to about half inch comfortably and will complain about anything heavier, and it wants to be bolted or strapped to a solid stand so it does not skate. If you want the full sizing argument, I wrote it out in what size anvil do you actually need, and the used buying checklist lives in how to buy an anvil without wasting your money.
Fire: forge supplies and fuel
This is the branch that changes what everything else on your list looks like. Propane means a tank, a regulator and hose, and consistent even heat with almost no fuss. Coal means a firepot, an air supply, a fire rake, and a bucket of fuel you have to source locally or pay to ship.
I run both. My propane forge does the day to day work because it lights in a minute and holds temperature without babysitting. My coal forge earns its keep on heavy stock and forge welding, where I can build the fire around the work and get a small localized heat that a propane chamber simply cannot give me.
If coal is your direction, a welded firepot kit is a reasonable starting supply. The Simond Store coal forge is listed with a 10 x 12 inch welded firepot, which is a workable size for a home shop firepot. You still need a blower, a table or stand, and fuel.
Check price on Amazon (paid link)
Two safety items that are not optional with solid fuel. Coal fires make carbon monoxide, so a coal forge belongs outdoors or under a real hood with a chimney that draws, and a CO alarm in any enclosed shop is cheap insurance. And coal quality matters more than the forge does: the wrong fuel makes clinker, smoke, and misery. I covered fuel sourcing in the coal forge coal guide, and the whole fuel decision in coal or propane.
Safety supplies, and why I will not soften this
Early on I quenched a blade in oil that was too cold, standing too close, in a cotton shirt with no face shield. The oil flared and took my eyebrows. I kept my eyesight by luck, not by judgment. Everything I say about protective gear comes from that.
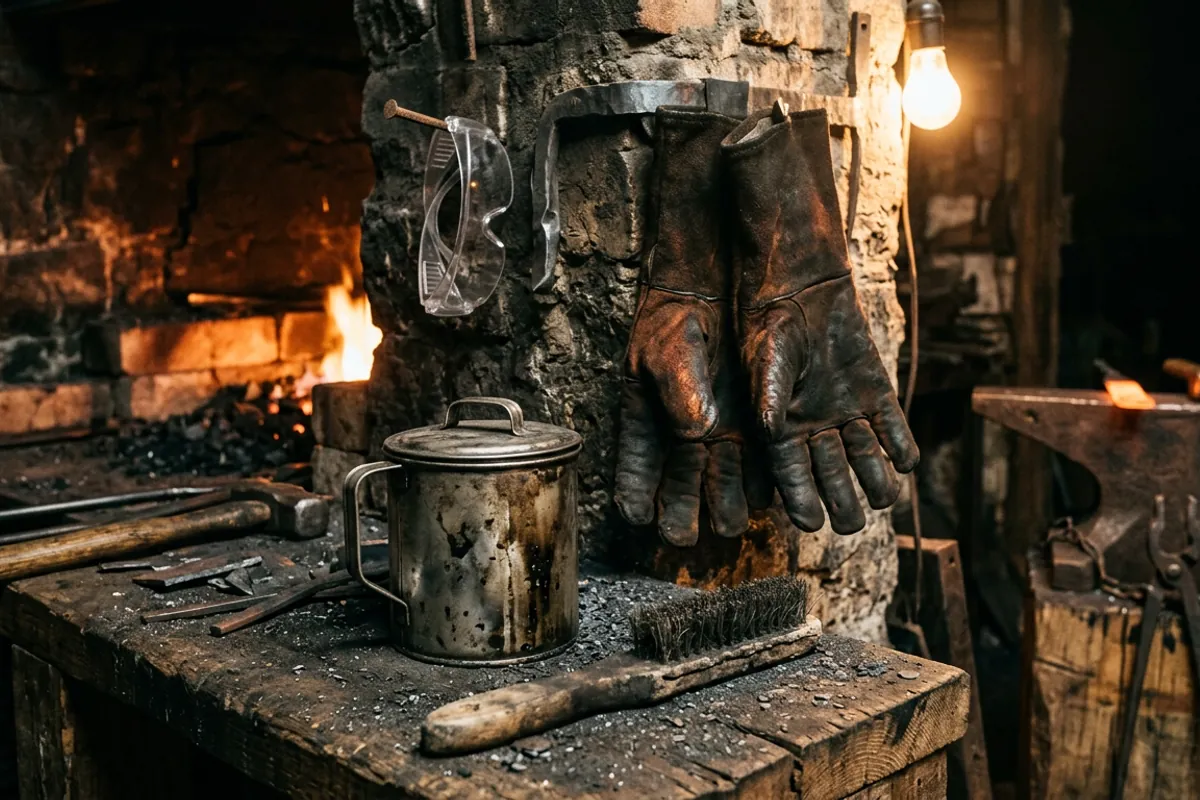
Eye protection. Buy glasses that carry the ANSI Z87.1 mark and wear them for every heat, not just at the grinder. 3M publishes the SecureFit 400 series as meeting the high impact requirements of ANSI Z87.1-2020, and they weigh under an ounce, which matters because the pair you actually wear is the pair that protects you. Scale flies off hot steel at speed and it comes off sideways as often as straight up.
Check price on Amazon (paid link)
Gloves, with a caveat. A leather glove on the tong hand is sensible. Gloves on both hands are a beginner mistake: you lose the feel of the hammer and you are slower to drop something you should drop. The RAPICCA 16 inch gloves are rated by the maker to 932 F (500 C) and run 16 inches to cover the forearm, per RAPICCA's own product pages. Understand what that rating means and does not mean: it is a contact and radiant heat rating for short exposure, not a license to grab glowing steel. Nothing you can buy makes a glove safe to hold forging heat in.
Check price on Amazon (paid link)
Clothing. Natural fibers only near the forge. Cotton, wool, leather. Synthetics melt into skin instead of burning away, and that turns a small burn into a hospital visit. Boots, not sneakers. Long sleeves, no cuffs turned up to catch scale.
Hearing and lungs. Hammering on an anvil is loud enough over years to matter, and grinding puts metal dust in your air. Muffs and a decent respirator at the grinder are cheap next to what they protect. The full breakdown is in blacksmith safety gear: what matters and what to skip.
The boring supplies that keep the shop running
Nobody photographs these and every shop runs on them.
Steel stock. Start with mild steel, usually A36 hot rolled, in half inch and three eighths square and round. It is cheap, it forges easily, and you will burn a lot of it learning. Buy it locally by the twenty foot stick from a steel supplier rather than by the foot online, because shipping long bar costs more than the bar. Save the tool steel until you can hit what you aim at. If you are choosing steel for a project, the steel selector will get you pointed the right way.
Wire brush. A long handled brush for knocking scale off the work before it gets hammered into the surface. Buy two, they wear out.
A quench container. A steel can, not plastic, deep enough that the whole piece submerges, sitting on a surface that will not burn, with a lid nearby. If you are quenching in oil, the oil must be warm, and you stand back with a face shield on. That is the mistake I made.
Files and abrasives. A good mill file, a card to clean it, and a range of sandpaper. Most of the finished look of a piece comes off the file, not the hammer.
Marking and measuring. Soapstone, a steel rule, a square, calipers if you get fussy. Soapstone survives heat where a marker does not.
For heat treat questions, particularly hardening and tempering temperatures for a specific steel, send yourself to real testing rather than shop lore. Knife Steel Nerds publishes actual metallurgical work, and their numbers are worth more than anything I could estimate by eye color. I wrote up the practical side in tempering of metal, explained from the forge floor.
What owners say
I have not run every product above in my own shop, so here is the forum picture, attributed.
On beginner supply lists generally, the long running I Forge Iron threads 25 most important tools and resources for a beginning blacksmith and what tools are needed for blacksmithing keep landing in the same place: heat source, mass, hammer, tongs, and then get to work. The recurring advice in those threads is that people starting with little or no money to invest do better with scrounged mass and a homemade forge than with a credit card.
On buying supplies online, the I Forge Iron thread best online beginner supplies reflects the same split I would draw: consumables and hand tools ship fine, heavy items are better sourced locally, and steel stock is almost always cheaper from a local supplier than shipped.
On import tongs, the consistent complaint you will find across the forums is fit and finish rather than failure: jaws that do not close parallel, rough edges, and the need to reshape them to the stock. Ask ten smiths about budget tong sets and most will tell you they are a starting point you fix, not a finished tool. That matches what the sets are priced to be.
On budget cast steel anvils, owner signal is genuinely mixed and worth reading with a skeptical eye. The praise is that they work for light stock and are cheaper than any decent used anvil in most regions. The complaints that repeat are soft faces, edges that dent early, and casting quality that varies unit to unit. If you buy one, do the ball bearing rebound test the day it arrives, while returning it is still easy.
On the 3M eyewear and the RAPICCA gloves, the owner base is huge and general purpose rather than blacksmith specific, so treat the reviews as evidence about comfort and durability, not about forge suitability. The specs I quoted come from the makers, and the ANSI Z87.1 mark on the frame is the thing that actually matters.
What I would tell a friend
Buy the hammer, buy the eye protection, buy or fix one pair of tongs, and put the rest of the money into fuel and steel so you can actually forge this month. The Vaughan 2 lb is the hammer I would hand you. Z87.1 rated glasses go on before you light anything. Skip the twelve piece novelty tool kits and skip anything sold as an anvil that is made of cast iron.
The single mistake I see most often is spending the whole budget on the anvil and having nothing left for consumables. Mass under the hammer can be a chunk of scrap steel for your first year. Your eyes cannot be scrap anything.
If you want the wider version of this list with more of the shop context around it, see blacksmithing supplies, and the rest of the reference pieces live in More from the shop.