Here is the article.
Every beginner asks me the same question in about the same words: what smithing tools do I actually need to start? The honest answer is shorter than the internet wants it to be. Heat, an anvil, a hammer, one pair of tongs that fits your stock, eye protection you will actually wear, and a vise. That is the whole starting kit. If you buy those six well, you can forge for years before anything else is a real limit, and most of what people add in the first year is stuff they bought because a video told them to.
A word on how I picked what follows. I have run a coal forge and a propane forge for about twenty five years, and my anvil Bessie, a 148 lb Trenton, is the yardstick I measure other anvils against. But I have not bought and run every product on this page, and I am not going to pretend I did. Where I name a specific model, I am working from published maker specs and owner reports from the forums, weighed against what I know from the floor of my own shop. Where the owner signal is thin or the maker does not publish a number, I say so instead of inventing one.
The short list that gets steel moving
Here is the field at a glance. Only published figures are in this table, each one cited. Where a maker does not publish something, the cell says so.
Scroll horizontally to see all columns.
| Tool | Model I would look at | Published specs | Price tier |
|---|---|---|---|
| Propane forge | Hell's Forge MAX, double burner | Two burners, made in USA. BTU and temperature figures differ between retailer listings and I could not reach a maker page, so treat the output numbers you see as unverified | Mid |
| Anvil, budget | VEVOR single horn, 132 lb | Weight and dimensions render from the VEVOR feed card below | Budget |
| Hammer | Seymour 3 lb cross pein, wood handle | 3 lb head. Seymour Midwest publishes its 3 lb cross pein with a 15 inch hickory handle | Budget |
| Hammer, lighter | Imported 2.2 lb (1000 g) Swedish pattern | 1000 g head, wooden handle. No maker spec page exists that I could find | Budget |
| Tongs | 16 inch wolf jaw | 16 inch overall length. Steel grade and heat treat not published | Budget |
| Vise | Yost 750-DI | 5-1/8 inch jaw width, ductile iron, head rotates 360 degrees in 12 positions; 5 inch jaw opening, 4 inch throat depth, 63 lb shipping weight | Mid |
| File | Nicholson 21842HNN, 12 inch mill bastard | 12 inch single cut mill bastard, American pattern, rectangular, with handle | Budget |
| Eye protection | 3M SecureFit SF401AF | Polycarbonate, clear anti-fog lens, meets the high impact requirements of ANSI Z87.1-2020 | Budget |
Heat comes first
No tool on that list matters if the steel is cold. Before anything else, decide how you are going to get a bar to a working orange, and be honest about where you will be standing when you do it. That decision drives everything else, and I wrote out the whole argument in coal or propane for a first forge. Short version from running both: propane starts fast, holds an even heat, and does not need a fire tended, which is exactly what a new smith with two free hours on a Saturday needs. Coal gets hotter in a small spot, is better for forge welding and for heavy stock, and is a skill of its own on top of the smithing.
For most home shops the first forge is a propane box, and the Hell's Forge MAX double burner is the one people land on. It is a two burner unit, made in the USA, and it will handle bar stock and blade length work with room to spare. I want to be careful about the numbers, though. Retailer listings for this forge disagree with each other on BTU output and on maximum temperature, and I could not reach a manufacturer page to settle it, so I am not going to print a figure I cannot stand behind. Buy it for the build and the burner count, not for a number in a bullet list.
Check price on Amazon (paid link)
The safety side of a gas forge is not optional and is not complicated. Run it outdoors or in a space with real cross ventilation, because a burning propane forge produces carbon monoxide and it will kill you quietly in a closed garage. Leak test every hose fitting with soapy water before the first light and after any change. Keep the tank out of the radiant heat, not tucked beside the forge. And never put galvanized or plated steel in a forge or under a torch. Zinc fumes cause metal fume fever, and it is a genuinely miserable thing to bring home.
The anvil, and the honest budget option
An anvil is a mass of hard steel that throws your hammer back at you. Everything else is decoration. Weight is the single spec that matters most, and I laid out the whole reasoning in what size anvil you actually need. For general work, 100 to 150 pounds is the sweet spot for a home shop, and Bessie at 148 lb sits right at the top of that band. Under about 70 pounds you start feeling the anvil move under the blow, which means your hammer energy is going into the stand instead of the steel.
The best value in anvils is still a used American wrought or cast steel anvil bought locally, and I would tell anyone to spend a month looking before buying new. How to buy an anvil without wasting your money covers the rebound test and the ring test that separate a good used anvil from an expensive doorstop. But if nothing turns up within driving distance, a new imported cast anvil in the 130 pound class is a real starting point rather than a toy.

Whatever you buy, mount it low. Knuckle height with your arm hanging is the old rule and it is still right. And keep your hammer off the bare face. Steel on steel with nothing between marks the face, and a chip off a hardened edge moves fast enough to end an eye.
The hammer you swing all day
The hammer is the tool you will have in your hand for every hour you stand at the anvil, so weight matters more than brand. New smiths reach for the heaviest hammer they can lift and then wonder why their elbow aches by week three. Start between 2 and 2.5 pounds and let your technique carry the blow instead of your shoulder. I go into the shapes and the handle question in the blacksmith hammer I would hand a beginner.
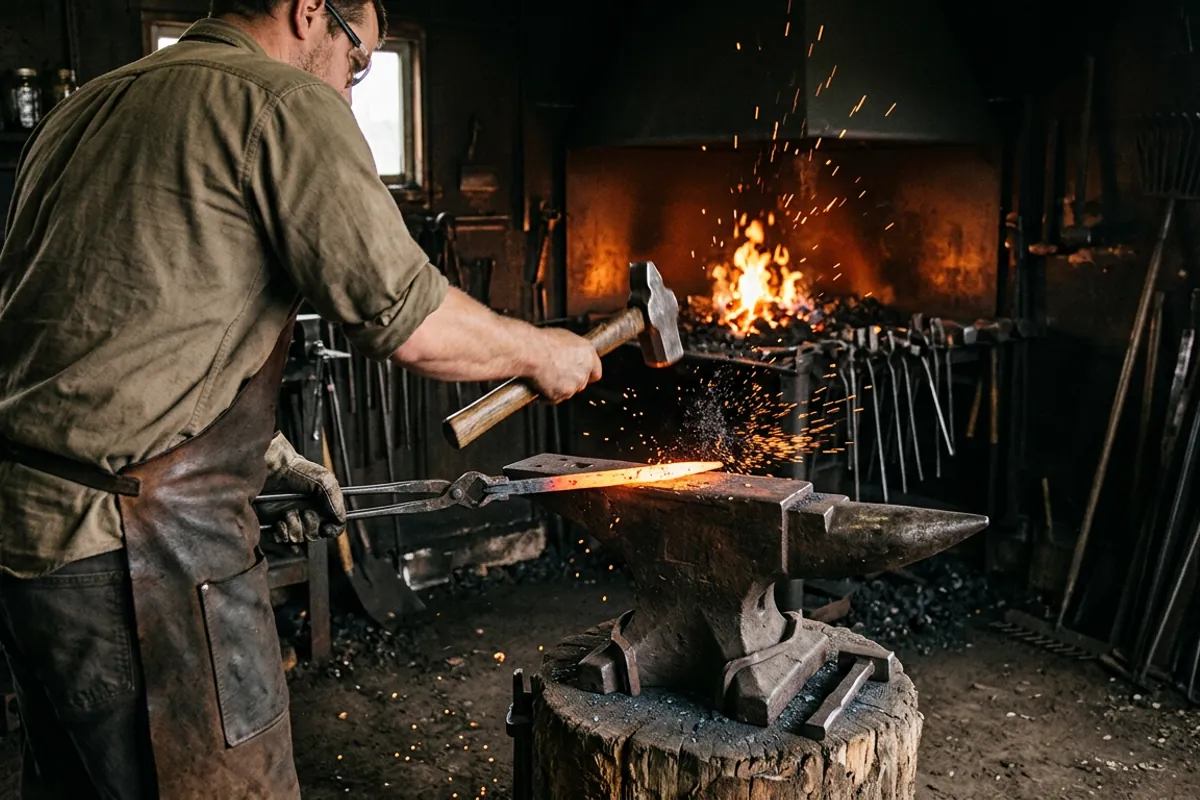
For a straightforward, cheap, made in the USA option, the Seymour cross pein is the one that keeps showing up in shops. Seymour Midwest publishes its 3 lb cross pein with a 15 inch hickory handle, and the 3 lb head is honest work weight. If you are starting cold with no forging background, I would rather see you in a 2 to 2.5 pound head, but a 3 pounder used with a relaxed grip and a short swing is fine for drawing out heavier stock.
Check price on Amazon (paid link)
There is also a whole shelf of imported Swedish pattern hammers in the 1000 g class, sold under names that change every season. They are cheap, the heads are usually serviceable, and the handles are usually the weak point. No maker publishes a hardness or a steel spec for them, and I would not pretend otherwise.
Check price on Amazon (paid link)
With any new hammer, dress the face before you use it. Take the sharp factory edges off with a file or a belt sander so the rim radius is soft, or every blow will leave a crescent mark in your work. That five minutes is the difference between a hammer that finishes clean and one that makes work for you later.
Tongs, and why the first pair fights you
Tongs are the tool that decides whether forging is a pleasure or a wrestling match. The important thing to understand before you spend money: tongs are sized to the stock, not to the job. A pair that grips half inch square will not hold quarter inch round properly, and a pair that does not grip properly is a hot bar looking for a place to land. One pair that fits the stock you actually own beats a four pair set that fits nothing.
Wolf jaw tongs are the usual first buy because the jaw geometry takes flat, square, and round in a useful range, and a 16 inch pair is a sensible general length. I go through the sizing question in more depth in smithing tongs that actually grip and in the blacksmith tongs I would buy first.
Check price on Amazon (paid link)
Expect to fit them. Almost every imported pair arrives close but not right, and the fix is to heat the jaws to a bright orange, close them on a piece of the stock you actually use, and squeeze the reins together so the jaws take the shape of your bar. That one operation turns a mediocre pair of tongs into a pair that holds. Do it with the tongs hot and the stock cold, and wear your gloves for that job specifically.
The vise, and the mistake people make with it
A vise is the third hand you do not have. Twisting, bending, filing, drawfiling a blade, holding a tenon while you upset it, cutting with a hacksaw: all of it wants a vise, and a wobbly one is worse than none.
The Yost 750-DI is the multi jaw bench vise that keeps getting recommended in home shops. Yost publishes a 5-1/8 inch jaw width, ductile iron construction, and a head that rotates 360 degrees in 12 locking positions. Penn Tool Co lists the same model at 5 inch jaw opening, 4 inch throat depth, and 63 lb shipping weight. Bolt it down through all four holes into something solid. A vise bolted to a flimsy bench transmits every bit of your effort into wobble.
Check price on Amazon (paid link)
Now the mistake. A machinist bench vise, even a heavy ductile iron one, is not a forging vise. The little anvil pad cast into the back is for tapping, not for forging, and hammering hot steel held in the jaws will eventually wreck the screw and the slide. That work belongs to a post vise, also called a leg vise, whose leg carries the blow straight into the floor. If you plan to beat on held work, read the blacksmith vise I would buy first and save for a post vise instead of abusing a bench vise into scrap.
Files do the work the hammer cannot
Every forged piece needs cleanup, and a good file does more of it than any power tool in the first year. A 12 inch mill bastard is the general purpose choice: single cut, American pattern, flat, and aggressive enough to move scale and hammer marks without tearing the surface. Crescent publishes the Nicholson 21842HNN as a 12 inch single cut mill bastard in a rectangular profile with a handle included.
Check price on Amazon (paid link)
The handle is a safety item, not a comfort item. A file tang is a hardened spike, and a file that catches in the work drives that tang straight into the base of your palm. Never use a bare tang, on any file, ever. Also, file on the push stroke only, keep the file dry and clean it with a file card, and do not use a file as a pry bar. File steel is hard and brittle, and it snaps rather than bends.
If you are heading toward knife work, a file plus a hacksaw covers a lot of ground before you need power, and when you do want power the honest options are in the belt grinder I would buy for knife making.
Eye protection is not the place to save money
I will tell this one straight because it is the reason this site takes safety seriously. Early on I quenched a blade in oil that was too cold, standing too close, in a cotton shirt with no face shield. The oil flared. It took my eyebrows off and I kept my eyesight on luck alone. Nothing about that was clever, and none of it needed to happen.
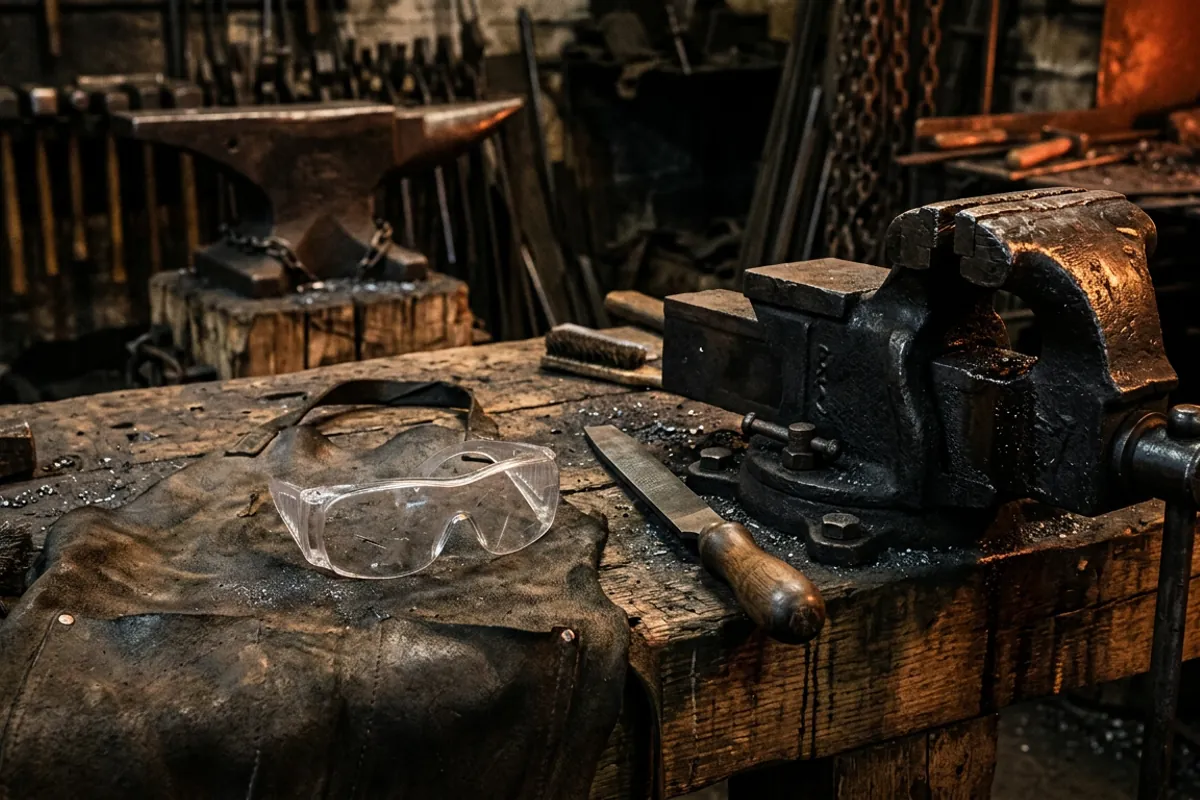
Buy eye protection that carries a real standard, not fashion glasses. The standard to look for is ANSI Z87.1. 3M publishes its SecureFit 400 series as polycarbonate with a clear anti-fog lens, meeting the high impact requirements of ANSI Z87.1-2020, which is exactly what you want in a shop full of flying scale. They are sold in cases, which sounds like a lot until you realize you want a pair at the forge, a pair at the grinder, and a spare for whoever shows up to watch.
Check price on Amazon (paid link)
Glasses are the floor, not the ceiling. Over a quench tank or at a grinder, wear a face shield over the glasses, not instead of them. Wear natural fibers, cotton or wool or leather, because synthetics melt onto skin. Keep a lid that fits your quench tank within arm's reach so a flare gets smothered instead of spread. And keep the oil deep enough and warm enough per the oil maker's instructions, because a thin cold puddle is exactly what flares. The rest of the kit is in blacksmith safety gear: what matters and what to skip. For anything about how a given steel wants to be quenched and tempered, go to real testing rather than forum lore. Knife Steel Nerds publishes actual data, and I would trust it over anything I could tell you from memory.
What owners say
This is the part where I hand over to people who own the gear, with the honest caveat that forum signal on cheap imported tools is thin and inconsistent by nature.
On the Hell's Forge, the useful criticism comes from knifemakers. In a KnifeDogs forge thread, posters describe the burners firing straight down as a design that creates hot spots, with one calling it "not a very good design" while still allowing it is "not a terrible forge to start with." The point they make about heat treating is worth listening to: burners angled to swirl heat around the chamber give more even temperature along a blade than burners aimed at the work. That does not make this forge a bad first purchase. It makes it a first purchase you will eventually outgrow if you go deep into blades.
On tongs, the recurring theme in the BladeForums thread on what tongs people use is that decent commercial tongs are worth the money compared to a first attempt at homemade ones, with posters describing forging as "a real pleasure" once they had properly made pairs, and naming makers like Kayne and Son. Notably, that thread does not turn into a pile on about imports. The complaint is about badly shaped tongs in general, homemade included, and about hand fatigue from reins that fight you.
On the Yost 750-DI, the Garage Journal thread about it reads about as well as a budget vise thread ever does. Owners report years of hard use, one describing taking heavy sledge blows without complaint, and the recurring gripe is cosmetic, that the paint chips easily. Take the sledge comment with the caveat I gave above: hot forging in a bench vise is still not what it is built for.
If you want a broader sense of what experienced smiths tell beginners to buy, the I Forge Iron archives are full of it, including a long running thread on the 25 most important tools and resources for a beginning blacksmith. The advice there has been consistent for years, and it matches what I tell weekend students: heat, mass, a hammer, and something to hold the work.
What I would tell a friend
Buy the forge and the anvil first, because those are the two that decide what work is possible. Spend a month looking for a used anvil in the 100 to 150 pound range before you buy new, and if nothing shows up, a new cast anvil around 130 pounds will get you forging. Get one hammer at 2 to 2.5 pounds and dress its edges before you swing it. Get one pair of tongs sized to the stock you actually own, and fit them hot on the first day. Add a bench vise when you can bolt it to something solid, and understand that hot hammering work belongs in a post vise, not in that vise.
The one thing I would not compromise on is eye protection, and the reason is written on my face. Buy the ANSI Z87.1 glasses, buy a face shield to go over them, wear natural fibers, and never let anyone tell you the safety kit is the part to skip while you save up for a nicer hammer.
The rest can wait. Punches, chisels, a hardy cut off, swages, a leg vise, a power hammer: those are answers to problems you have not had yet. When you have them, you will know exactly what to buy, which is a much better way to spend money than guessing. If you want the ordered version of this list with nothing else in it, the short list that actually matters and the starter kit guide cover it, and there is more shop talk over in More from the shop.